1997 Diamondback Outlook DX

A coworker of mine told me of a bicycle that his neighbor was getting rid of . He thought I might be interested in taking a look at it. I cruised over to his neighbors house and found this Diamondback mountain bike.
His neighbor told me that he didn't ride it much and that the tires kept on going flat. He also handed me two new bicycle tubes and off I went with this awesome find.
I really have a thing for Diamondback bicycles. I used to have a Diamondback Viper BMX bike when I was a kid. I still have it today. And... I still need to restore it...
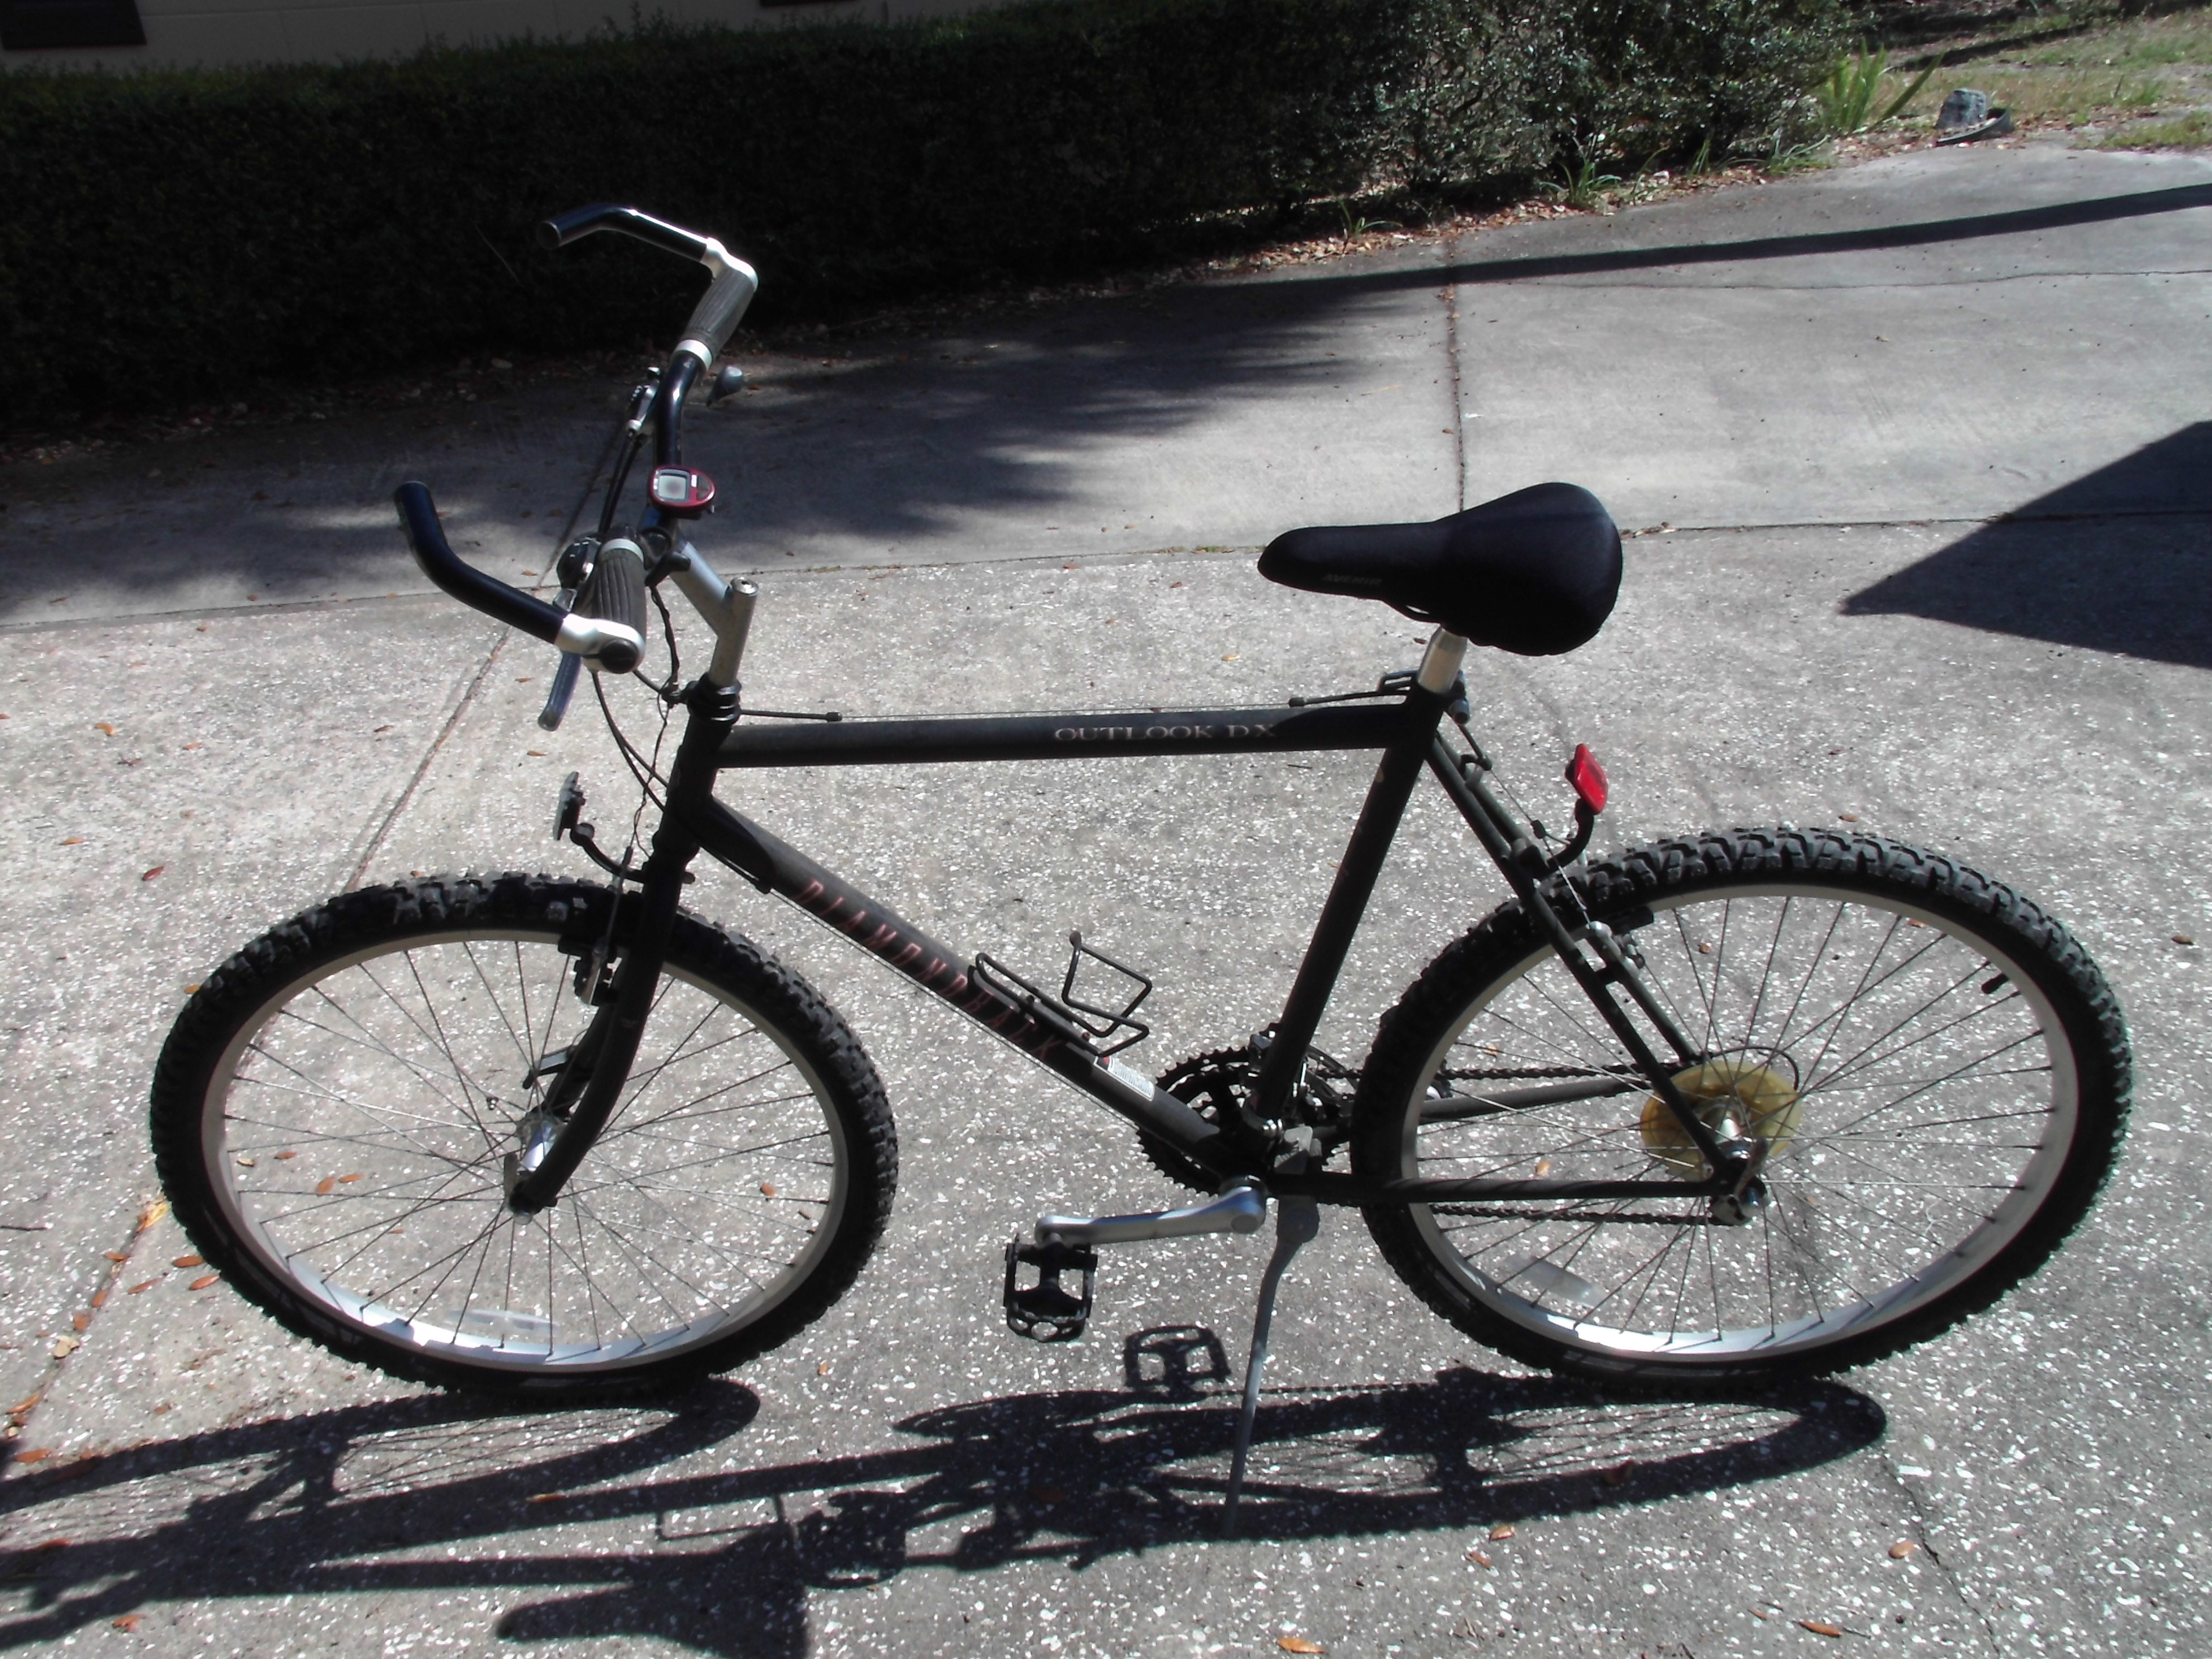
Diamondback Outlook (when I found it). It was dirty... The tires were flat. But it still looked really cool. Not like a bike that you are going to blast off big jumps... But a bike that can get you comfortably down a paved trail or, a commute to your friends house in style.
Well... I got it home , pumped up the tires, took it for a spin and it would not even shift gears. So... I stuck it in the back of my shop. And a year later I decided to restore it.
These are pictures of the bike before restoration.
FRAME and FORKS
I take all the components off the bike... Bag them up... Then I check the frame for cracks or any other kind of damage... Mostly I find scratches and blemishes that need to be touched up.
Then I go through a three step process with the paint finish... First I clean the frame with a degreaser and paint cleaner... Then I use a compound on the frame to remove blemishes and light scratches... After that I use a Carnauba wax to protect the paint and buff it out to a nice shine.
The frame and forks are made from Chromoly steel... it is light weight and durable.
Frame (before)
Top tube (before)
Head tube (before)
Down tube(before)
Bottom bracket (before)
Seat tube (before)
Chain stay (before)
Rear dropouts (before)
Fork (before)
The frame and forks cleaned up nicely... only a couple of scratches and scuffs on the decals.
Forks (cleaned and polished)
Frame (cleaned and polished)
Headtube (cleaned and polished)
Top tube (cleaned and polished)
Down tube (cleaned and polished)
Chain stay (cleaned and polished)
Rear drop outs (cleaned and polished)
Seat tube (cleaned and polished)
HEADSET
Headset (before)
The black paint on the headset cleaned up nicely... no rust and the bearings are in good shape.
Headset (after)
I greased the headset bearings with marine lube... I think it's more durable than conventional grease.
I put the headset together after I slid the fork crown through the head tube of the frame.
Now the Forks are back in the bike .
CRANKS
These are Shimano TY-21 cranks... they come standard on most lower end bicycle models.
They have three chain rings... the big one has 48 teeth ,the medium one has 38 teeth and the small one has 28 teeth. They are attached to a square tapered spindle using a nut on each side. there are also left and right bearing clusters and cups to complete the bottom bracket.
Cranks (before)
Bottom Bracket (before)
The cranks were not dirty at all... they cleaned up fast.
Cranks and bottom bracket (after)
Note that I have the bottom bracket spindle with the longer side down. The longer side is the drive side. That is the side with the three chain rings. The short side is for the left crank arm.
I greased the bearings... then inserted them into the bottom bracket cups. After that I assembled the bottom bracket and adjusted the tension on the bearings.
The bottom side , which is the drive side is called the fixed cup. it is screwed all the way in clock wise until it stops. The left side of the bottom bracket is the adjustable side. It screws in counter clock wise and can be adjusted for bearing tension with specific bottom bracket tools.
Cranks (complete)
SEATPOST
I shined up the seat post with Mothers Aluminum polish.
The seat post clamp lever shined up too.
Seat post and clamp (complete). Now I can clamp the bike in the repair stand using the seat post.
STEM
This is just a standard steel quill stem .I could not tell if it was painted or just plain polished steel.
It had some rust around the top and sides. I soaked it in Evaporust for a couple of days then cleaned it with WD-40 and fine steel wool... good thing it was not painted.
Stem (cleaned and polished). Still some pitting from the rust.
Stem (installed)
I cleaned the handle bars and reinstalled them.
BRAKES
These are Shimano cantilever brakes. There are many different ways to adjust these brakes .
Cantilever brakes came standard on most 90's all terrain bicycles.
Front brake (before)
I disassembled the brakes. Then I cleaned and polished with Mothers Aluminum polish.
Brake pieces and parts
Front brake (cleaned and polished)
Front brake (complete)
Rear brake (before)
Rear brake pieces and parts
Rear brake (cleaned and polished)
Rear brake (complete)
DERAILLEURS
The derailleurs on this bike are Shimano Altus'
Front derailleur(before)
I cleaned the front derailleur with degreaser, then shined it up with chrome polish. I also oiled all the pivot points.
Front derailleur (cleaned and polished)
Front derailleur (installed)
Rear derailleur (before)
I disassembled the rear derailleur. I removed the jockey wheels... cleaned and lubed them with light oil. Then I oiled all the pivot points.
Rear derailleur and it's parts.
Rear derailleur( cleaned and lubed)
Rear derailleur (installed)
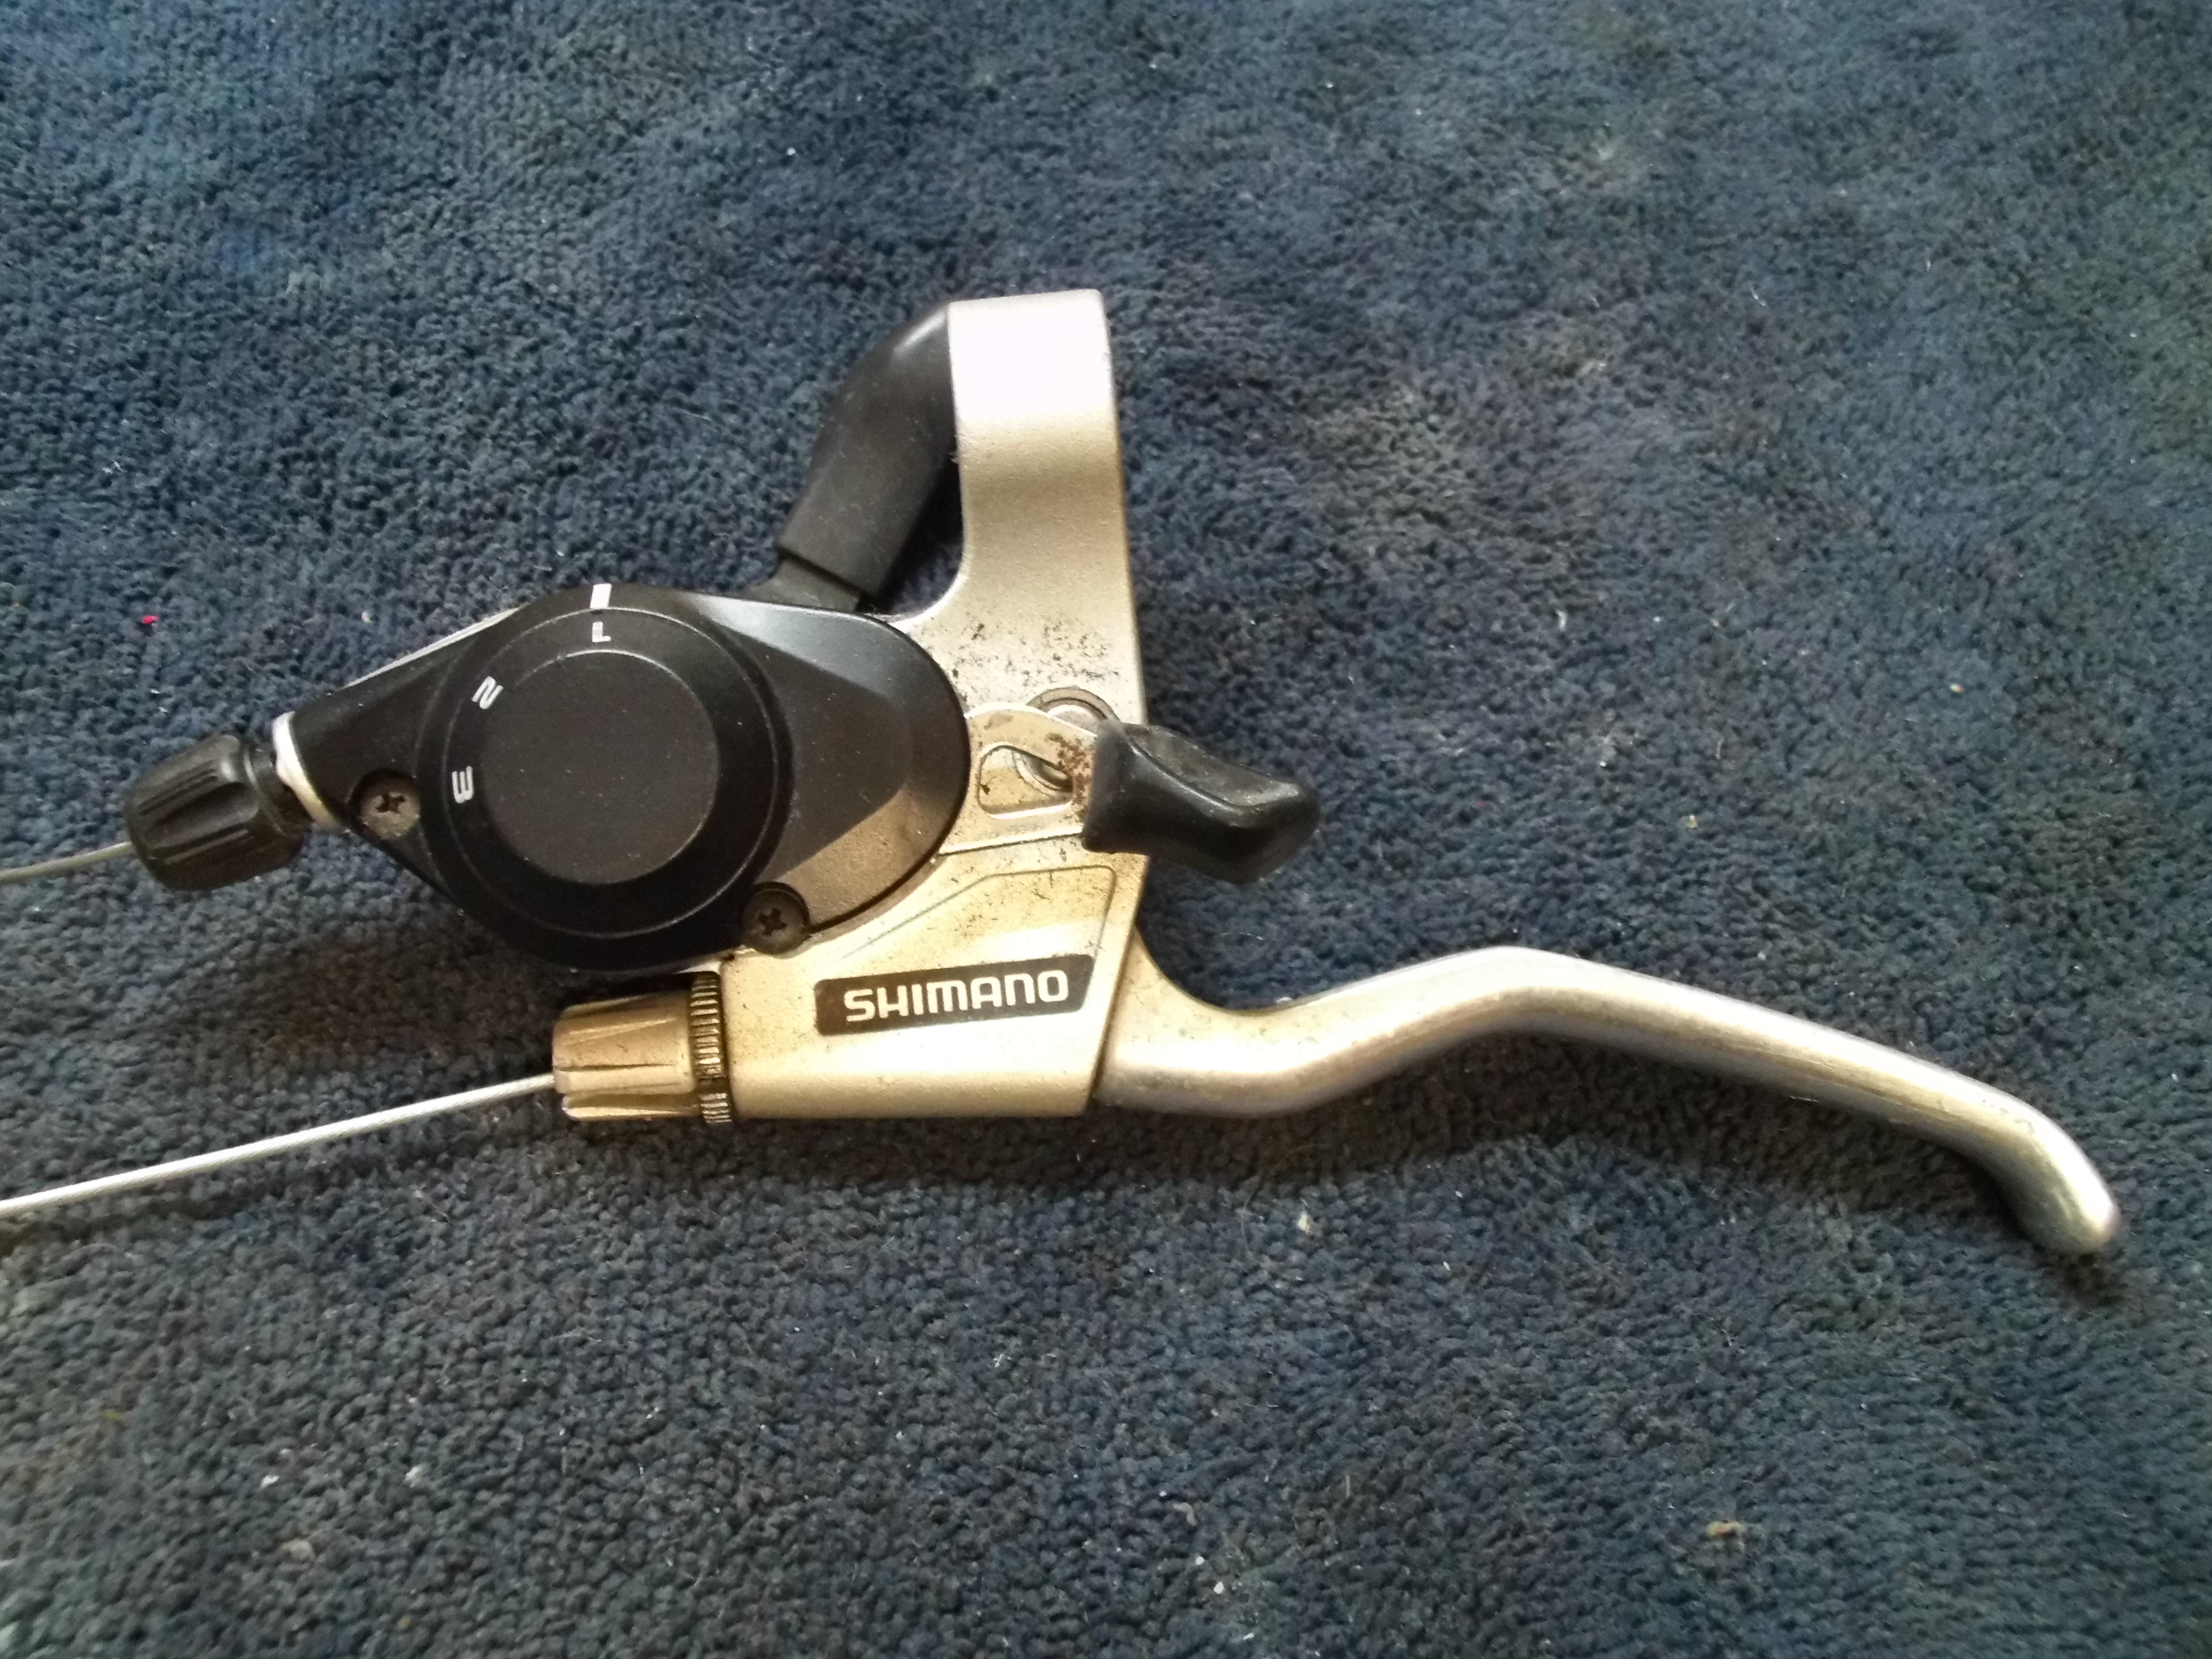
SHIFTERS and BRAKE LEVERS
These are Shimano shifter and brake lever combo.
The right hand lever was sticking and would not shift into the next gear.
I flushed it out with WD-40 and kept shifting it until it started shifting smoothly.
Left hand combo(cleaned and lubed)
Right hand combo(before)
Right hand combo( cleaned and lubed)
I removed the brake and derailleur cable housing and flushed them out with spray lubricant.
I lightly greased the brake cables and derailleur cables.
They were still in great shape so I reinstalled them.
Front brake calipers and cables(installed)
Rear brake calipers and cables(installed)
WHEELS
These are 26" aluminum wheels with Joytech hubs.
The hubs have a 96 stamped on them. 1996 was the year they were manufactured.
Rear wheel(before)
Both wheels were dirty with a layer of dust. I cleaned them with degreaser and polished the hubs with Mothers Aluminum polish.
Both wheel hubs were packed with new grease .
Rear hub (before)
Rear axle and bearings.
Rear hub(cleaned and polished)
Greased.
This bike uses a 7 speed Shimano freewheel.
14-28 tooth.
Hub and 7 speed freewheel.
Rear wheel (complete)
Front wheel(before)
Front hub(before)
Front hub (cleaned and polished)
I re greased the bearings in the front hub... but I finished it before I could take pictures.
SKEWERS
Skewers (before)
The skewers had some light rust on them. I removed most of the rust with chrome cleaner and light steel wool.
Skewers(cleaned and polished)
Front and Rear wheels (complete)
SEAT
The seat is a gel comfort seat made by Avenir. The majority of accessories for mountain bikes in the 90's were made by Aviner.
Left hand combo installed with grips.
Right hand combo installed with grips.
I ran the cables and adjusted the front and rear derailleurs
This Diamondback Outlook DX is complete.
Riding these older rigid mountain bikes bring back fond memories. I remember riding the Snow Hill trails in Chuluota, Florida back in the early 90's on my rigid mountain bike... bikes back then didn't have any suspension... your arms and legs were the suspension. You were one with the trail...feeling every root and hole as you rode over them.
Thanks for taking the time to my Blog. I hope you found it entertaining or educational.
Cheers ! And Ride a Rigid Mountain Bike !!