Thursday, January 28, 2016

Brent's 1950's Trike

    This past summer I restored a trike for a long time friend of mine. It was a back yard find and the previous owner did not take care of it. Brent restored it to good riding condition but over time the outside elements took its toll on the paint and components. When the bike was given to me to restore, it had been wrecked. The front wheel was bent and would not turn without hitting the forks. The paint was badly weathered and fading.                                                                                                                                                        
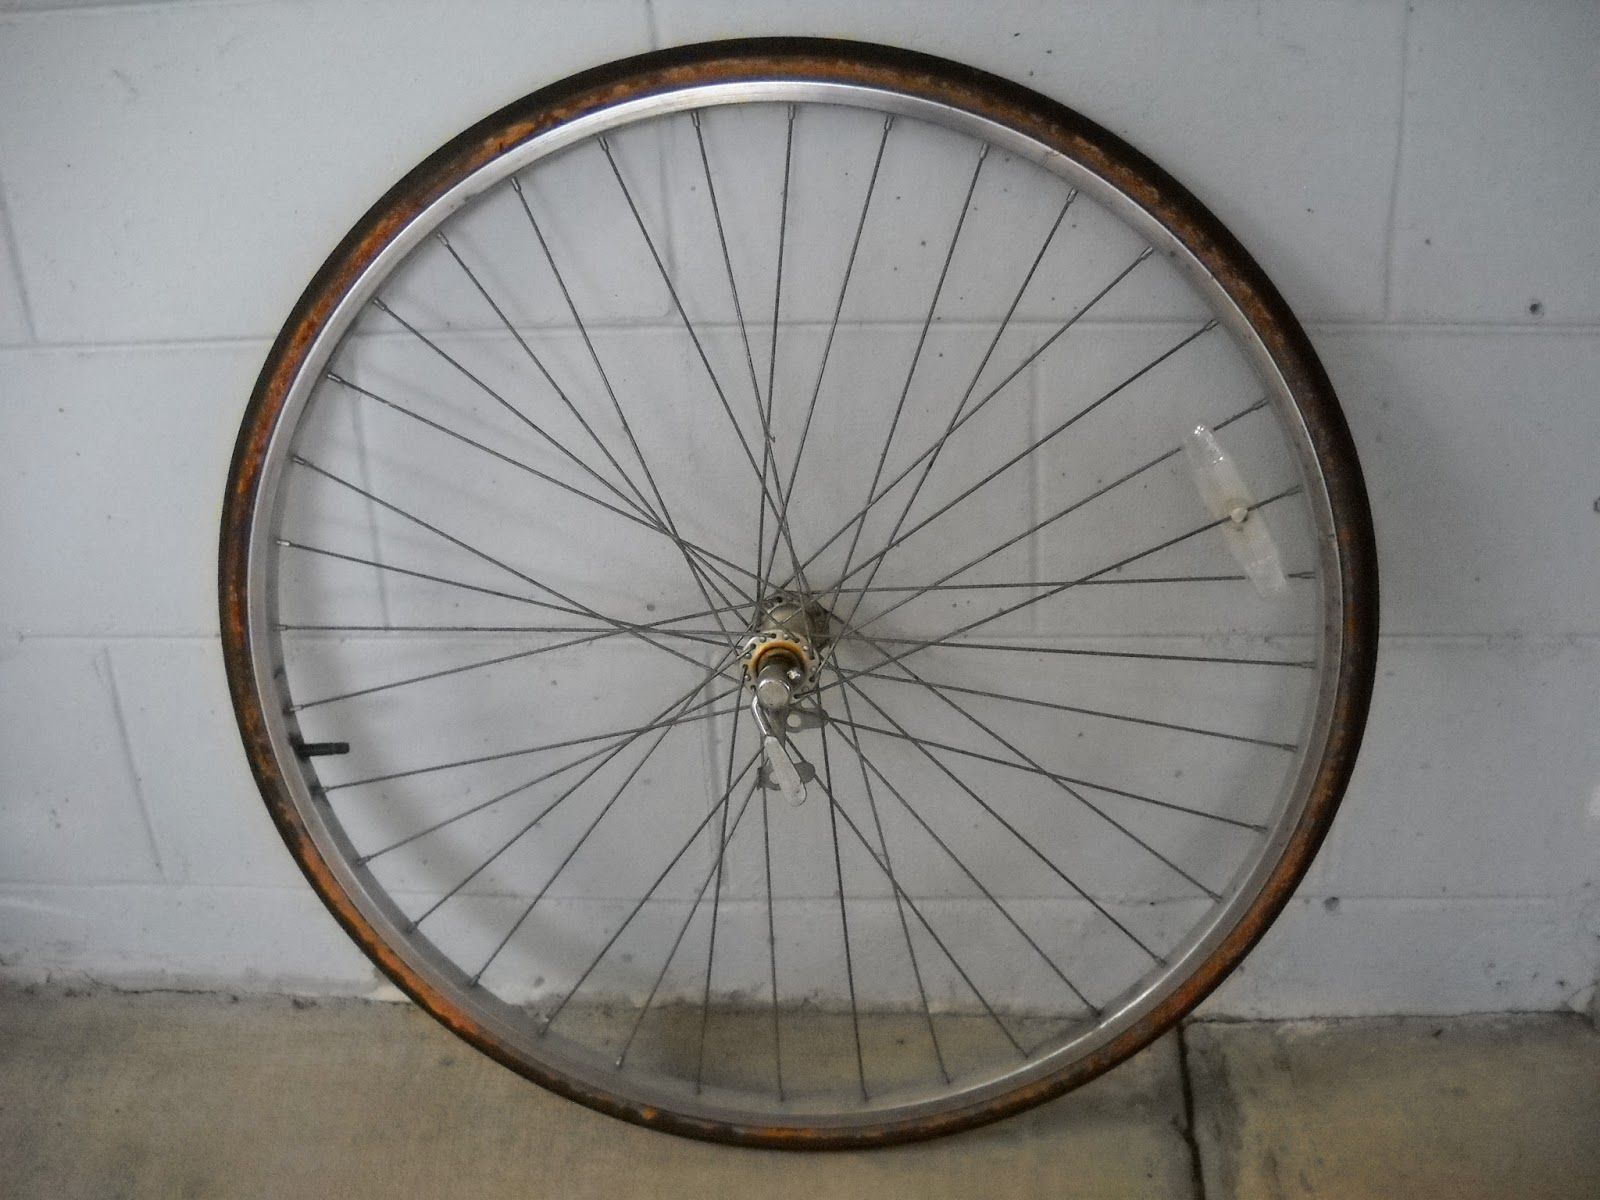
I took pictures of all the bolts and connecting points on the bike, so I can properly reassemble it after it is painted. The bike had about three coats of paint on it so there wasn't much rust to deal with .The seat is in bad shape ,so I replaced it with a black one. Also the white brake cable housing was replaced with black as well. I replaced the front wheel , the old one was bent and could not be straightened out.                                    
           Before I disassembled the trike, I took pictures of where the bolts were and how the bike went together. If this is not done and documented, it will be difficult to reassemble any bike. Especially a bike you have never seen before or worked on.  Next are some pictures I took before I disassembled the trike.   

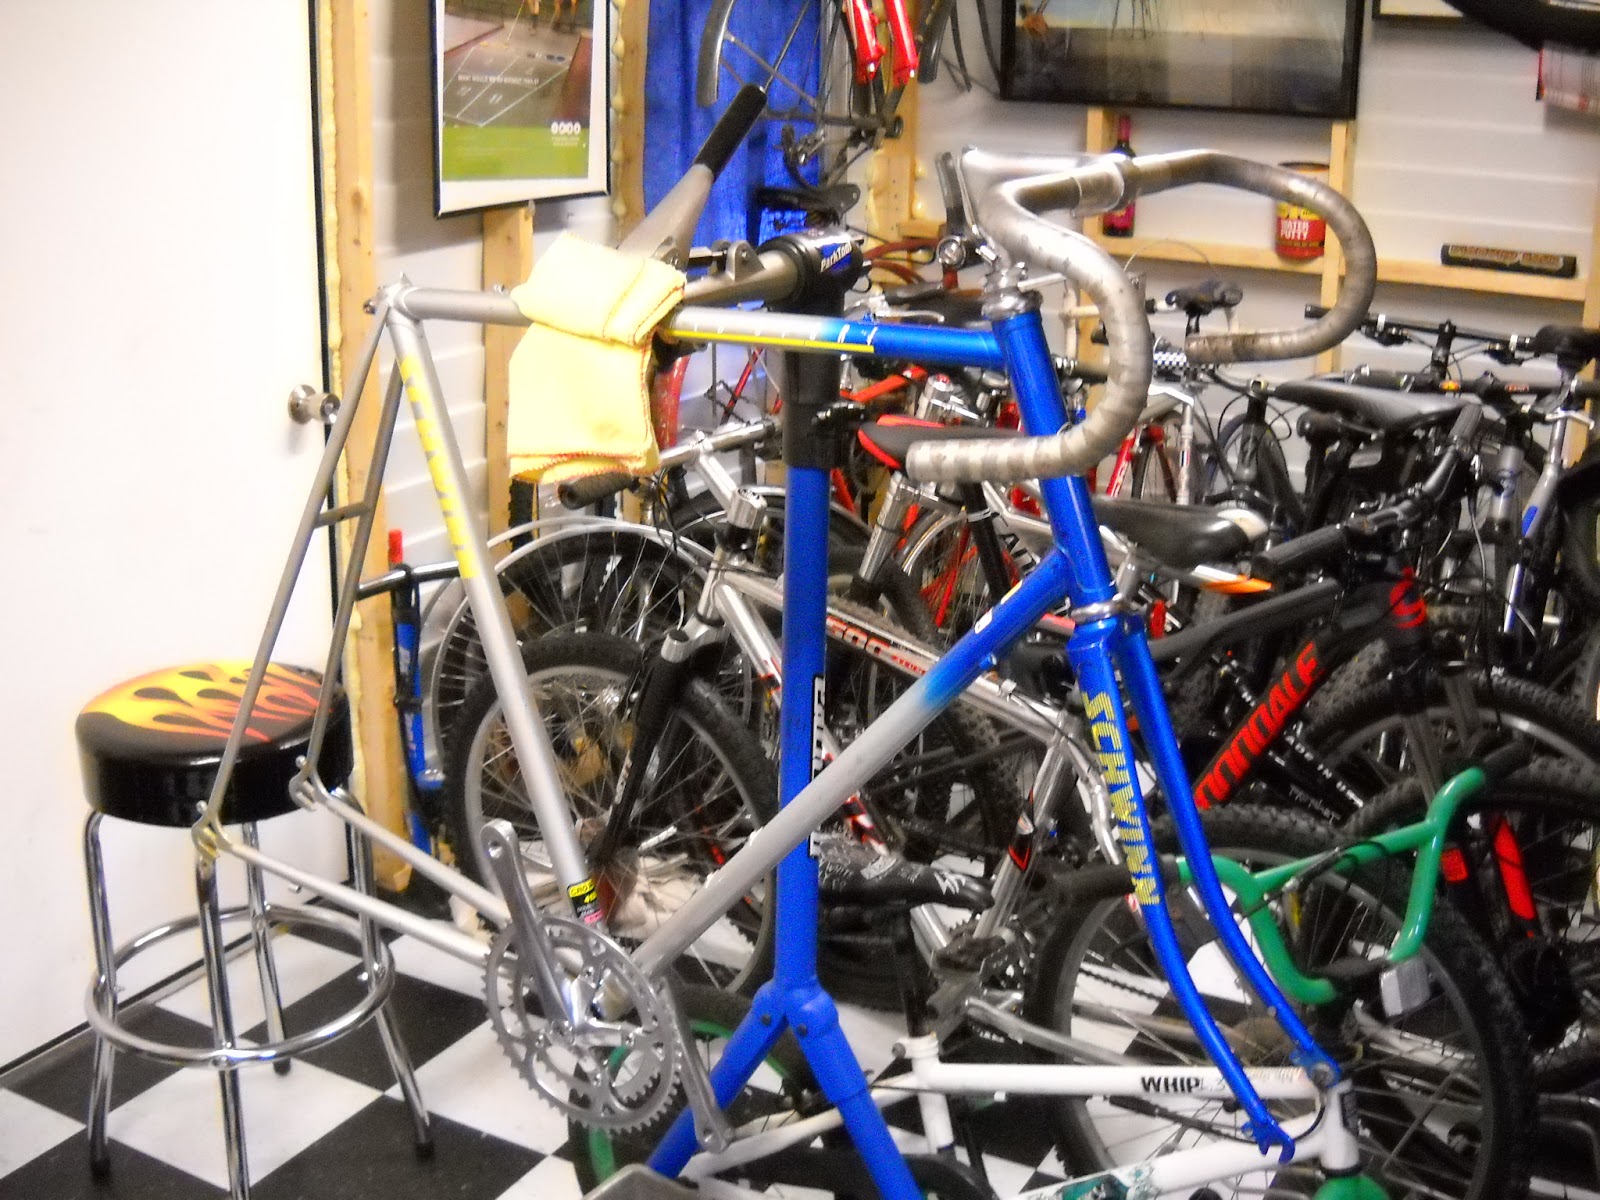
           I removed the handle bars, stem and forks. The cranks came off along with the pedals. The headset bearings and bottom bracket bearings were cleaned and re greased. The seat and rear basket were removed.
         

The Trike frame consists of 2 sections. The front section that holds the seat , cranks and forks. and the back section , it holds the rear sprocket and rear wheels. the back section is attached with 4 bolts.  This picture shows the rear sprocket and the chain guard screw and bracket.


     Rear view of back section. Rear sprocket and bolts that attach the front frame to the rear section of the trike. you can also see the bolts that hold the drive shafts and the sleeve bearings for the rear wheels.


                                                             Front view of rear section


         After taking pictures of the complete bike, I sprayed all of the bolts with PB Blaster to loosen any rusted bolts.  The chain was cleaned and soaked in oil for about a week. All frame pieces were then stripped of paint using a heavy duty paint stripper. This trike had about three layers of different color paint.                         
         While stripping the paint, I was looking for clues as to what company made this bike. Sometimes you can remove one layer of paint at a time with stripper and expose a name or a model of the bike. There were no markings or decals under the layers of paint. So I started to look up trikes and trike manufacturers on line and trying to narrow the make by the components that were on the bike. I narrowed it down to Sears or Western Flyer. They both made trikes in the 50's and 60's.

        After stripping the bike, I sand blasted any remaining paint from the welds and hard to reach places. Then I sanded and primed the frame pieces, forks and chain guard.  The handle bars, cranks and all other chrome pieces were taken apart and cleaned and polished.

                                                    rear end ,primed and ready for paint

                                                                            frame


                                                                    rear seat support


                                                                      chain guard


                                            Cranks before they were cleaned and polished


                                              one of the rear wheels ,cleaned and polished


       I applied two coats of primer and then wet sanded with 1500 grit wet dry sand paper. then the next day I painted the bike pieces with victory red paint. Victory red is a paint color that Chevrolet uses on there Corvette. The paint color is a deep dark red. I applied three coats of victory red paint. After the paint dried over night , I applied 4-5 coats of clear to bring the bike to a nice shine.

                                        These next pictures are of some of the painted parts.


                                                                             Forks

                                                                        Chain Guard


                                                  Rear assembly, Bolts and headset cups


                                                                       Front frame


          I let the frame and the other bike parts dry for a couple of days before I started reassembling the bike.   I bolted the front and rear frame pieces together. Then I greased the crank bearings and installed the crank. Next I lubricated the rear wheel shafts and bolted them in place.

                                                rear wheels and cranks polished and installed


                                                 Handle bar and stem cleaned and polished

                                                                       rear end view

                                                             More pictured of the assembly


                               I cleaned the white wall tires with Bleche-Wite and a scotch brite pad


Next ,I installed the chain guard, western style saddle and grips. After that I installed the front brake caliper,brake lever and new brake cable and housing.


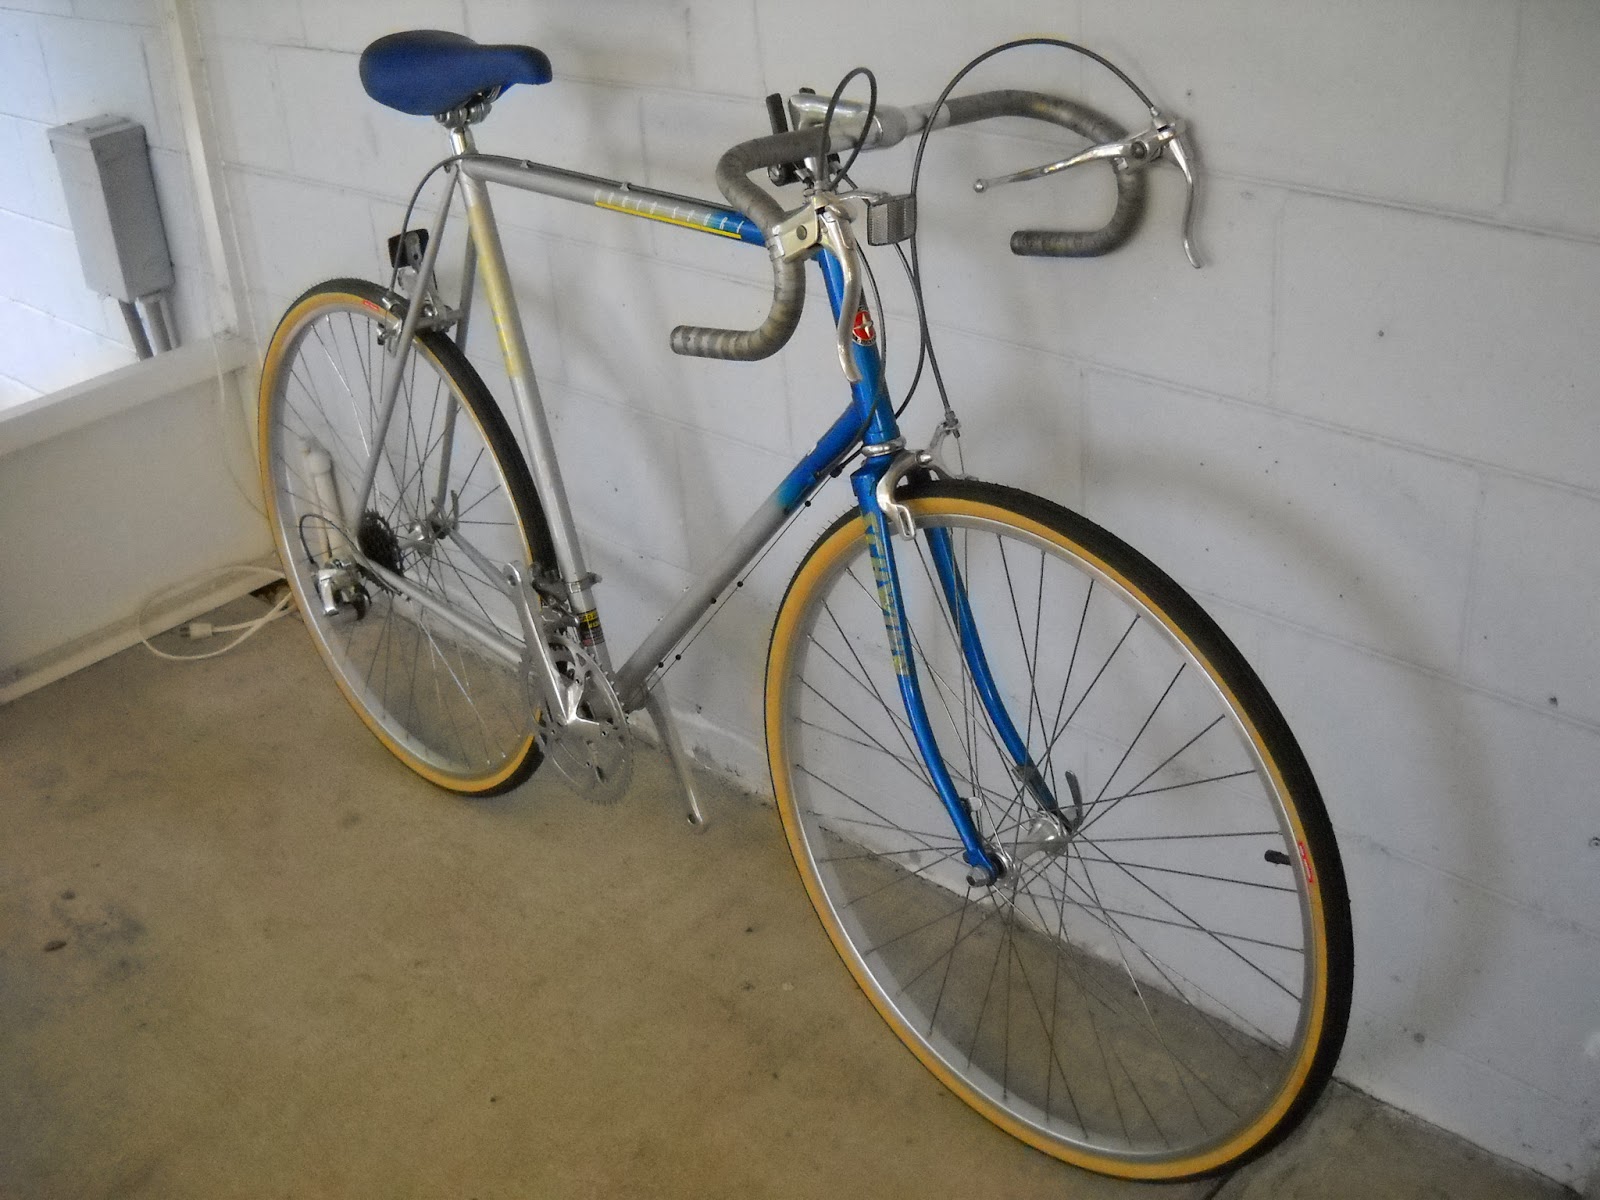
The last item I installed is the rear basket and front fender. This trike turned out nice ,considering it's age. All of the era correct parts were still in production, so I did not have to buy any used parts to complete the project.  The next pictures are of the complete trike.


                                                                   Thanks For Looking, Tony                  


Thursday, January 14, 2016

1988 Schwinn World Sport

Today I found a Schwinn World Sport 12 speed. 64 CM frame. When I found this bike on Offer Up, the seller only showed the front of the bike in the ad. When I went to look at the bike I noticed that someone had painted part of the frame with white spray paint. I took it home anyway. When I got the bike home, I started the detective work of  finding out what year this Schwinn was made. The head badge says Schwinn Quality ,which indicates that it was made in Taiwan. Schwinn had many frames made in Taiwan by the Giant manufacturing company. They make the Giant bicycles you see today ,but in the 80's they made frames for Schwinn and other bicycle companies. This bike has 4130 chromoly tubing which makes this bike rather light. The frame has nice lug work. I went to SchwinnCruisers.com to find the date of the bike. The serial number on this bike is located on the bottom bracket. I thought for a late model Schwinn the serial number was located on the side of the head tube or the rear drop out. This was not the case with this bike, so I narrowed it down using the component group. This bike has Shimano SIS drive train components and a Sugino MP crankset. This model has blue and silver two tone paint which is a 1988 paint scheme. I don't know the month it was made ,but I now know it was built in 1988. Next thing to do is disassemble the bike and check the condition of the components. Then I will start removing the white spray paint from the frame. The  product I am using is Zymol paint cleaner wax. It is made with carnauba wax. I read that carnauba wax will remove spray paint from automotive paint finish. It is taking some time and patience,but the Carnuba wax is starting to remove the spray paint from the frame.
Before
after
Seat Lug Before
Down Tube Before

       I finally removed all the spray paint from the frame. It took a while but the carnuba wax worked without scratching the frame. Later, I will try to find some touch up paint for the chips in the frame.   More pictures of the frame


Down tube after 

     
Next I am going to disassemble the components, then clean and polish them. I already disassembled the cranks. and cleaned the headset bearings and bottom bracket bearings. I polished the cranks and reassembled them and torqued the chainring bolts to 75 inch pounds. I cleaned and polished the stem and stem bolts.  I also cleaned and polished the shift levers. The headset has been polished as well as the bottom bracket cups.
before
after
Cranks ,before and after. I wet sanded the cranks ,starting with 400 grit and ending with 2500 grit ,then I polished them with mothers aluminum polish.

before
after


I cleaned the bearings for the bottom bracket and polished all the bottom bracket components.
Bearings Before
Bottom Bracket Before
Every thing cleaned and polished up nicely.
Next I cleaned and polished the stem, front and rear brake calipers and brake levers. all polished up nicely.
Stem Before
Stem Polished
Front Brake Caliper Before
Front Brake Caliper Polished
Rear Brake Caliper Before

Rear Brake Caliper Polished


Left Brake Lever Before

Right Brake Lever Before


Both Levers Polished
                                                                                                                                                                                                                                                                                                                                          Later in the week ,I cleaned and polished the seat post and seat hardware. Also cleaned and polished the seat clamp bolt.  


Seat Post Before
Seat Post and Hardware Polished
                                                                                                                                   
                                                                                                 
       I cleaned the handle bars after I cleaned all the other components. I used a citrus cleaner and a scotch Bright pad to get all the adhesive off the bars and used metal polish and Bronze Wool to shine the logo on the front.

Handle Bars Polished

Handle Bars Before


The front and rear Derailleurs are in good shape. The front derailleur had some spray paint that has to be removed. I removed the paint with Bronze wool and a light oil. Then I lubricated all the pivot points. I took the rear derailleur apart, cleaned and polished all moving parts. I cleaned and lubricated the jockey wheels also and all pivot points.
Front Derailleur Before


Front Derailleur Before


Front Derailleur Cleaned and Polished


Rear Derailleur Before
Rear Derailleur exploded view


Rear Derailleur Cleaned and Polished


I almost forgot about the fork. I cleaned and polished it. I also did some minor touch up work on the Schwinn logo on the side of the fork.


Fork Before


Drop Outs Before


Fork Crown Before


Fork Crown Polished
                                                                                   
Fork Polished


I didn't take a picture of the fork drop outs before I installed them on the frame. I will have plenty of  

pictures later on in the blog . Next ,I worked on the wheel set. They were very dirty ant had some spray paint on them . The hubs were greasy and had some sticky residue. After lots of scrubbing and polishing , the wheels turned out great. I trued up both wheels , now they roll straight .                                            


Front and rear wheels before:


front wheel before
 
rear wheel before
rear hub before
front hub before


Front and rear wheels after cleaning and Polishing:


after cleaning and polishing , I applied new grease   


Front Hub with new grease


rear hub with new grease


Rear Cassette Cleaned


Next I cleaned and polished the gear shift pod, which was one of the last components that I had to clean. 
After that was done ,I started building the bike


I started with pressing in the headset cups and assembling the head set and installing the fork.


Then I assembled the bottom bracket


And Installed the Crank


Handle Bars Installed 


Next ,I installed front and rear Derailleures and brake calipers.


The old tires on the bike were dry rotted ,so I ordered some Kenda Tires. I also ordered new Bar Tape and a new seat, The old seat had a rip in the front. Both the seat and bar tape will be blue to match the front of the bike. I replaced the brake cables and housing as well as the Derailleur cables and housing with Jagwire cables. The bike also gets a new chain and brake pads.


Old Seat


New Seat


New Brake and Shift cables with housing


New KMC Chain


Front wheel ,new tire


Rear wheel , new tire

Top view of Front Derailleur installed


Next photos are of the Schwinn World Sport almost complete. I installed the brake calipers, Derailleures, Brake Cables and shift cables. The last thing I need to do is install the chain ,seat and Bar tape.                           
Seat and all cables and components installed       


Next are photos of the Schwinn World Sport Completely restored. I took the bike for a test ride and it shifts great. It is much faster than I thought it would be. The chromoly frame has a nice ride and feel to it. It corners and handles great. One thing I noticed is that the rear wheel has a small flat spot in it that I could not get out from truing the wheel. radial true is fine . I did not notice any difference while riding the bike. My neighbor noticed me test riding the bike and asked me if it was a new bike. I told him I had just restored it ,and was taking it for a ride. He was amazed on how nice the bike looked.                                                                             In conclusion, I really enjoyed restoring this bike. The spray paint on the bike took a while to remove but in the end , the bicycle turned out nice. Until next time ,thanks for viewing my blog and stay tuned for more restorations.


Schwinn World Sport complete


Thanks for looking ,Tony