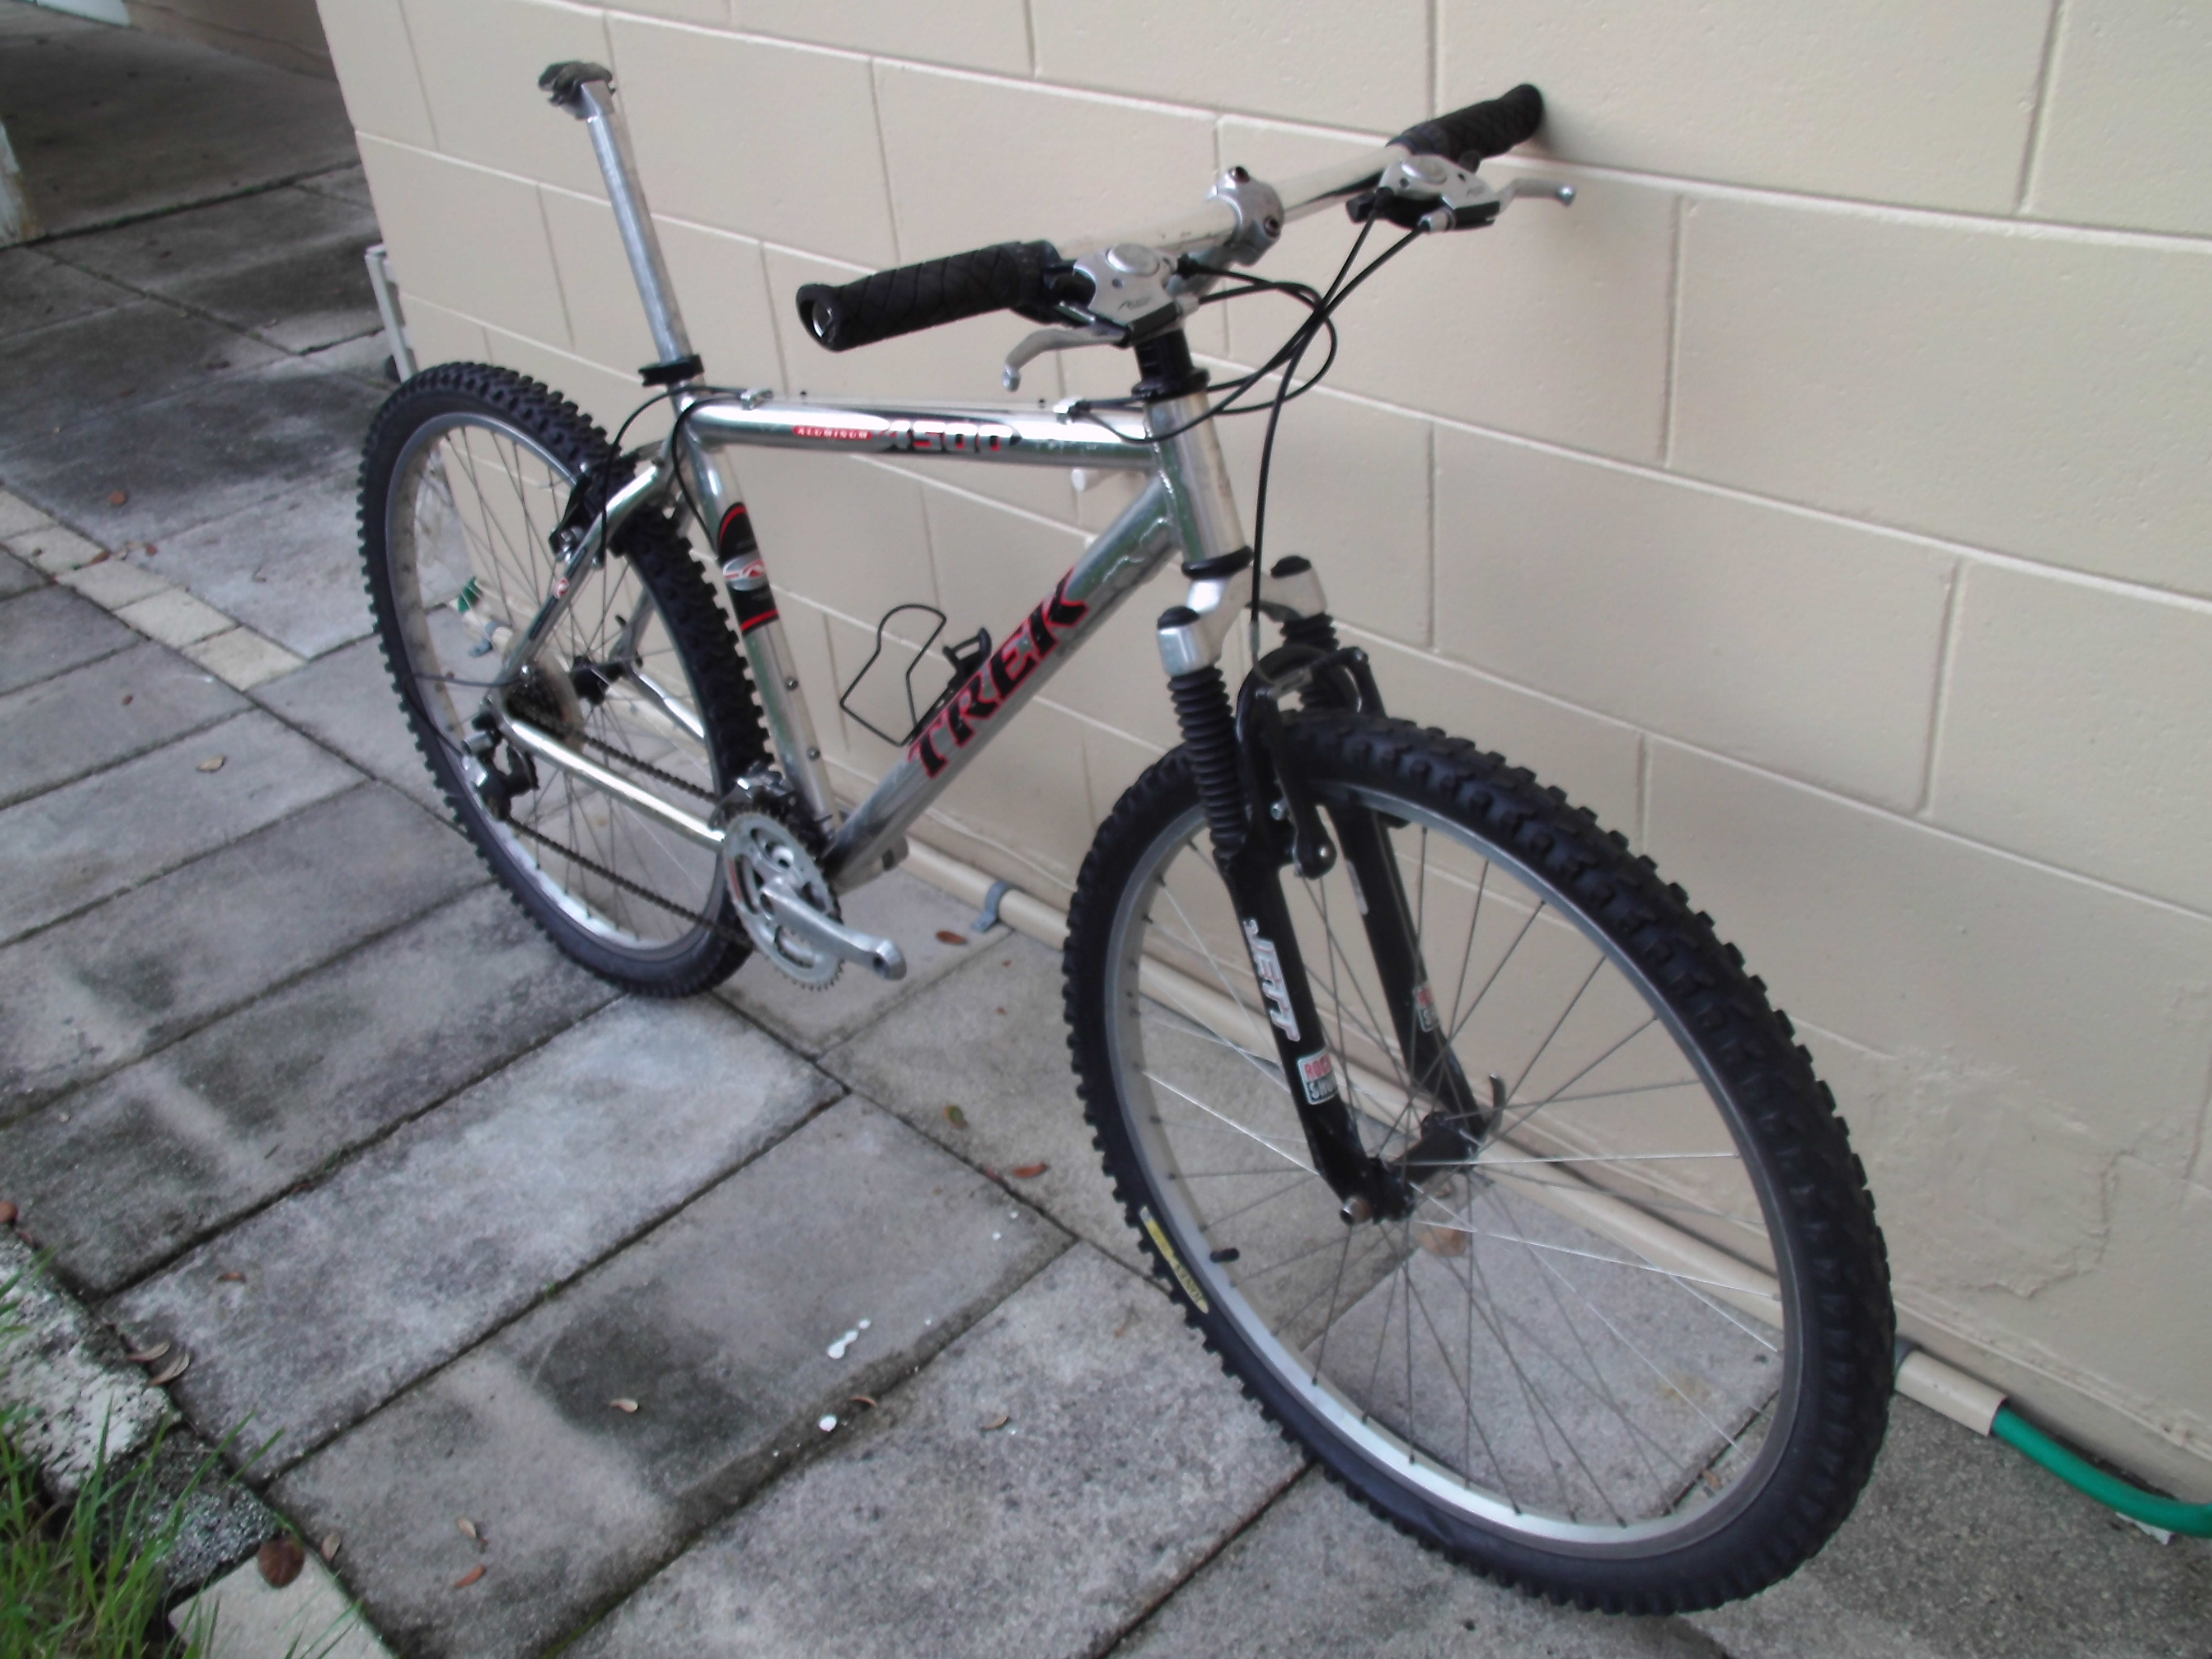
2000 Trek 4500

I purchased this Trek 4500 from a friend of mine about four years ago. It was missing a seat , but otherwise looked to be in good condition. It has a ball burnished aluminum finish with black and red lettering and I think it looks rather cool.
I tried to find some information on the Trek 4500 series bikes . I went to a couple of different websites. I found that the 4500 was designed for a rider that is new to mountain biking. It has a comfortable upright riding position and is easy to steer around turns. The 4500 is equipped with a 24 speed Shimano Altus drivetrain , which gives it enough gears for a new rider to ascend up steep hills and accelerate on flat ground. This bike is also outfitted with Promax V-brakes and Rock Shox Jett front suspension fork with 80mm of travel.

Trek 4500 (before)
The Trek had some scuffs and scratches from use but the frame cleaned up nicely.


The first thing I did with this bike was remove all the components from the frame . Then I cleaned the frame with a degreaser.


This bike did not have a Trek headbadge when I got it.


I inventoried all of the components and checked for damage or wear. All the components looked good. It doesn't look like this bike was ridden very much. Just normal wear .

I stripped the bike down to the frame , then I cleaned and polished it. I touched up some of the decals with red and black paint.

I cleaned up the head tube and found a new Trek headbadge to finish it off.


New Headbadge
I started on the lower end of the bike . The cranks are Shimano Altus The front derailleur is an E- Type which does not clamp on to the seat tube. Instead it has a piece that fits around the bottom bracket shell. I don't normally see E-type front derailleurs on hardtail mountain bikes . I mostly see them on full suspension mountain bikes because the rear suspension mechanism usually interferes with the front derailleur clamp. And on some full suspension bikes the bottom part of the seat tube is missing all together.
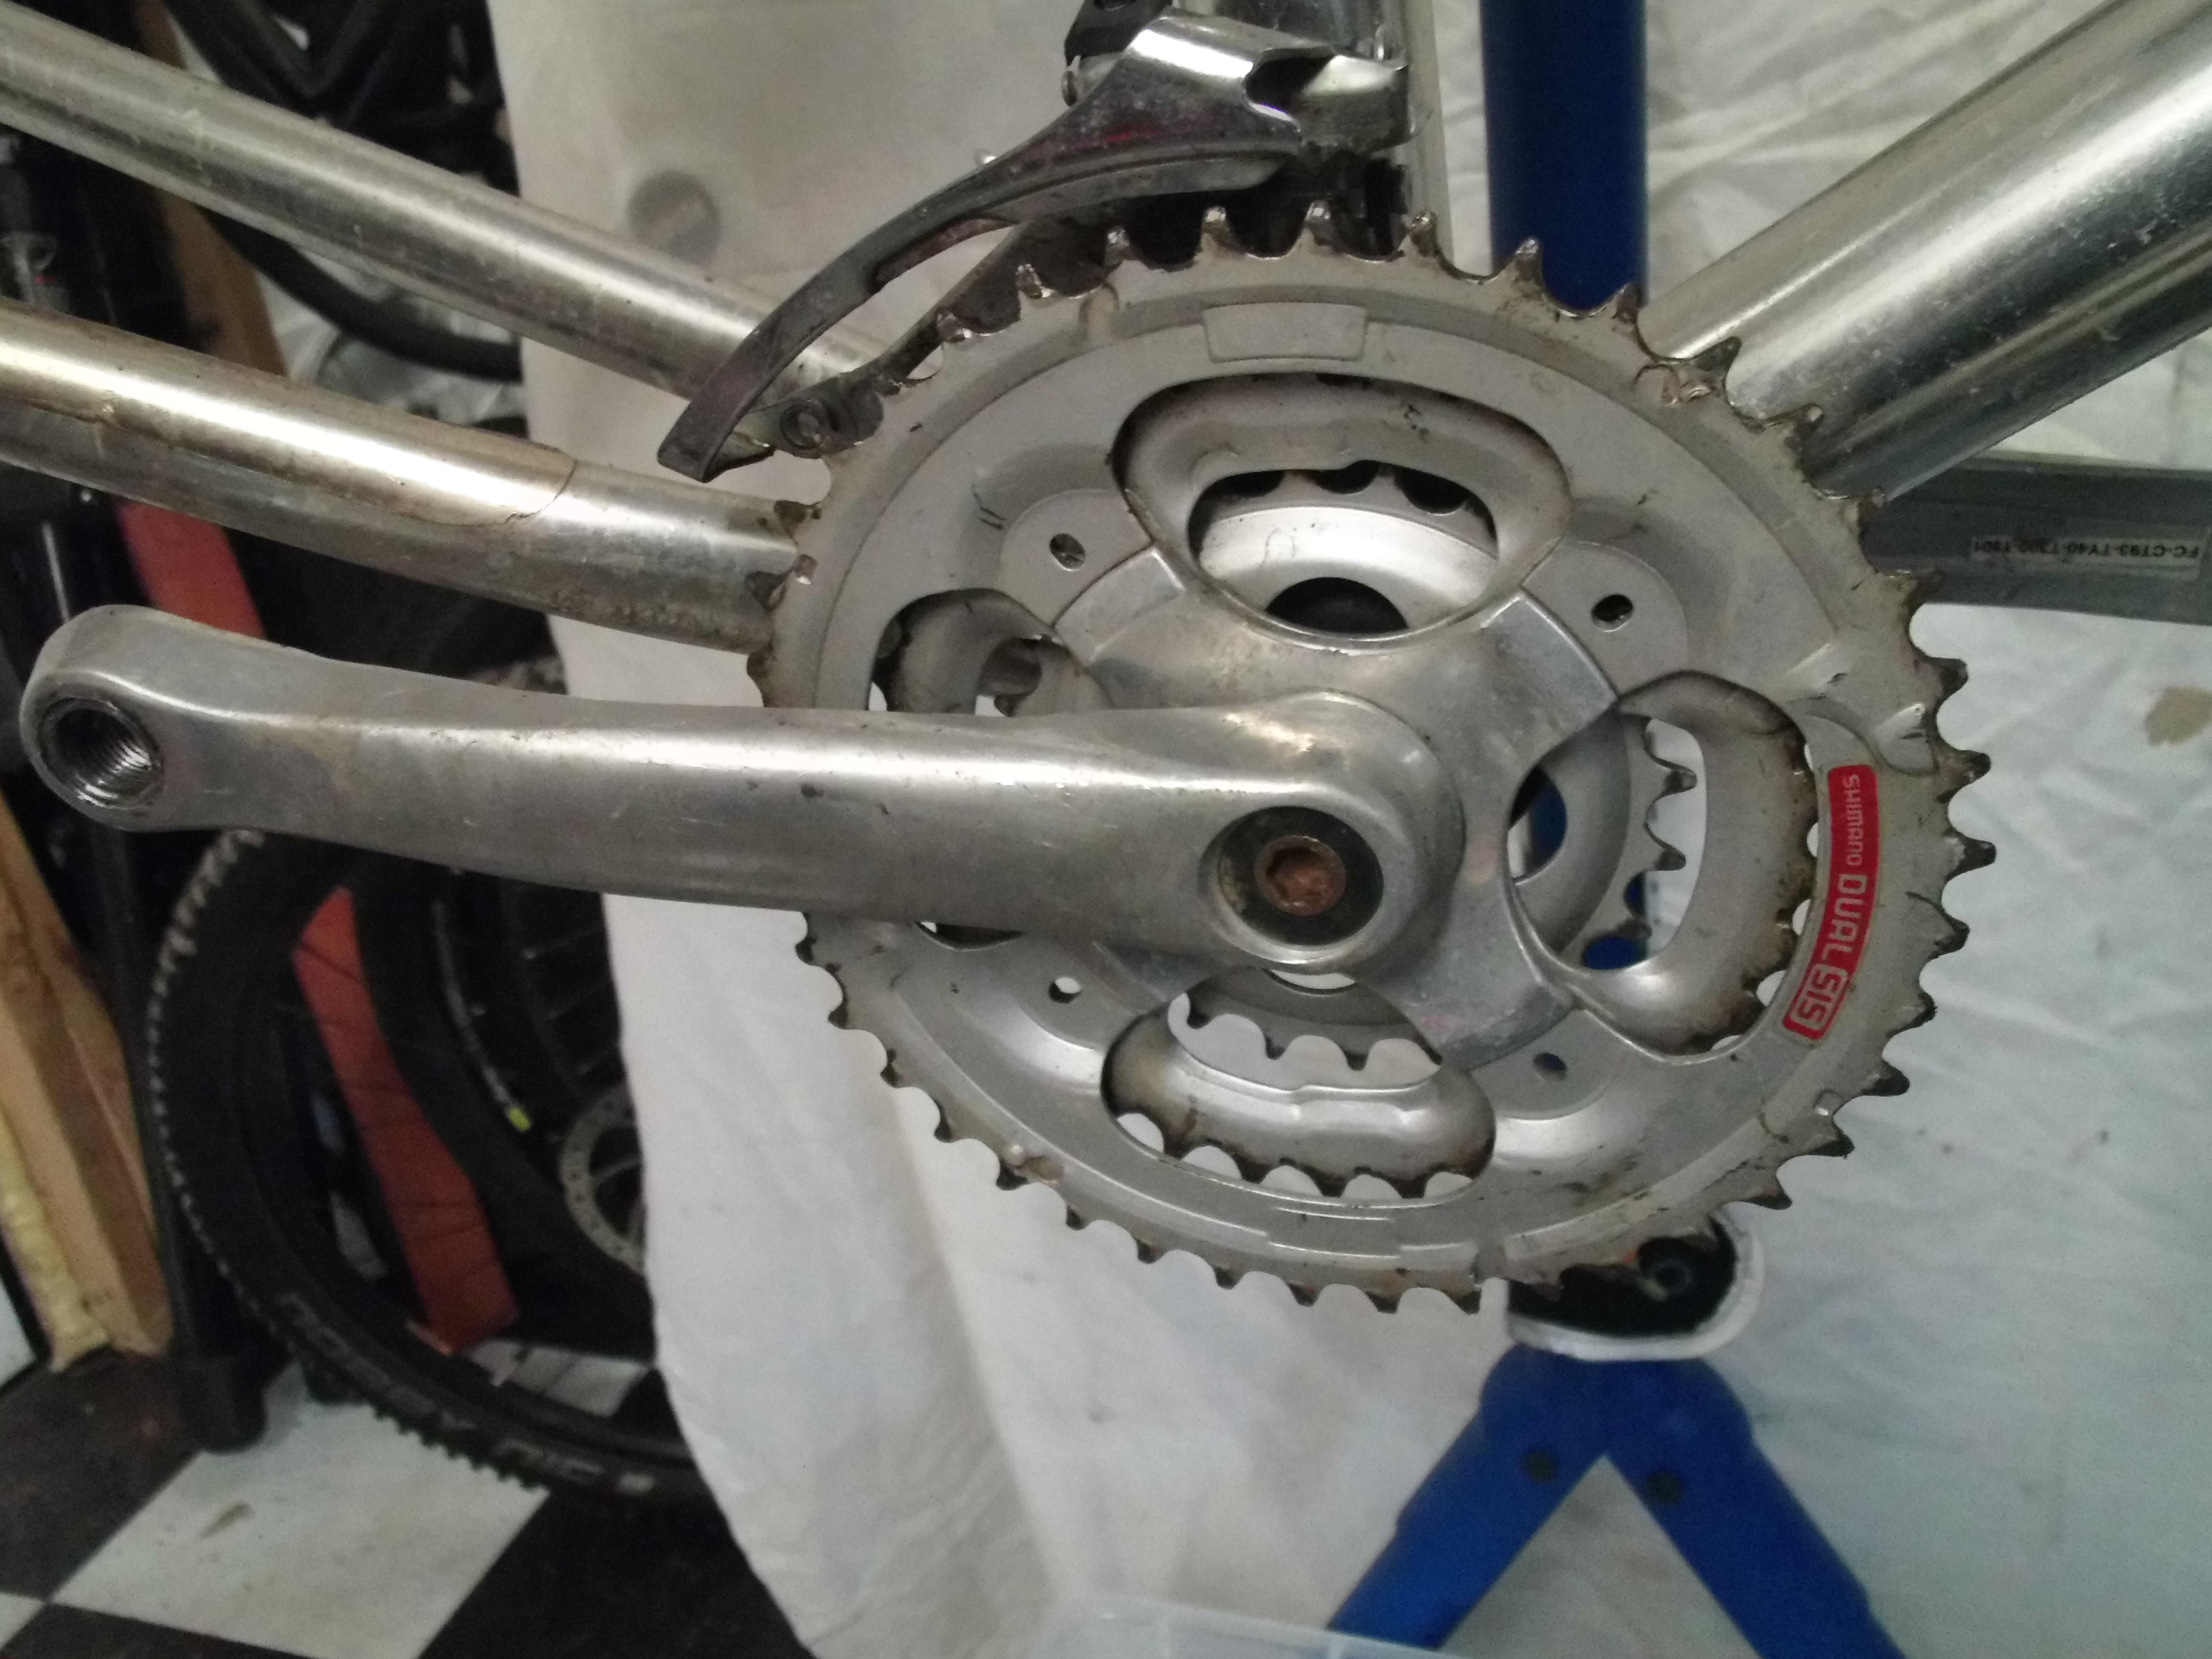
Shimano Altus cranks

E- Type derailleur

Bottom bracket (polished)
Ths bike uses a square tapered bottom bracket. It wasn't too worn out but I replaced it anyway . Sometimes sealed bottom brackets last for ever but this one was dirty and I did not know if it had been replaced before.

New bottom bracket and old bottom bracket. The Decal pealed off of the new one when removing the packaging. the square spindle looks longer on the new one but they are actually both the same size.
I had to take apart the front derailleur first so that I could work on and replace the bottom bracket. I took the front derailleur apart , cleaned and lubed all the pivot points and re installed it along with the bottom bracket.

Front derailleur (before)


Front derailleur (cleaned and lubed)

Front derailleur (complete)

I greased the threads in the bottom bracket shell before installing the bottom bracket.
I didn't take any picture of the new bottom bracket installed. Next I cleaned and polished the cranks.

Cranks (before)

Cranks (polished with White Diamond cleaning polish)
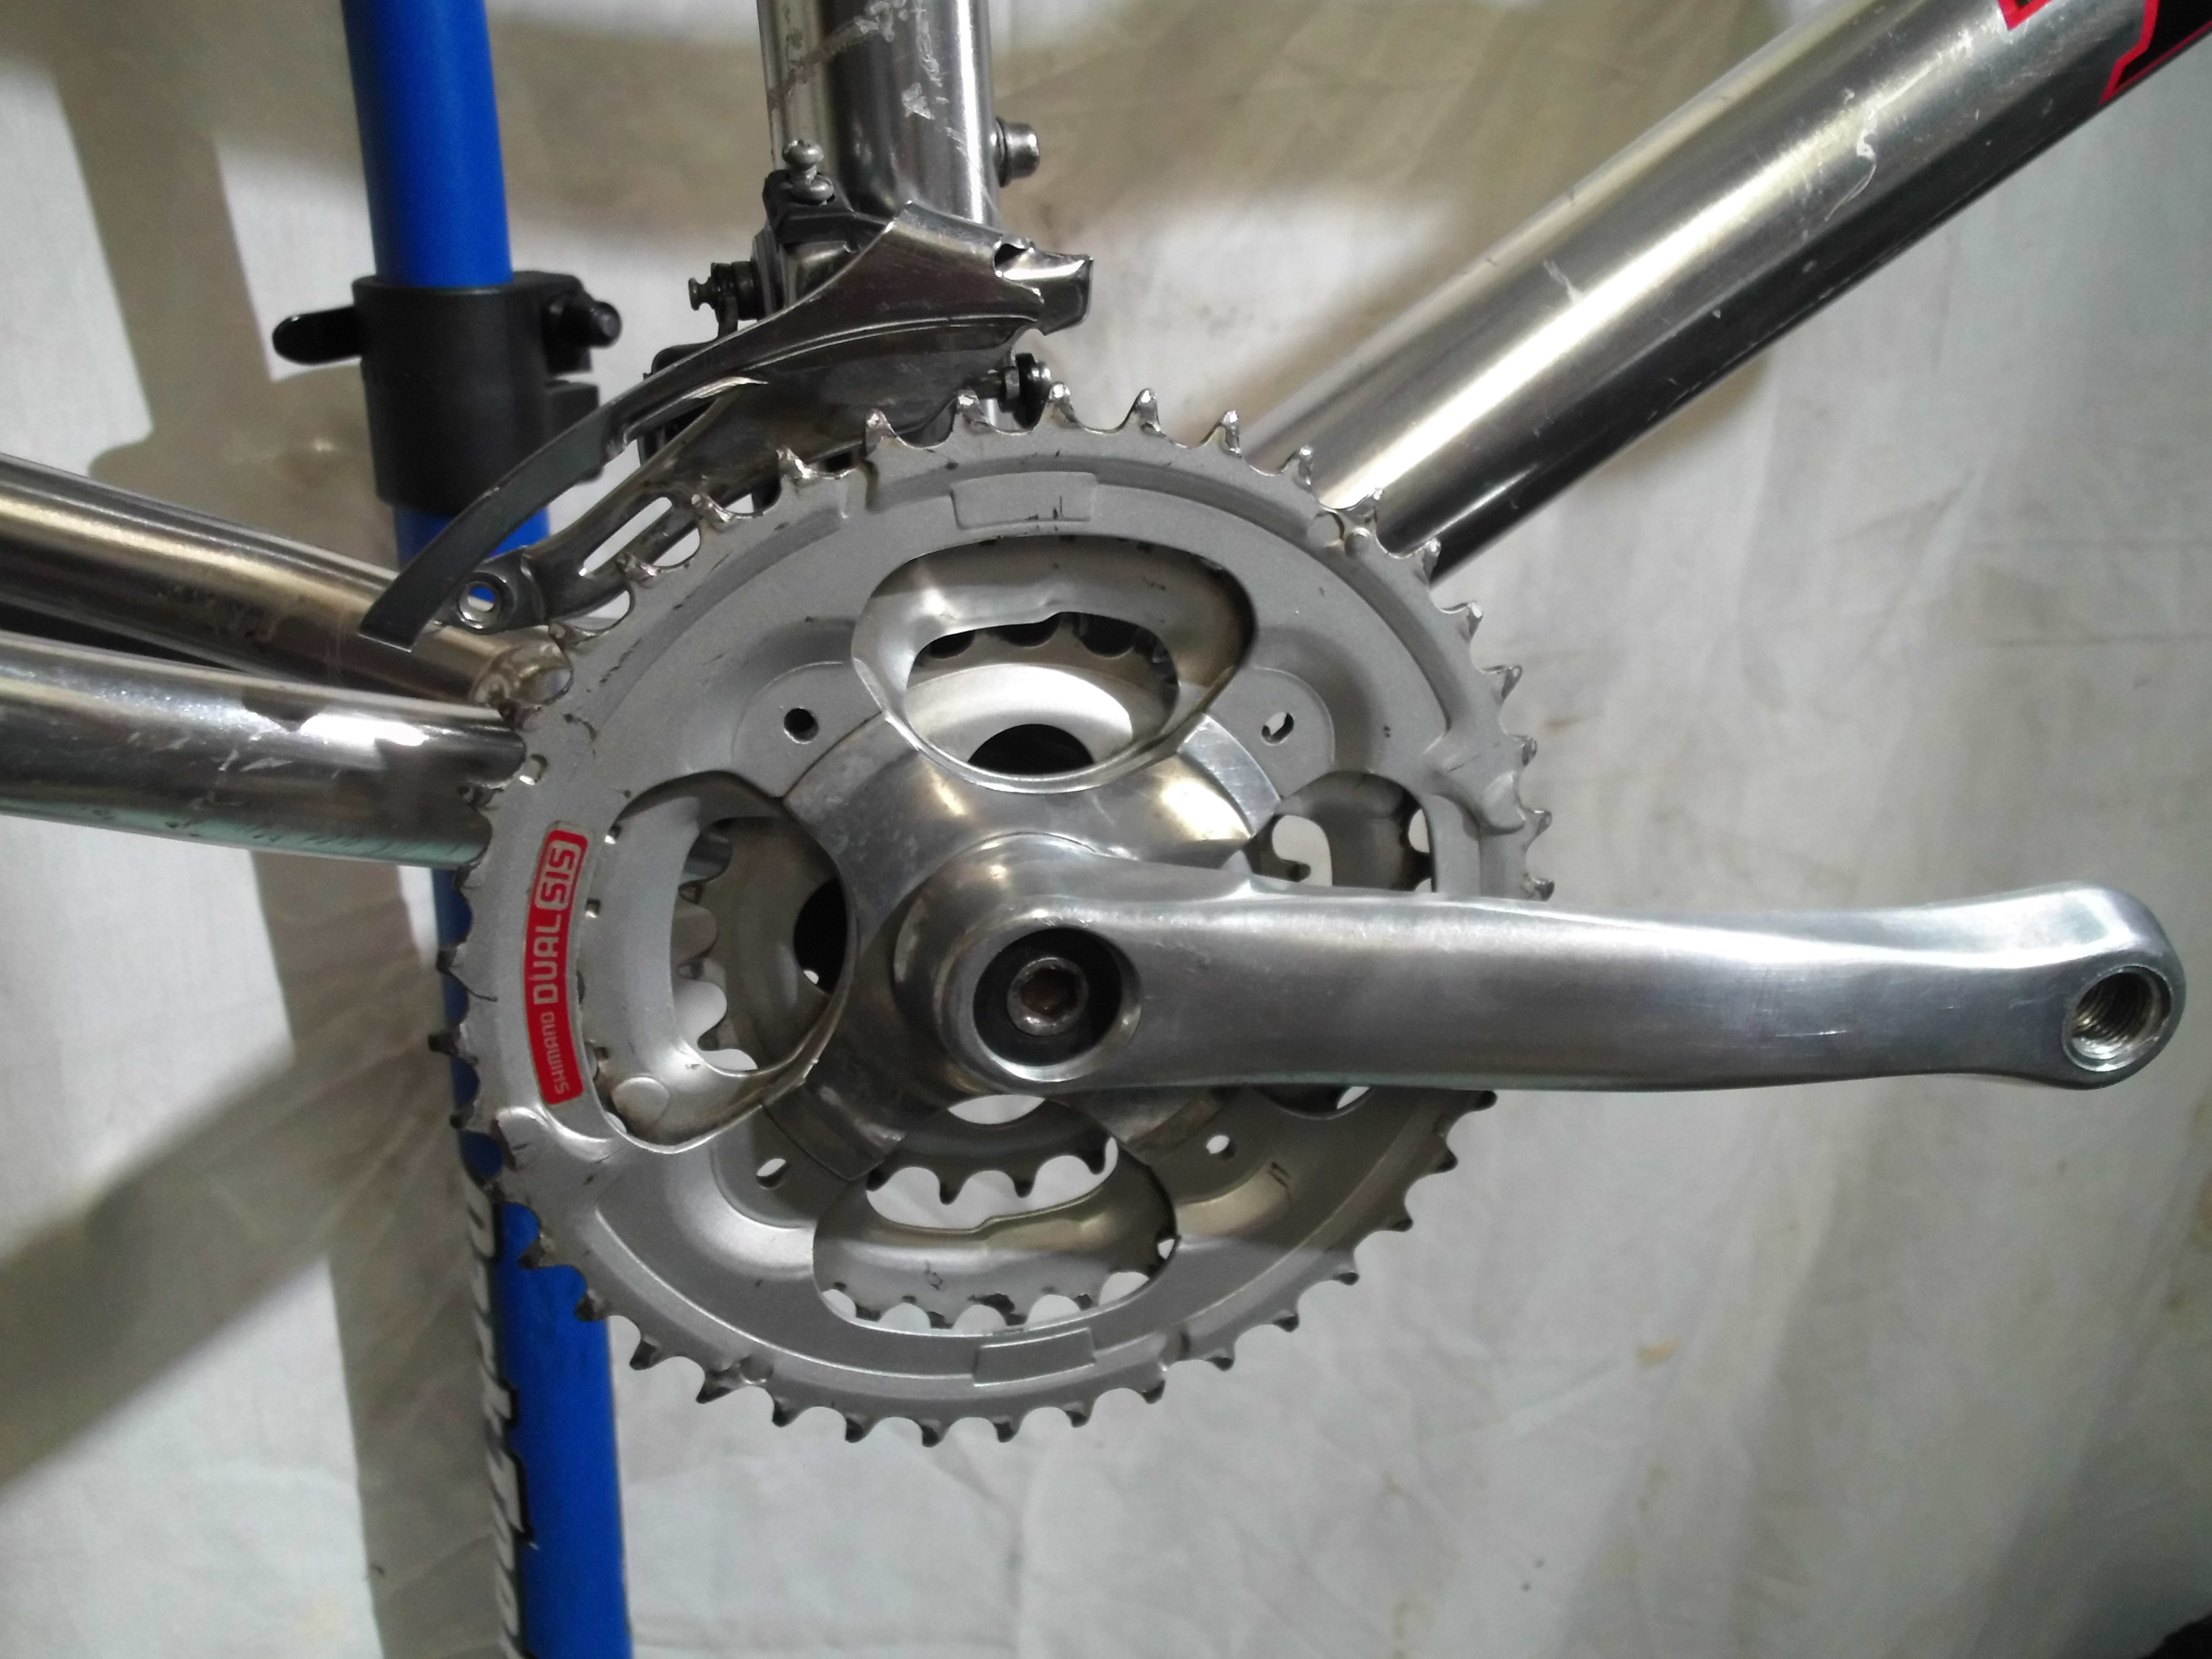
Front derailleur , bottom bracket and cranks installed .
Rear Derailleur
The rear derailleur is a Shimano Acera 8 speed. I took it apart and cleaned all the pieces. I lubed the jockey wheels and all the pivot points.

Rear derailleur (before)

Rear derailleur (before)

Rear derailleur (cleaned)

Rear derailleur (complete)

Rear derailleur (installed)
The next thing I need to do to this bike is overhaul the front suspension fork . And when I say overhaul , I really mean take it apart, clean and regrease all the internal parts. This Fork is a RockShox Jett . It is a simple fork with no air or rebound adjust. The fork doesn't have any issues but I want to take it apart just to see what's inside.
Rock Shox Jett fork


Fork (lowers and springs)

Fork ( Uppers and boots)

I cleaned the springs with degreaser and regreased them with a good coat of Slick Honey grease. Slick Honey grease is good for suspension forks because the dampening oil inside the fork will not break it down .

I cleaned the uppers and lowers with degreaser , then coated the inside and stations with a good coat of Slick Honey.

Uppers (complete)

Rock Shox Jett fork (overhaul service complete)
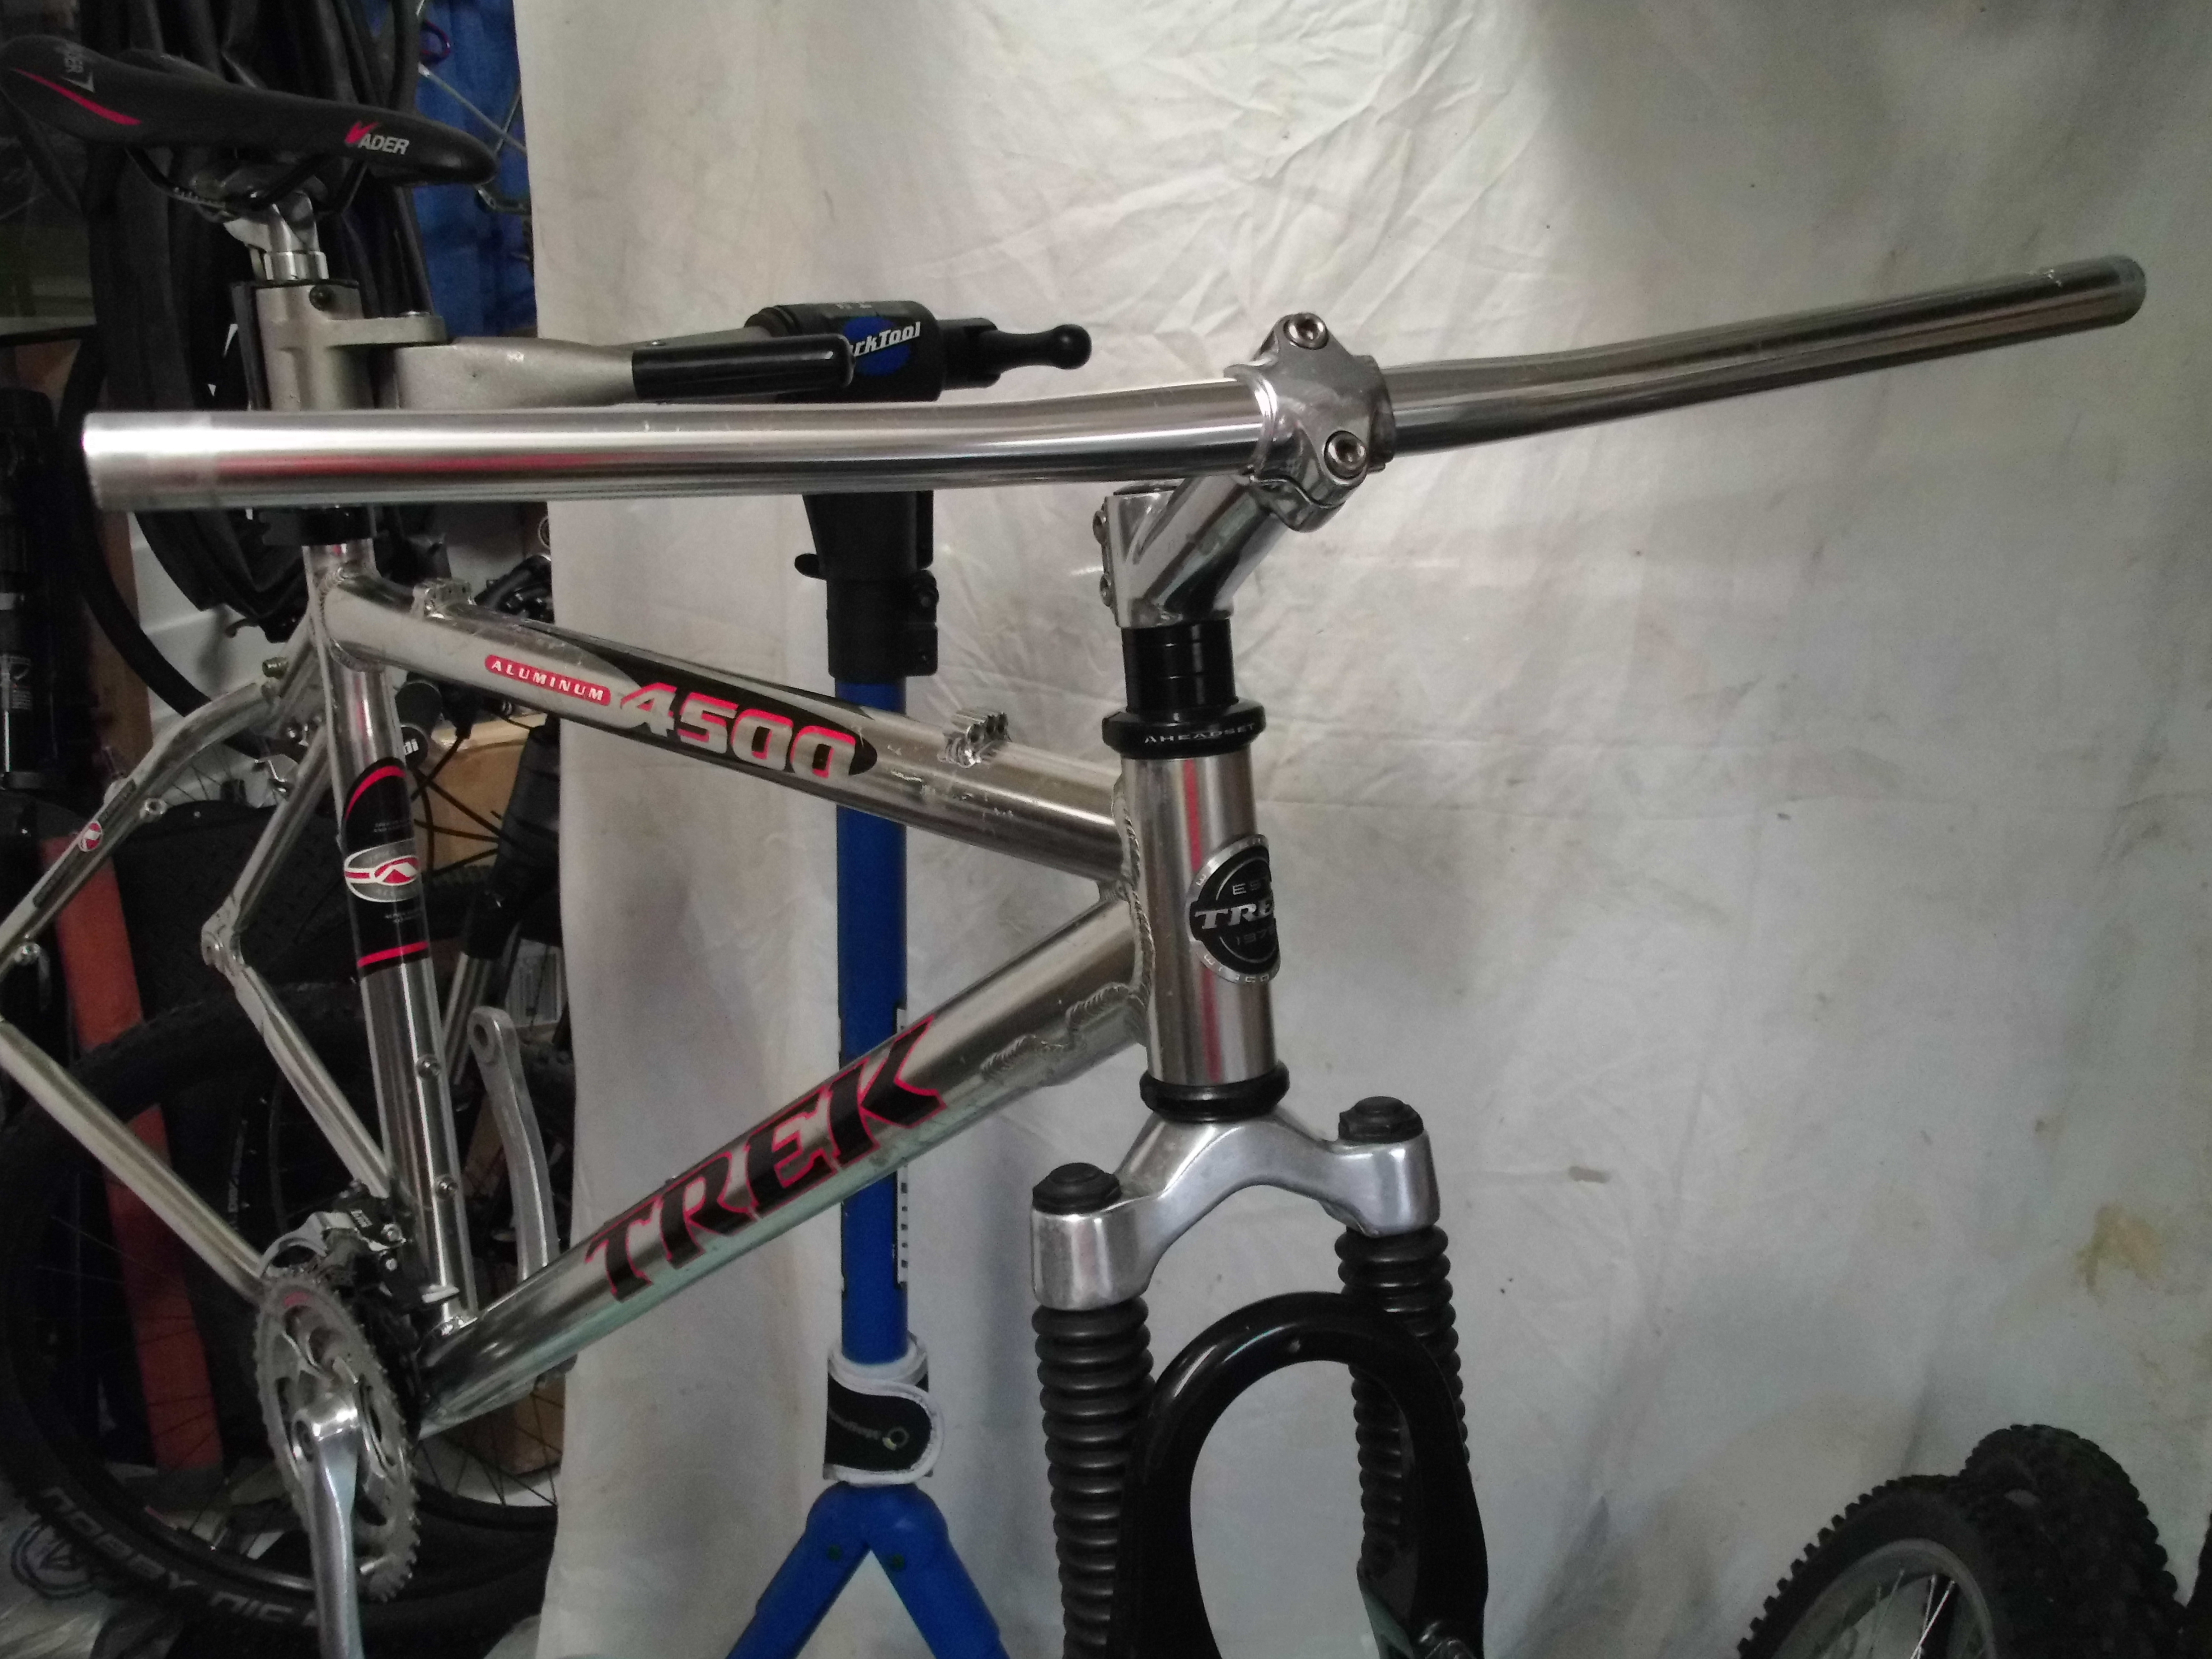
The stem and handle bars are polished aluminum . They were dirty and dull in some spots. I cleaned them up and polished them using a medium grit polish and ending with a fine grit polish . Then I buffed them out to a brilliant shine.

Stem and handle bars (before)

Stem (before)


Stem (cleaned and polished)

After going through the polishing grits , I gave the stem a final polish with Mother's aluminum polish . I did the same with the handle bars too.

Handle bars (before)

Handle bars (polished)
In order to install the fork on the bike, I need to work on the headset. The headset and stem keep the front end of the bike together.

Headset bearings and parts (before)
I cleaned the old grease from the bearings , they looked to be in good shape so I greased them and re used them.

headset bearings and parts (cleaned)

Headset bearing cups
After cleaning the headset pieces, I pressed the cups back into the headtube.
I used a headset press to do this job.


Headset cups (pressed in)

Headset parts (regreased)

I set the bearings and adjusted the headset so it turns smooth. Next I installed the spacers and the stem and fork.


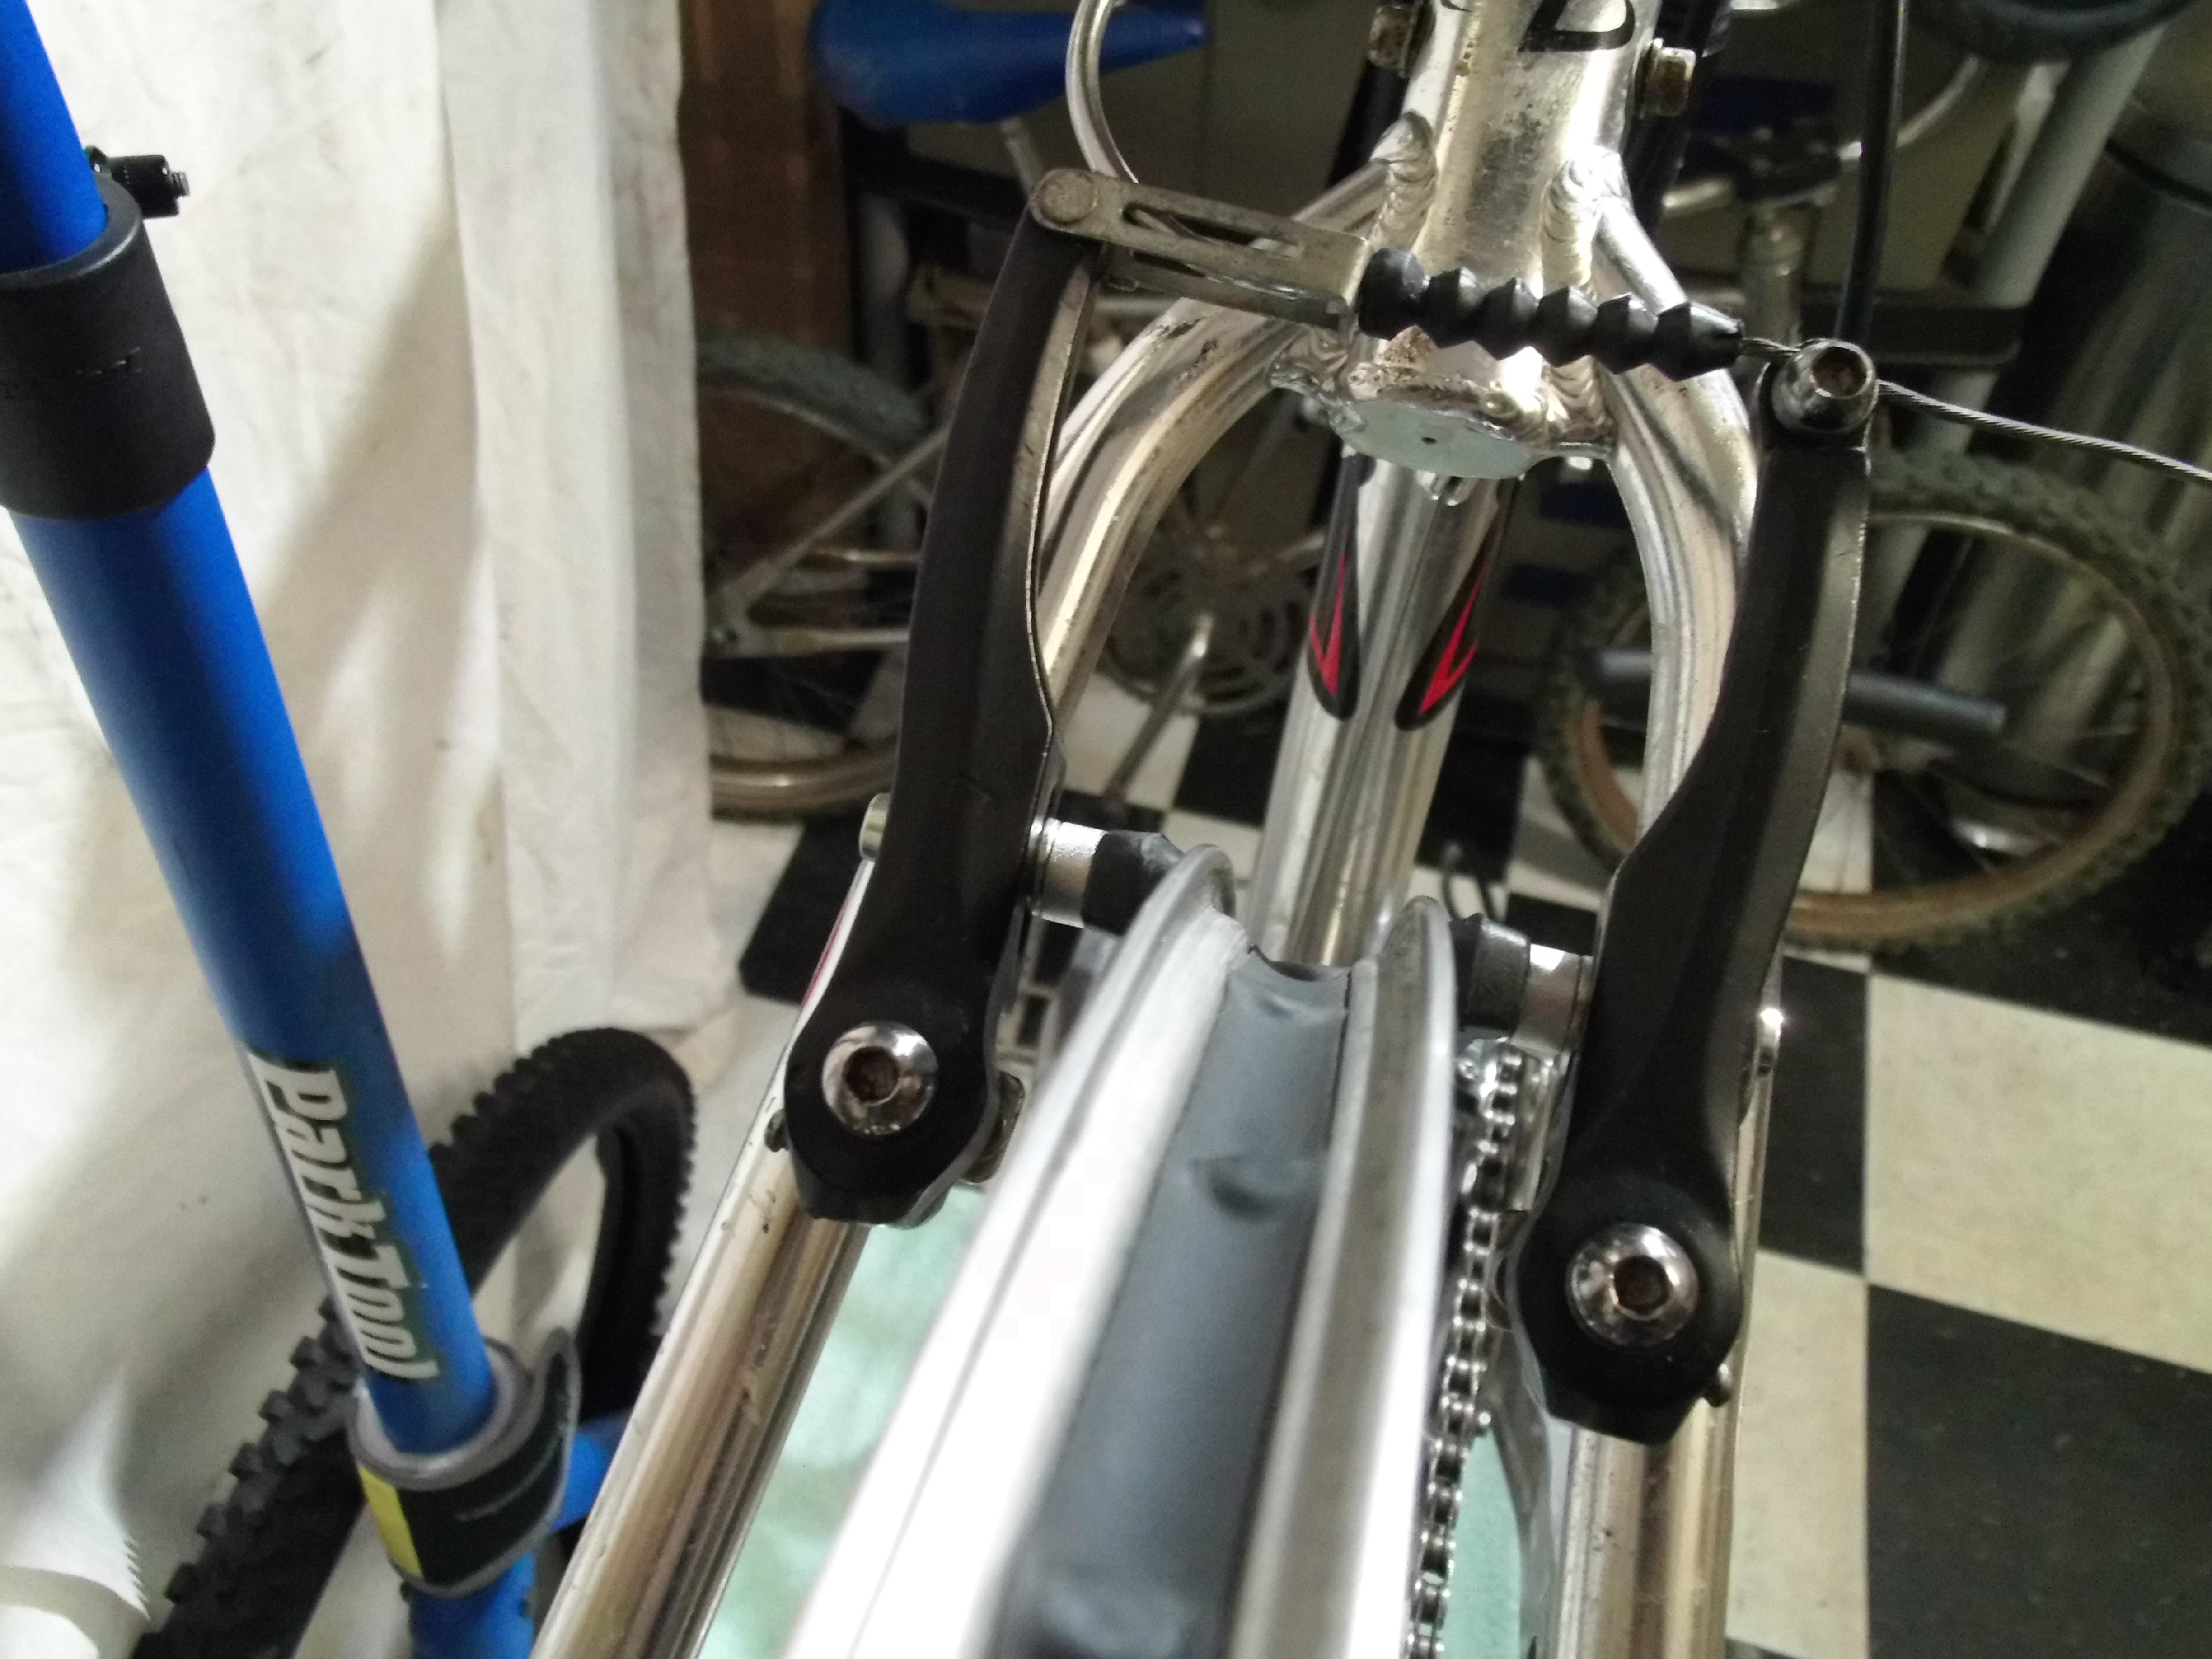
Rock Shox Jett fork (installed)
Handle bar (installed )
BRAKES
The brakes that came on this bike are Promax TX-88 linear pull brakes or V-brakes. I cleaned them up and replaced the worn brake pads . The front pads were still the original pads but the back ones had been replaced before.

Promax front brake (before) .

Rear brake (before)

Front brake (before)

Front brakes (cleaned)

Front brake (installed)

Rear brake (before)

Rear brake (cleaned and polished)

New brake pads ( top) . Old brake pads (bottom)

Rear brake (complete)
8 speed Shimano Acera shifters

This Trek 4500 came with a Shimano Acera 8 speed brake shifter combo . Coupled with Shimano Altus front and rear derailleurs. Make for a good mix of components for an entry level bike. The shifters were in good working order and the cables looked relatively new. All I needed to do was clean them up and lube the cables.

Left shifter combo (before)

Left shifter combo (after)

Right shifter combo (before)
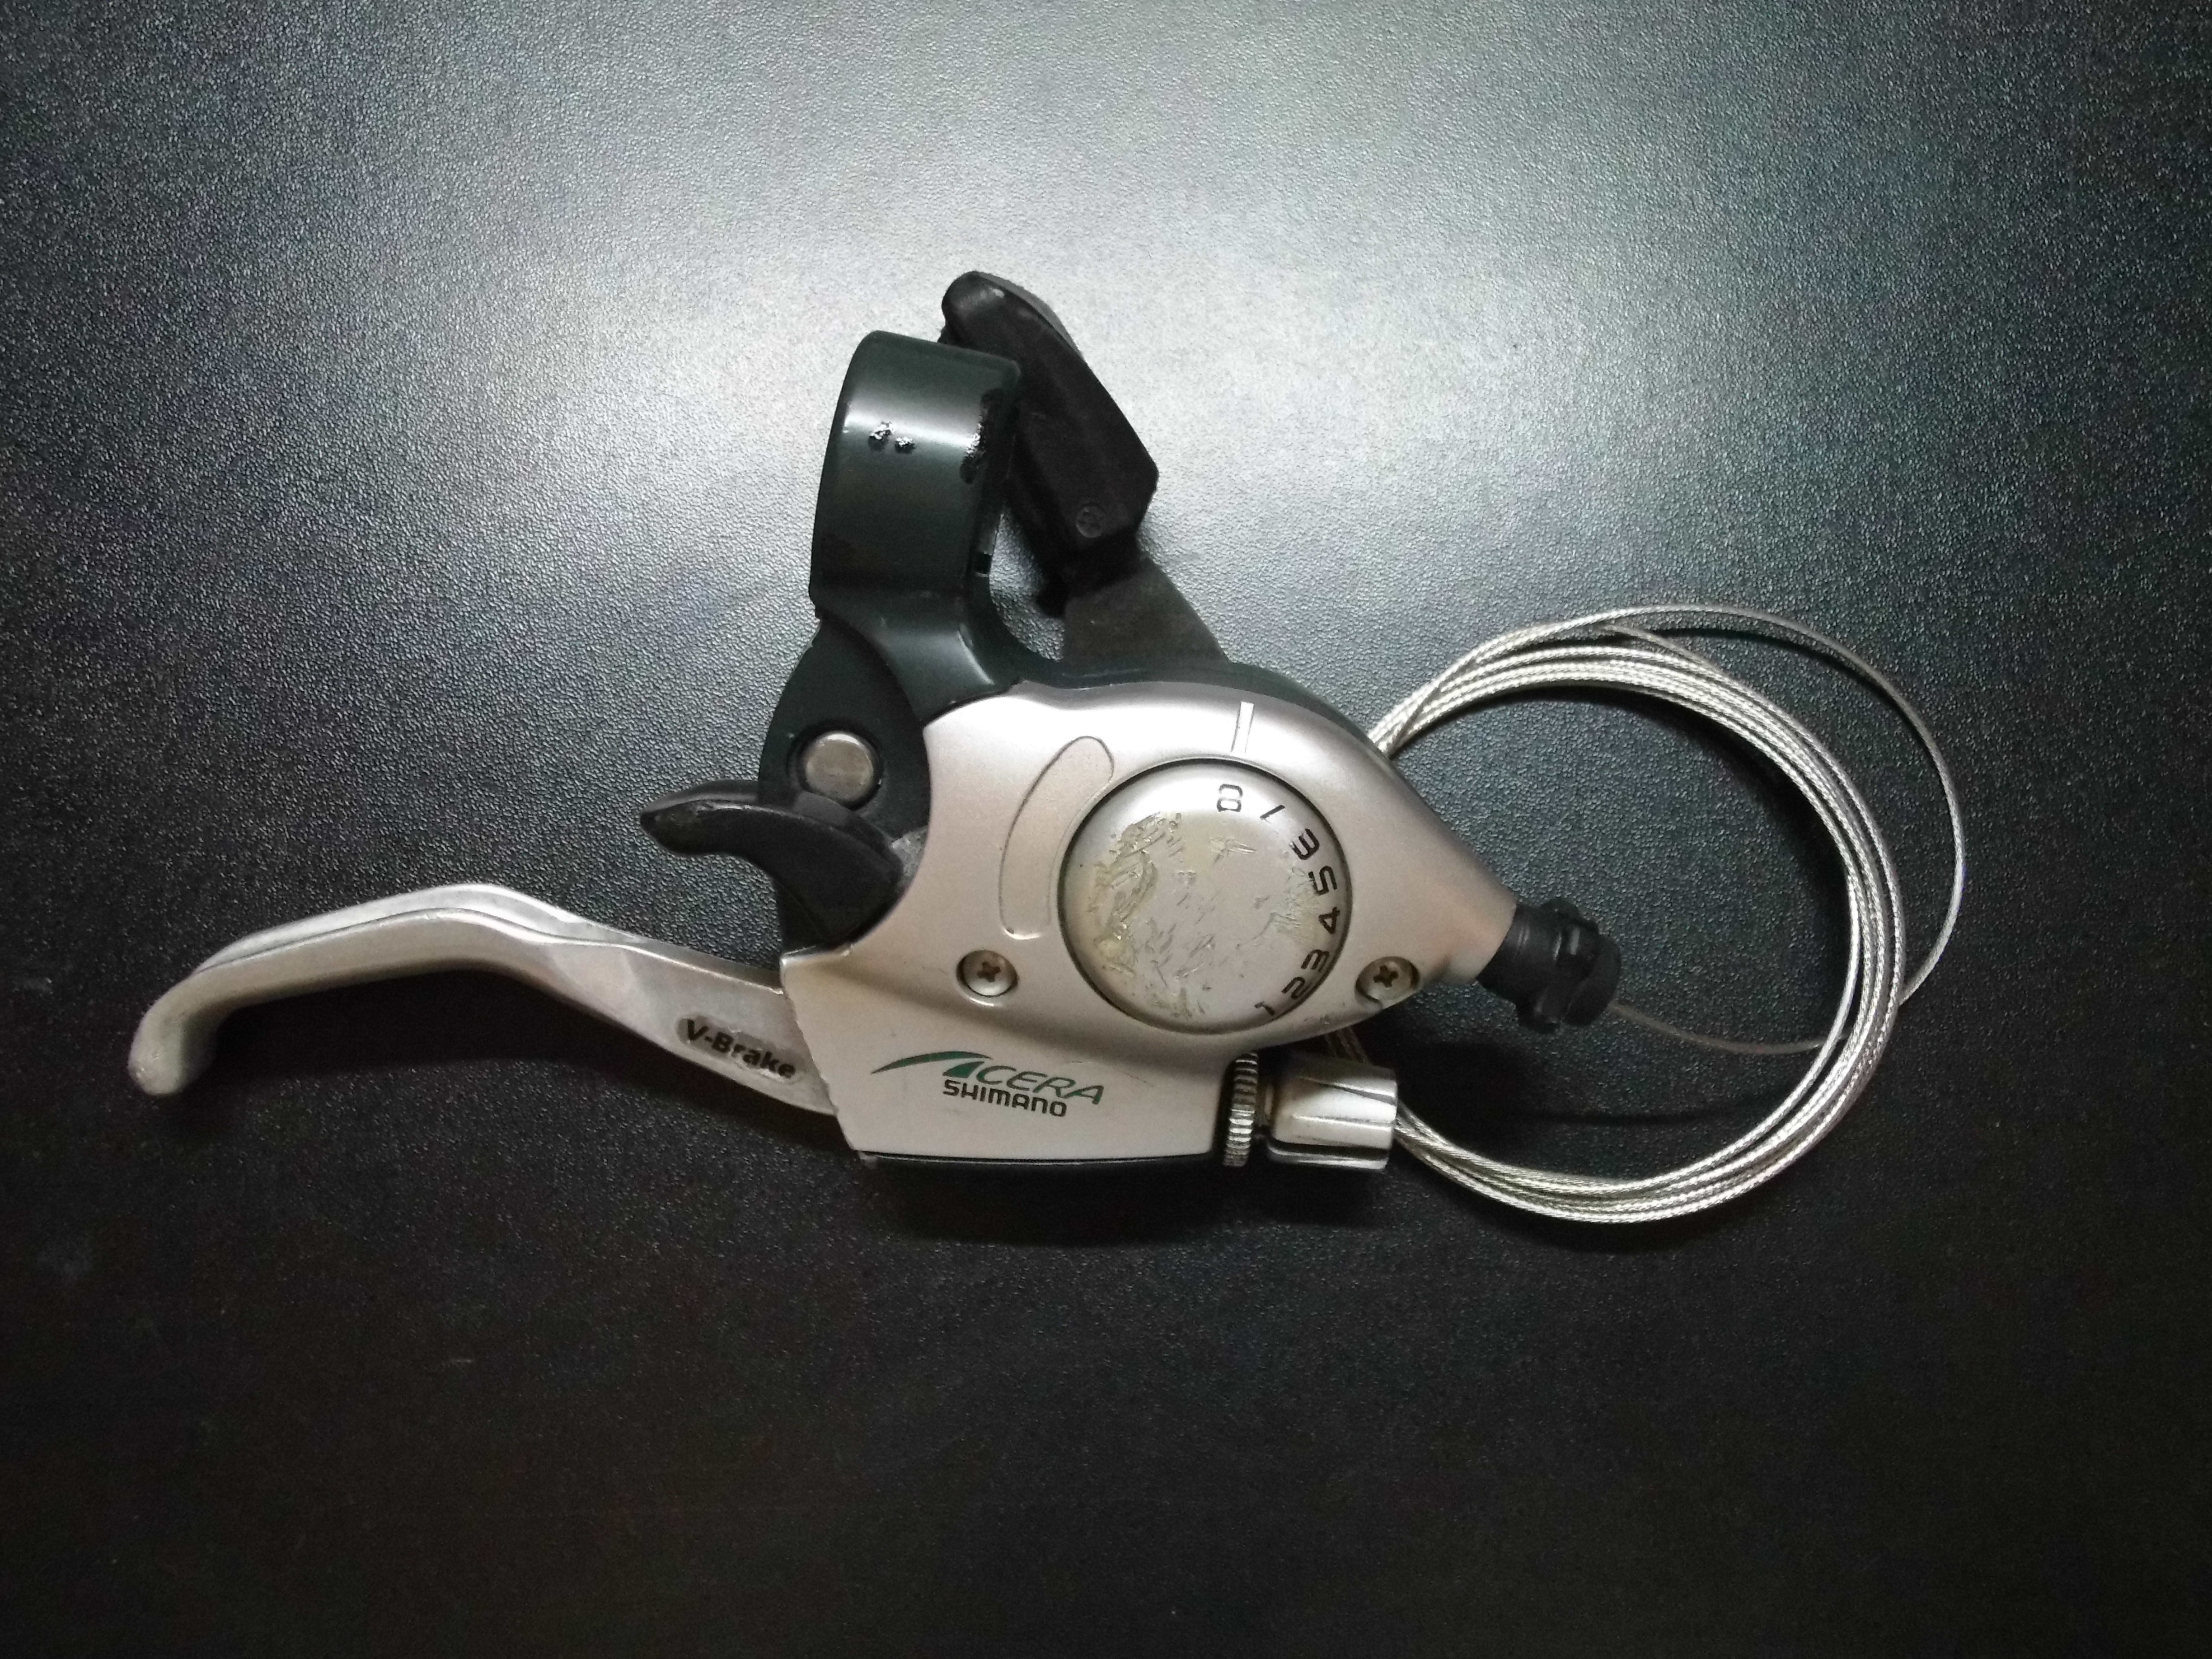

Shimano Acera shifter ,brake combo (complete)
After I cleaned the shifter , brake como, I ran the brake cables and housing and derailleur cables and housing.


Front brake cable (installed)

Rear brake cable (installed)
Next I worked on the wheels. I cleaned up the rims and hubs. I also cleaned the bearings and put new bearing grease in the hubs.

Front wheel (before)

Front hub (before)

Front rim (before)


Front hub (cleaned and polished)

I cleaned and polished the front rim , then I sanded the side wall with 600 grit sand paper to remove any burrs and smooth down the breaking surface.

Front axle ,bearings and parts (before)


New grease in front hub.

Front wheel (complete)

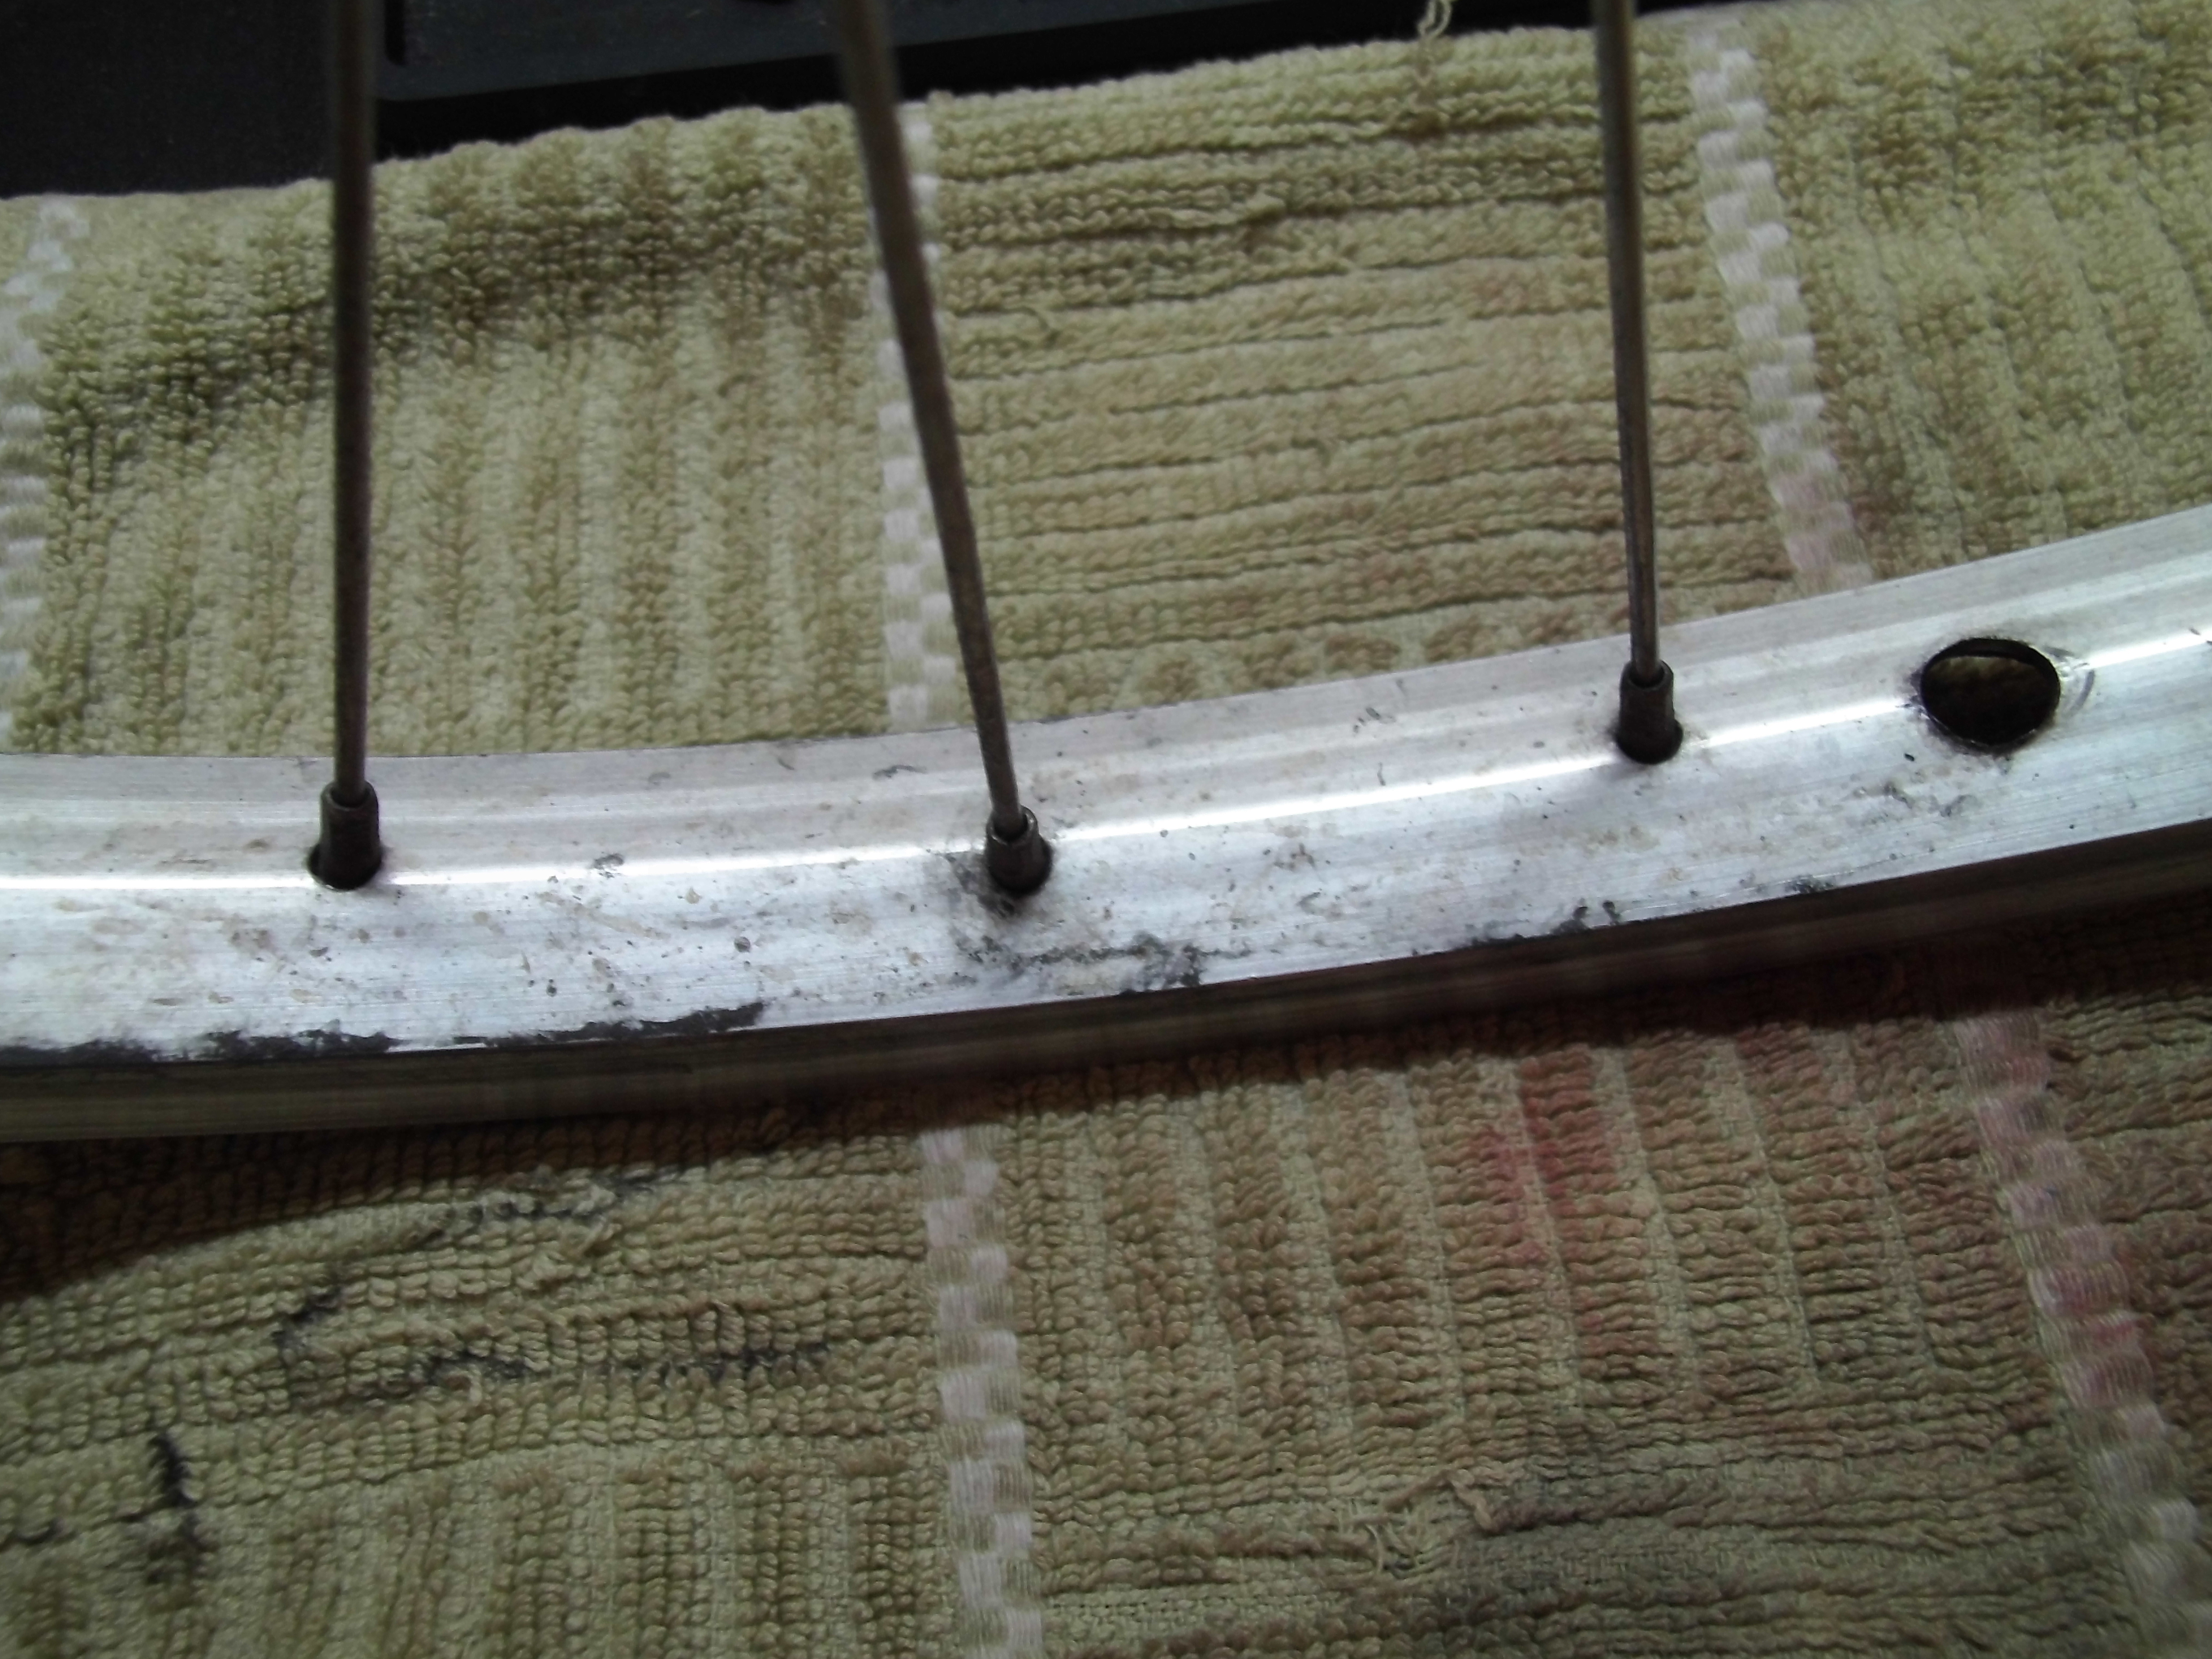
Next, I worked on the rear wheel . I had a little bit of a wobble to it so I trued it up .I couldn't get it perfectly true , but I got it close. After that I cleaned up the hubs and regreased the bearings.

Rear wheel (before)

Rear hub (before)

Rear axle , bearings and parts (before)


Rear hub (polished)

Rear rim (cleaned and polished) I sanded the rim breaking surface with 600 grit sand paper.

Rear axle , bearings and parts (cleaned)


Rear hub (complete)

8 speed cassette . This cassette was practically brand new . I cleaned it with degreaser and reinstalled it. The chain was almost brand new so I reused it too.

8 speed Cassette (cleaned)

8 speed cassette (installed)


Rear wheel with cassette.
I installed the rear wheel and adjusted the front and rear derailleurs. I also adjusted the front and rear brake calipers.
Rear brake adjustment.
I adjusted the front brake caliper but I did not take a picture.
Finally I worked on the seat post. It was dirty and oxidized. I ran it through the different grits on the polishing wheel and it came out with a nice shine.

Seat post (before)


Seat post (cleaned and polished)

Seat post (cleaned and polished)
Before installing the seat post , I rubbed some light grease on the outside of the post towards the bottom . I also rubbed some grease inside the seat tube. I do this to prevent the seat post from seizing inside the seat tube over time.
I installed the seat and grips. I also reused the original tires that were in the bike. They still had lots of tread . after that I test rode the bike . It rode nice for a 20 year old mountain bike. The 24 speed Shimano drive train shifted smooth and I had no problem stopping this bike even if it does have rim brakes, the V-brakes and new brake shoes really made a difference. It was a fun bike to ride and the polished aluminum finish really shines in the Florida sunshine. The next pictures are of the complete Trek 4500 bicycle.


200 Trek 4500
Thanks for checking out my blog. Go ride a bike and have some fun ! Tony .