
1983 Raleigh Grand Prix
I found this Raleigh Grand Prix at a pawn shop. It is a nice 80's era road bike with a 59cm frame.
The drop bars and stem were removed and replaced with 70's style cruiser bars with an adjustable stem. I looked the bike over and noticed that it still had most of the original parts. The wheels on the bike are not era correct and they are not a matching pair either. I have some vintage Sakae Road Champion drop bars and stem. Also I will be installing Dia Compe brake handles to complete the front end. I have some Araya 27" wheels from my personal parts bin. Those parts should complete the build and bring this Raleigh back to the early 80"s era.

Raleigh Grand Prix how I found it.

Somehow I could not rotate this picture .

Cruiser bars with MTB hand brakes.
The Raleigh Bicycle Company : A brief history
The Raleigh Bicycle Company was a bicycle manufacturer out of Nottingham, England. Founded in 1885 they are one of the oldest bicycle companies in the world. By 1913 Raleigh became one of the largest bicycle manufacturing companies in the world, they also manufactured motorcycles and three wheeled cars.
Set up as a small bicycle workshop on Raleigh Street, owners are Richard Morris Woodhead and Paul Eugene Louis Angois created one of the first safety bicycles. Raleigh became known for it's light weight sport roadster bicycles. They used Sturmey Archer three and five speed transmission. These bicycles were lighter and quicker than the American made "Balloon" bikes.
From the 1940's through the 1960's , Raleigh was a major exporter of bicycles to the United States. In 1968 Raleigh came out with the "Chopper" , designed after the Harley Davidson motorcycle , it was a must have item and a signifier of coolness for many children of that time. The chopper featured a gear shifter on the top tube, a long seat with a back rest , spring suspension and high rise handle bars.
Raleigh has been in cycling sports for many years. In 1980 Joop Zoetemelk won the Tour de France on a Raleigh bicycle. In 1984 ,riding Raleigh bicycles , Team USA won many victories at the Olympic games in Los Angeles. The Raleigh Grand Prix is a mid level recreational 10 speed bicycle.
This Grand Prix has grey paint with a black head tube. The paint has some chips and scratches that I will fill later in the restoration.

Before complete disassembly


Head tube (before)

Top tube (before)

Down tube (before)

Seat stay (before)

bottom bracket (before)
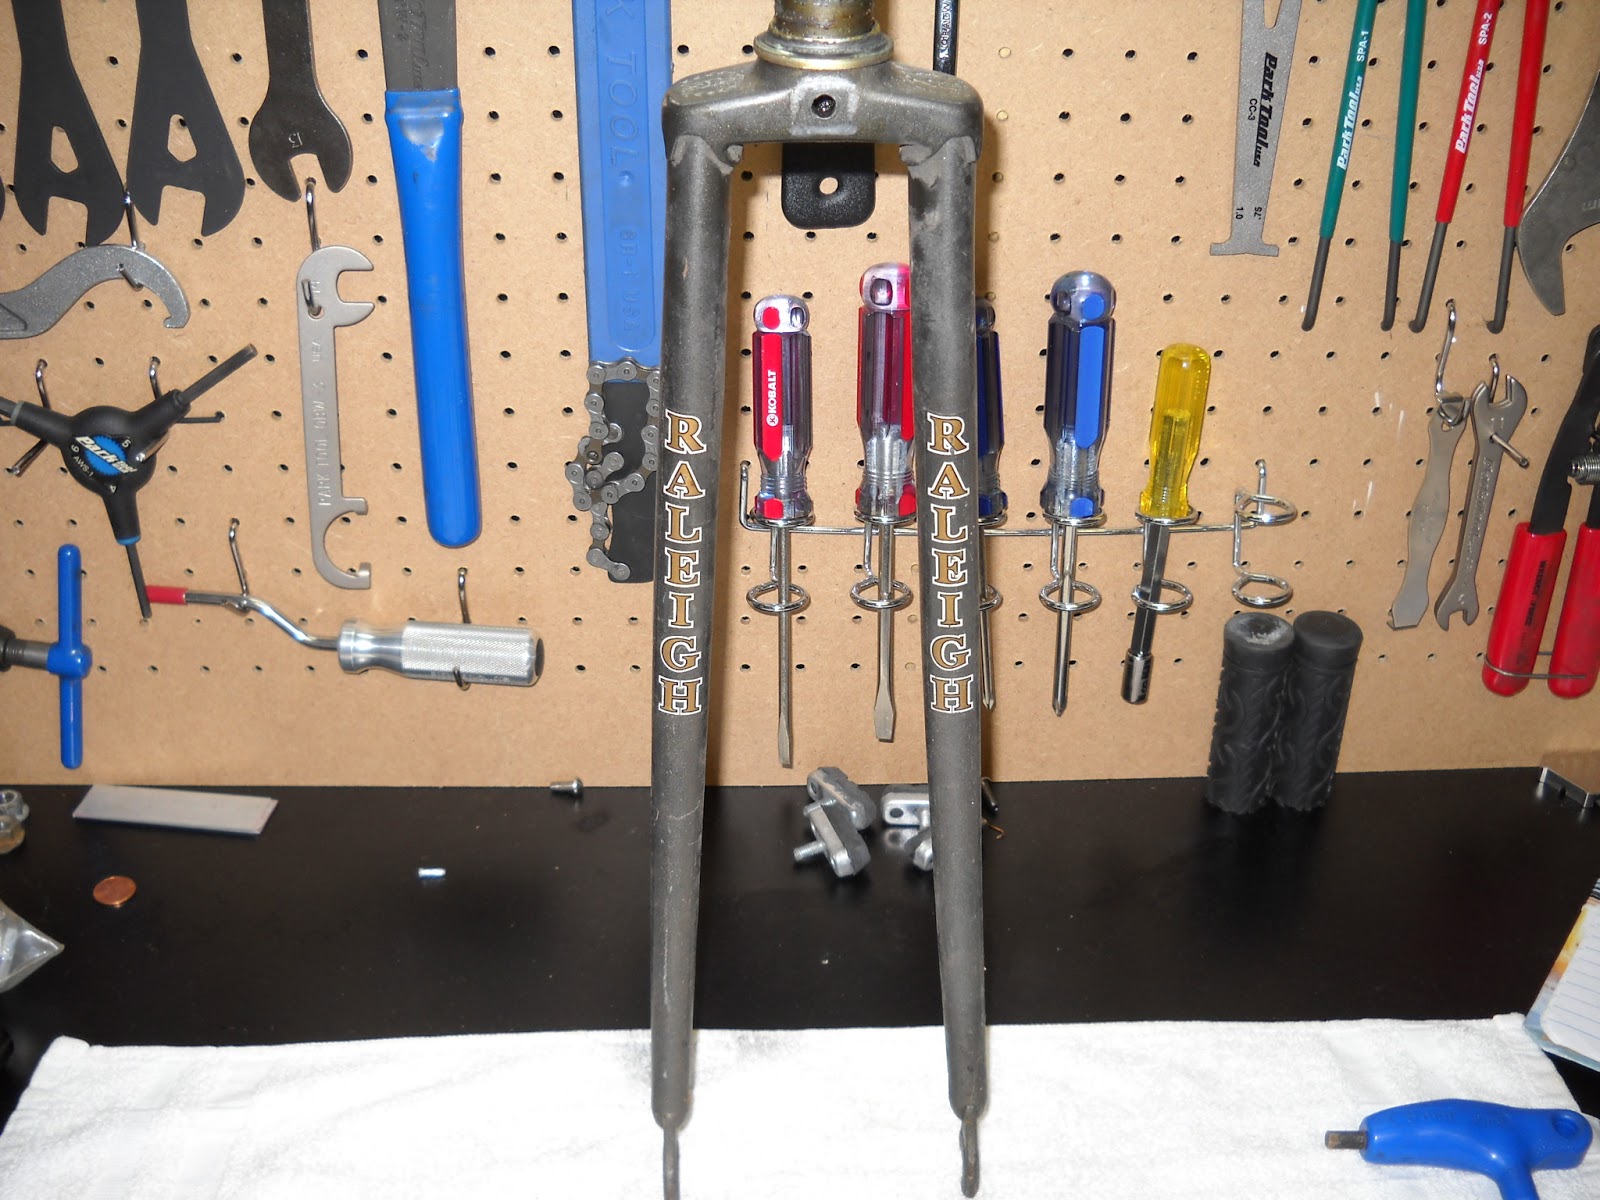
Fork (before)
Next are pictures of the components on the bike before I removed them to clean and polish the frame and forks.

Head set (before)

Cranks (before)

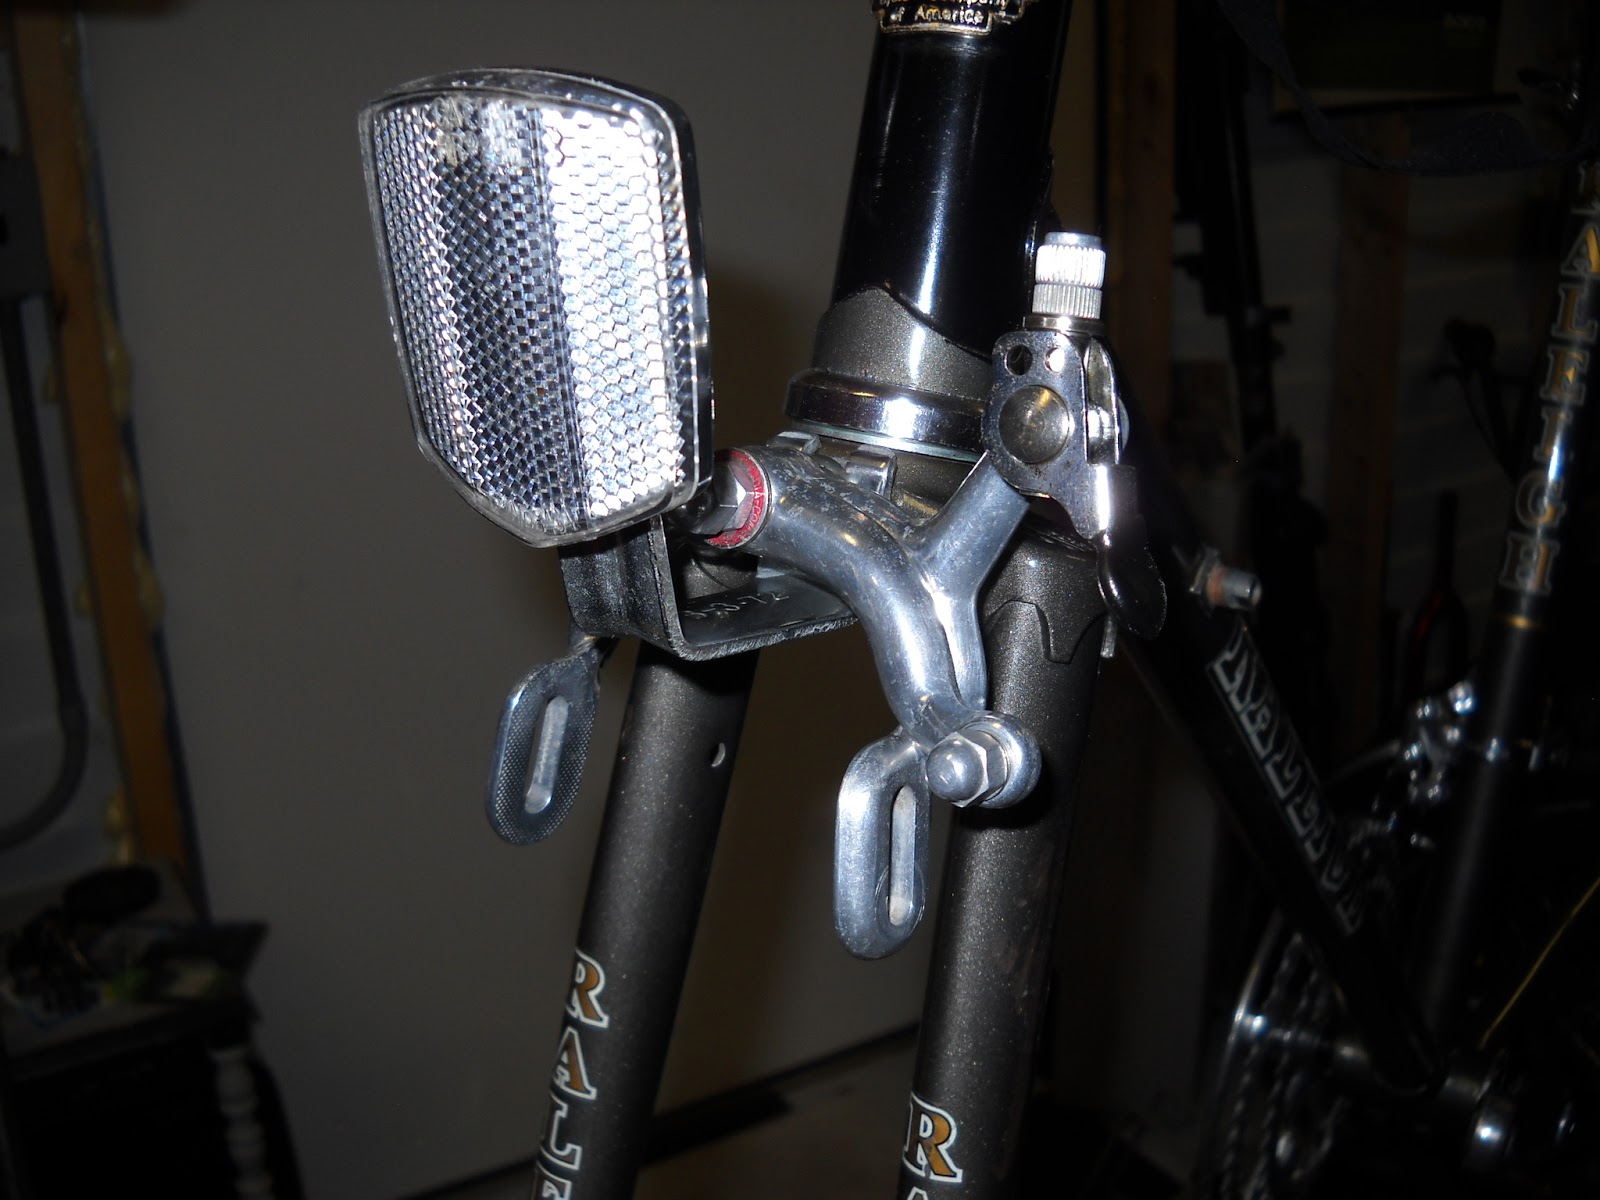
Front brake with reflector (before)

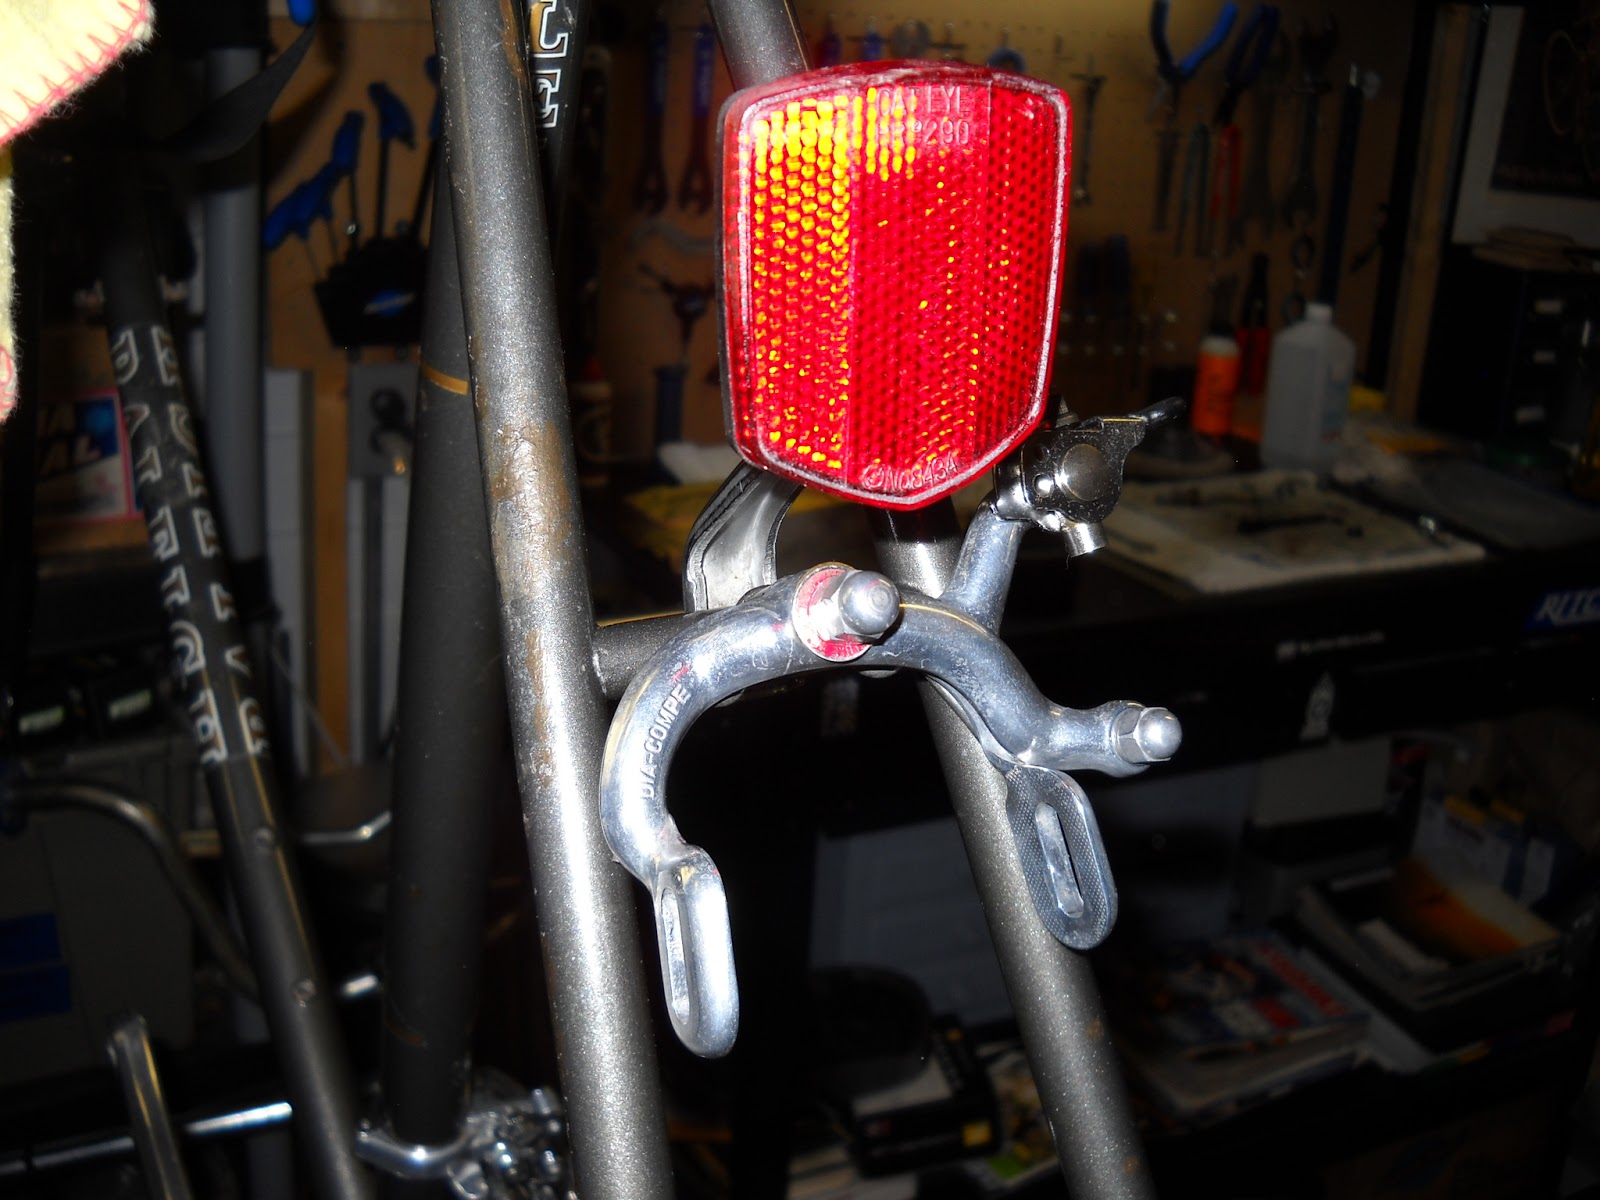
Rear brake with reflector (before)

Front Derailleur (before)

Rear Derailleur (before)

Shift Levers (before)

Seat Post and Seat (before)
I removed all of the components from the bicycle, then I cleaned the frame and fork. Next I applied a paint cleaner followed by a paint polish .

Frame (before)

Seat stay (before)

Top tube (before)

Bottom bracket (before)

Fork crown (before)

Rear dropouts (before)

Head tube (before)

Seat stay (before)

Chain stay (before)
After cleaning and applying a coat of paint polish . Next I touched up the paint then I applied a coat of carnuba wax. After that I buffed the frame and fork to a nice shine.

Frame (polished)

Head tube (polished)

Fork (polished)

Top tube (polished)

Down tube (polished)

Seat lug and stay (polished)

Chain stay (polished)

Rear dropouts (polished)

Bottom bracket (polished)
Next I started taking the components apart , then cleaning and polishing them.
The cranks and bearings are both standard Raleigh components. I lightly wet sanded the crank arms with 1000 grit emery cloth then ended with a 2500 then I applied a coat of Mothers aluminum polish and buffed to a nice shine. meanwhile I let the bearings and bottom bracket components soak in the parts cleaner. After the bottom bracket came out of the parts cleaner I polished the chrome pieces with chrome polish bringing the components to a brilliant shine.

Cranks (before)

Bottom bracket assembly (before)

Cranks (after polishing)

Bottom bracket assemble (after polishing)
Next to go into the parts cleaner is the head set. After cleaning the bearings I polished the chrome head set with Turtle Wax chrome cleaner.

headset (before)

Headset (exploded view) before

Headset cups (before)

Headset (cleaned and polished) exploded view

Complete headset (stacked)
After the headset I went in search of a handle bar and stem. I found both in my parts bin. The handle bar is a Sakae Road Champion with a Sakae stem to match. I cleaned the old grip tape residue with Goof Off and a scouring pad, then I polished it with Mothers aluminum polish. The stem was greasy and dull but after a couple of rounds of polishing, they both started to shine.

Sakae bar and stem (before)

Sakae stem (before)

Sakae stem (cleaned and polished)

Bars (cleaned and polished)
Next up for cleaning are the brakes. They are Dia Compe "500" aluminum side pull brakes. They are dirty , greasy and tarnished from use. I will clean them and shine them with some Mothers aluminum polish. after that I lubricated all the pivot points with Tri Flow lubricant. Now they work smoothly.

Front and rear brakes (before)

Rear and front brakes (cleaned and polished)
Next are the derailleurs, the Suntour AR front derailleur had some rust and needed a good cleaning and lubrication. I removed the rust with Turtle wax chrome cleaner and rust remover. then I cleaned and lubricated all the pivot points.

Front derailleur (before)

Front derailleur (after cleaning and polishing)
Next to be cleaned is the rear derailleur. It is a Suntour V-GT Luxe. The V-GT Luxe is an all aluminum derailleur ,the best in its class for weight at 251 grams . It was the best selling touring model in the V Luxe series. This derailleur was so complex ,it took me a while to get it apart and put back together correctly. I watched a tutorial from RJ the bike guy for help taking this derailleur apart and reassembling it.

Rear derailleur (before)

Rear derailleur (before) exploded view

Rear derailleur (cleaned and polished) exploded view
Once I was done reassembling the rear derailleur I lubricated all the pivot points and the jockey wheels. The derailleur moves smooth and the jockey wheels spin fast.

Rear derailleur (cleaned and polished)
Next are the shift levers, they are Suntour friction shifters. I like friction shifters because you get a feel for the gears and you can fine tune them as you are riding. These shifters shined up nicely with some Mothers aluminum polish.

Shift levers (before)

Shift levers (before) exploded view

Shift lever (cleaned and polished)

Both levers (cleaned and polished)
Next up are the brake levers. I pulled these out of my parts bin. They are Dia Compe red dot double levers. They are not the exact brake levers that came with bike but they will work just fine with the Dia Compe side pull brake calipers.

Dia Compe brake levers (before)

Left lever (exploded view)

Right lever (exploded view)
I disassembled the levers ,then cleaned and polished them with Mothers aluminum polish. After reassembling them I lubricated the brake handle pivot points.

Brake levers (cleaned and polished)
Next up is the seat post and seat clamp assembly . The seat post was gouged and scratched . I wet sanded it down starting with 400 grit and going through the grits ended with 2500 grit. After wet sanding I polished the seat post with Mothers aluminum polish. It shines real nice but still has some gouges that I could not remove from wet sanding.

Seat post and seat clamp assembly (before)

Seat post (after wet sanding and polishing)

I cleaned and polished the seat clamp assembly.
Next up for this bike are the wheels. The ones that come on the bike were not a matching pair and the rear wheel was far out of true. I searched through my collection of wheels and found a set of Araya 27" X 1 1/4 wheels. Unfortunately they were bolt on wheels ,so I found a conversion kit on Ebay to change them from bolt on to quick release axles.

Front wheel (before)

Front hub (before)

Araya front rim (before)

Front hub (cleaned and polished)

Bearing races are clean and in good condition

Araya rim cleaned up nicely.
After cleaning the front wheel I greased the front hub and installed new bearings for the quick release hub conversion.

Front hub with new bearings and grease.

Front and rear QR conversion kit.

Front wheel with quick release axle
Next I worked on the rear wheel and the cassette. The cassette was not worn at all, it just needed to be cleaned and lubricated.

Rear wheel (before)

Rear hub (before)

Rear rim (before)

Rear hub bearing race (before)

Rear hub (cleaned and polished)

Rear rim (cleaned and polished)


Rear hub (new grease and bearings)
Next to be cleaned is the cassette, it was tarnished. I cleaned it in the parts cleaner with a wire brush and lubricated the freewheel. New it spins for ever.

Cassette (before)

Cassette (after cleaning and polishing)

Rear wheel complete.
Once I finished cleaning the wheels the wheels I wrapped then in Kenda K-35 Gumwall tires.

New Kenda K-35 tires and tubes.


Last component to clean and polish are the pedals. They are SR SP152 aluminum pedals. They were dirty and grimey from use . I polished them and greased the bearings, they spin free and shine.

Pedals (before)

Left pedal (disassembled)

Right pedal (disassembled)

Pedals greased and polished.
After all the components were cleaned and polished I started to rebuild the bike. I pressed the headset cups into the headtube then greased the bearings and installed and installed the headset , next I installed the fork.

Headset cups.

Bearings greased

Headset installed


Fork installed.
With the fork installed I then moved on the handlebar and stem. I make sure that the bottom part of the handlebar is parallel to the floor. I think this gives a good riding position

Handlebar and stem installed.
Next I greased and installed the bottom bracket.

Fixed cup greased.

Adjustable cup greased. The adjustable cup moves in or out to fine tune the bearings so the cranks turn smooth.

Bottom bracket complete.
After adjusting the bottom bracket I installed the cranks.

Cranks installed
Next I installed the brake calipers.
Front brake caliper.
Rear brake caliper.
I kept the reflectors to give the bike a more original look.
After that I installed the front and rear derailleurs.

Front derailleur installed

Rear derailleur installed.
After installing the derailleurs I installed the chain. This bike is getting a KMC Z51 touring chain.

Next to install are the brake levers and the shift levers. The shift levers are friction shift levers, they don't click into gear like index shifters. You move them forward and back to shift and fine tune the gear and remove chain rub.

Brake levers installed

Shift levers installed.
Once I installed the levers ,I ran the brake and derailleur cables. I used black brake and shifter cable housing. I think the black housing will go with the look of the bike since I am using a black saddle and black bar tape.
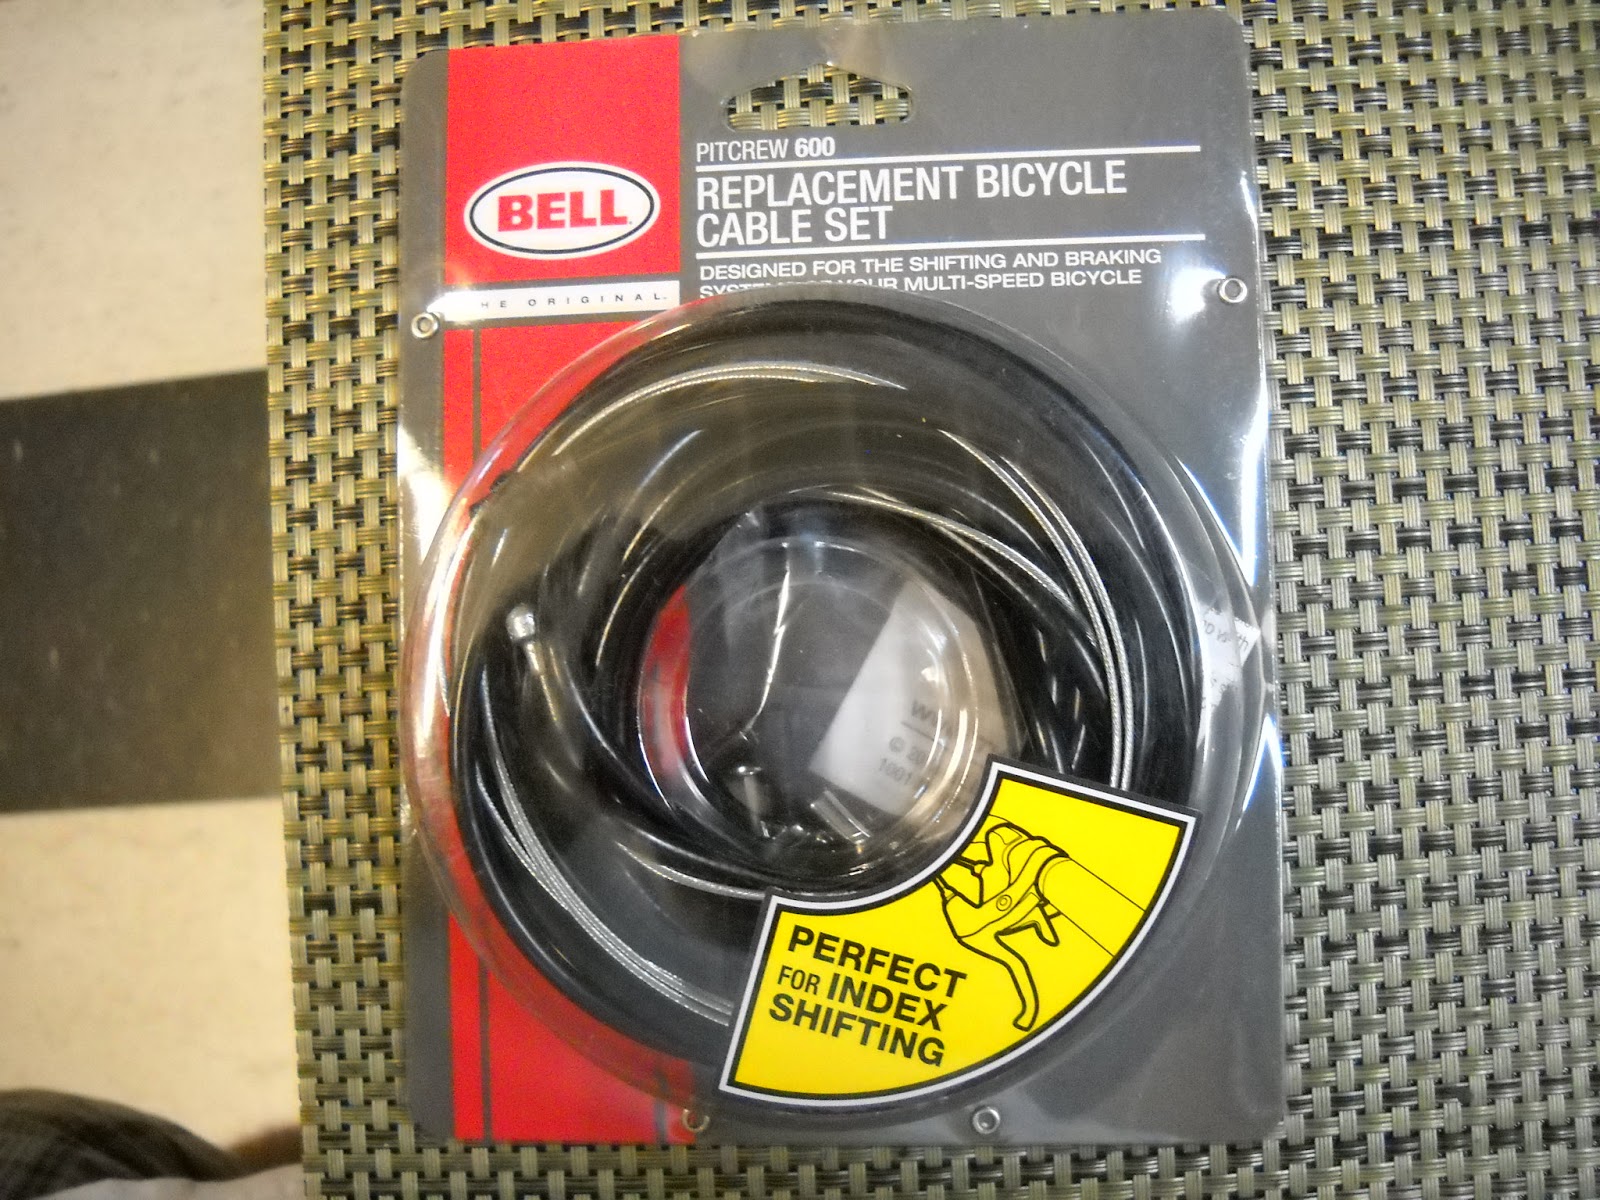
On this build I used Bell brake and shifter cables with housing. Bell makes durable bicycle products at a good price.

Brake cables with black housing.
After installing the brake cables I installed new brake pads and adjusted the brakes.

Next I ran the cables for the front and rear derailleurs. Then I adjusted both derailleurs so they shift properly.

Front Derailleur with cable.

Rear derailleur with cable.

So far the bike is starting to look good. I just need to install the bar tape and find a saddle.

Next I wrapped the handlebar in black cork bar tape.

Then I found a nice Velo road saddle to complete the build.

This build is now complete.


I think this Raleigh Grand Prix turned out well considering the condition that I found it . The black seat and bar tape really go well with the look of the bike , it almost looks like the picture in the sales catalogue from 1983. I took the bike for a test ride and it is fast. I enjoy the feel of the friction shifters , they make me feel more in tune with the bike. I really enjoyed restoring this bike and researching the Raleigh bicycle company and Suntour components. When I find these vintage bikes its always an adventure to find out the history of each bicycle I restore.
Thanks for visiting my blog . More bicycles to be posted soon. Tony .