1994 Diamond Back Assault

/\
\/

I bought this Diamond Back Assault frame off Ebay. The decals were in bad shape so I stripped them off and looked for another decal set. Unfortunately 1994 Diamondback assault decals do not exist any where . So I found a set of old school Diamond Back Snake decals that I think will go perfect with this mid school Diamond Back build. I also found a 2007 Diamond Back fork to compliment this BMX build.


2007 Assault fork

Headtube (before)

Top Tube (before)

Down tube (before)

Seat stay (before)
I chose the good side of the bike when taking pictures of the original decals. The decals on the other side of the bike were scraped off and in bad shape.
/\
\/
I did some research on this bike and the latest Diamond Back Assault model I could find is a 1991 and I found that one on BMX museum.com. based on the decals on this bike and the unique rear brake boss, I concluded that this is a 1994 model. Diamond Back still makes the Assault model in a 20" and a 24" dirt jump bike.

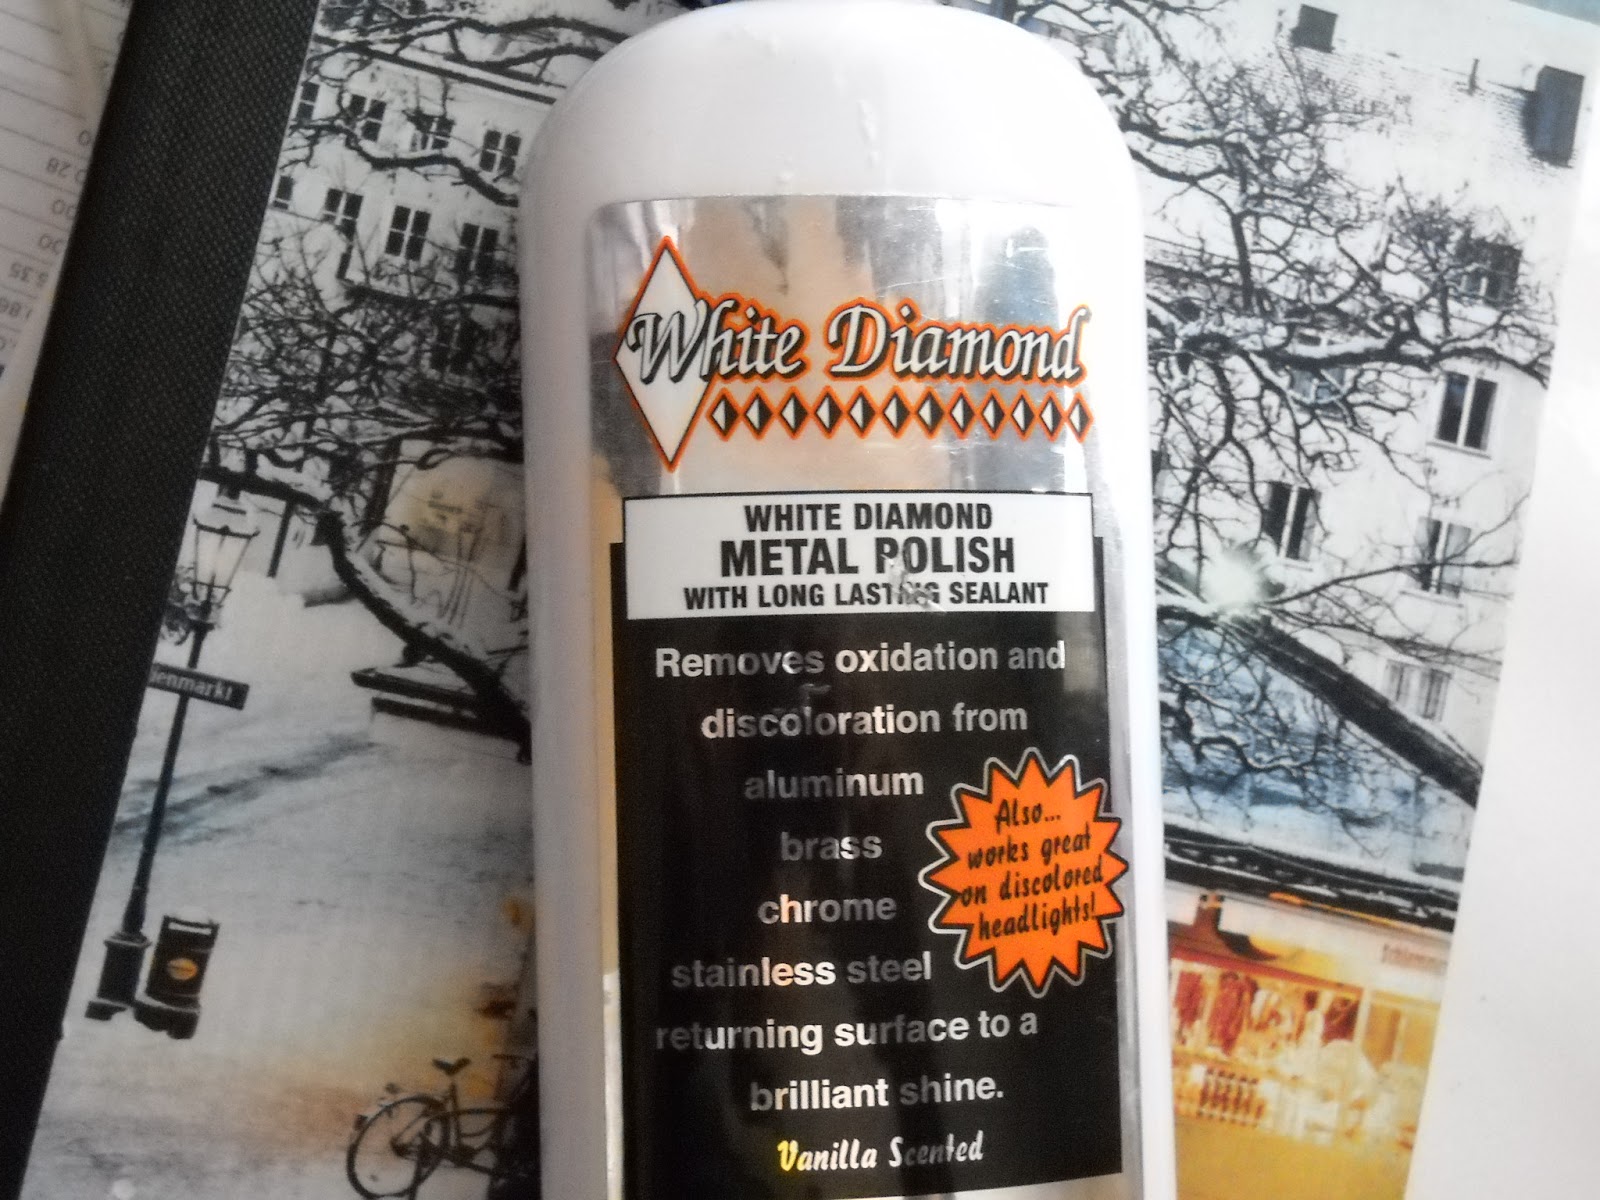
I used a heat gun to soften up the glue under the decals , some of the decals came off easy and some left a glue residue that I removed with Goof Off glue remover. Then I cleaned and polished the frame and forks with White Diamond metal polish.
/\
\/

Headtube (cleaned and polished)

Top tube and down tube (cleaned and polished)
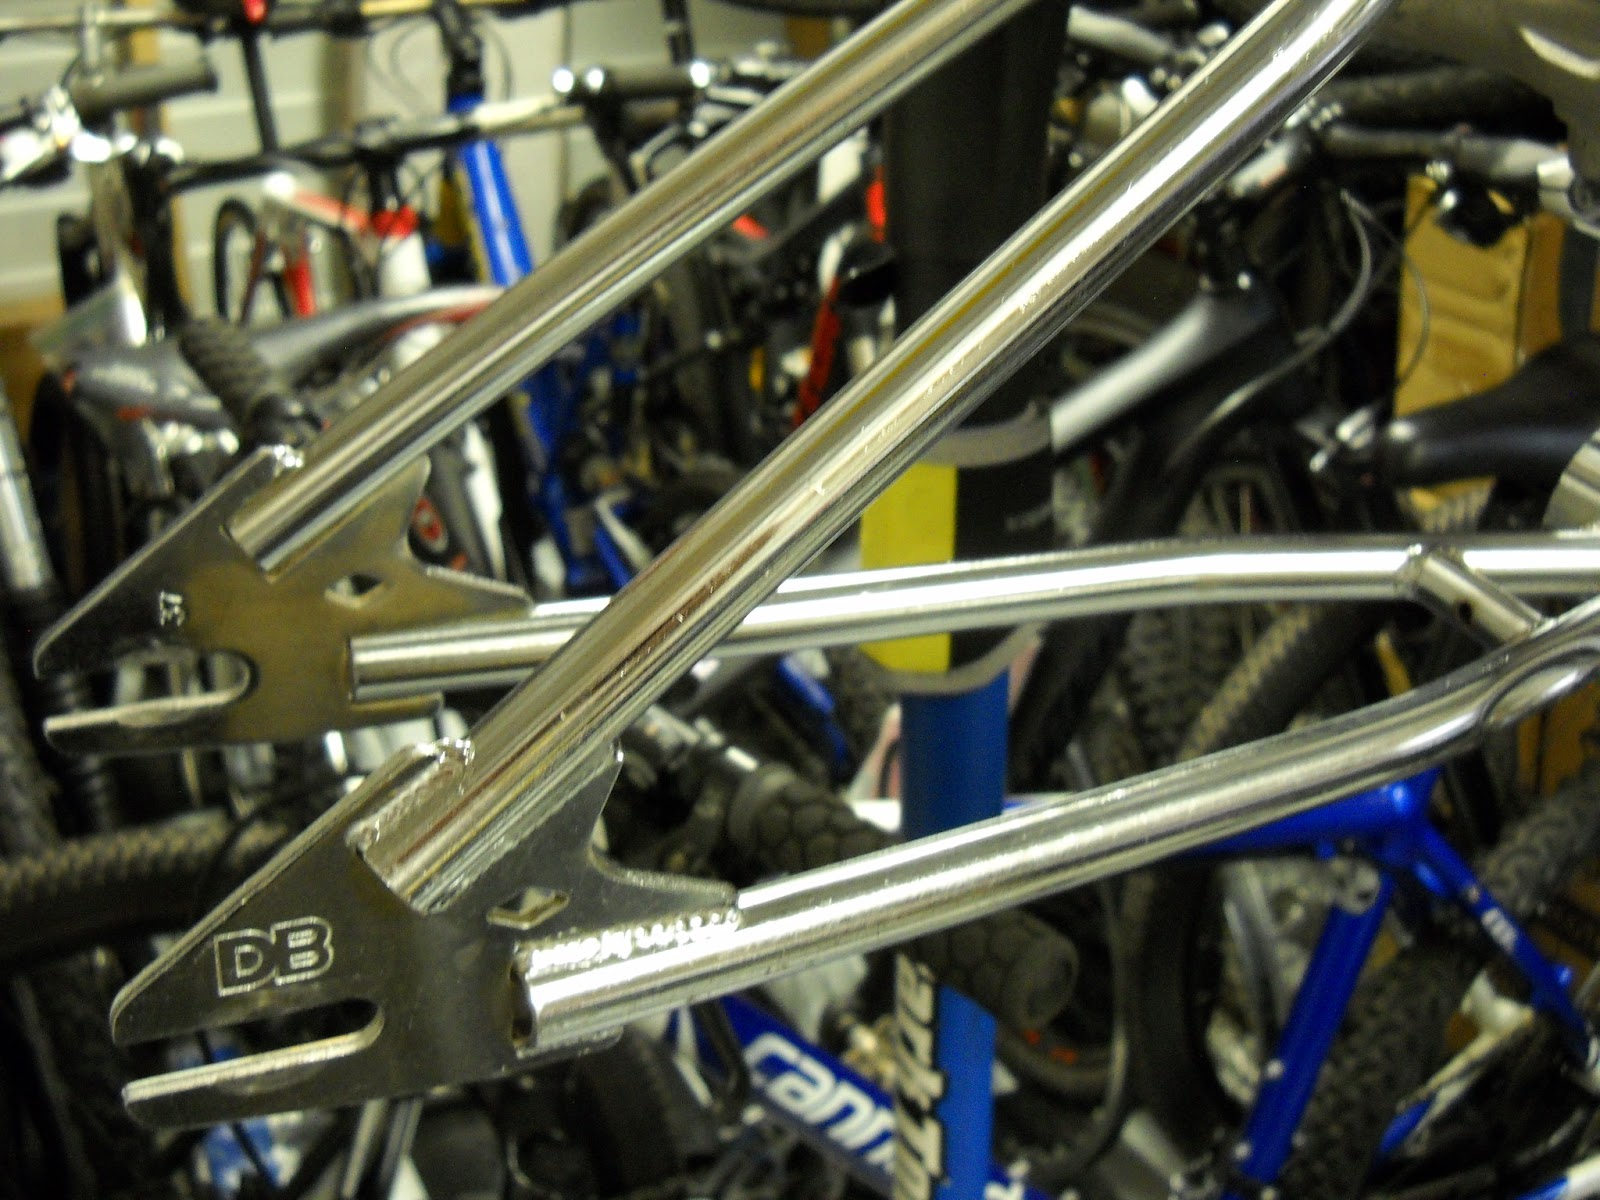
Chain stay and seat stay (cleaned and polished)

1994 Assault brake boss.

Bottom bracket (cleaned and polished)


Fork (cleaned and polished)
/\
\/
I found this 80's Diamond Back Snake decal set on ebay. The Diamond Back lettering is red so I am going to try to stay with the red color scheme as I build this bike.

Diamond Back Snake decals.

Down Tube

Chain stay


Fork.
Next I pressed in the headset and greased the bearings.

1

2

3

4

Bearings greased

I completed the headset and installed the Black OPS stem.


Stem installed
Next I worked on the Diamond Back handle bars. I pulled these bars off a 1996 Diamond Back Ignitor that I restored some time ago. I cleaned them up and polished them with Turtle Wax Chrome cleaner.

DB bars (before)

DB bars (cleaned and polished)

I found some red AME grips to go with the red theme of the bike.

I will install them later.
I worked on the cranks and bottom bracket. The cranks have 180mm crank arms with a 44 tooth sprocket.


Bottom bracket cups (polished)


Bottom bracket cups (pressed in)

44 tooth sprocket with spider.

Crank hardware (cleaned )

I assembled the crank ...

...and greased the bearings

Crank installed.
I used a pair of Lee Chi brake calipers and levers for this build.

I think black brakes look good with the chrome frame.

Next I installed the handle bars and brake levers.

I installed the grips and cables too.

I found a set of Diamond Back T6 6061 aluminum wheels on ebay. They were dirty and the rear rim needed to be trued and repaired. The bearings also needed to be replaced.


I used White Diamond metal polish to clean and polish the wheels.

Rear hub (cleaned and polished)

The rim and spokes cleaned up too.

Hub overhaul.


I cleaned the axle and cones.

New bearings and grease.


Rear hub overhauled.

Front wheel.

Front hub needs to be cleaned and overhauled.


Front axle and parts.

Front hub (cleaned and polished)


Axle and hardware cleaned.

New bearings and grease.


Front wheel complete.
/\
\/

After completing the wheels...

I wrapped them in...

Goodyear 20" X2.0 red wall street tires.
/\
\/
The saddle came off a 1984 Diamondback BMX bike.


It was dirty and the lettering has come off the sides of the saddle.

I cleaned the saddle and touched up the lettering.

Chrome 22.2mm seatpost.

Seatpost clamp.
/\
\/

Chrome 1/2" X 1/8" chain.

I used Pyramid K79 platform pedals for this build.


The chain and pedals were the last components I needed to complete the 1994 Diamond Back Assault. the next pictures are of the complete build.


Check out my Youtube videos about restoring and riding this 1994 Diamond Back Assault.
This Diamond Back Assault was a fun build. I think the red and black components go well with the red and chrome decals .
My wife and I both enjoyed riding this bike around the neighborhood. The Goodyear tires roll fast and smooth . The 44 tooth cranks and 16 tooth freewheel really get this bike moving.
The Lee Chi brakes stop this bike quick and the Ame grips are soft and easy to hold on to. My feet had no chance of slipping off these Pyramid platform pedals as I cruised around the streets and sidewalks in my neighborhood .
Riding this bike makes me feel like a kid again . I hope you enjoyed reading my blog.
Have a great day . Tony