1994 Specialized Hardrock


How I found it .
I purchased this bike from a person on Craigslist. He sold me four bikes, each one is missing parts or in some stage of disrepair. This is the first Specialized that I have had the opportunity to restore and list on my blog.
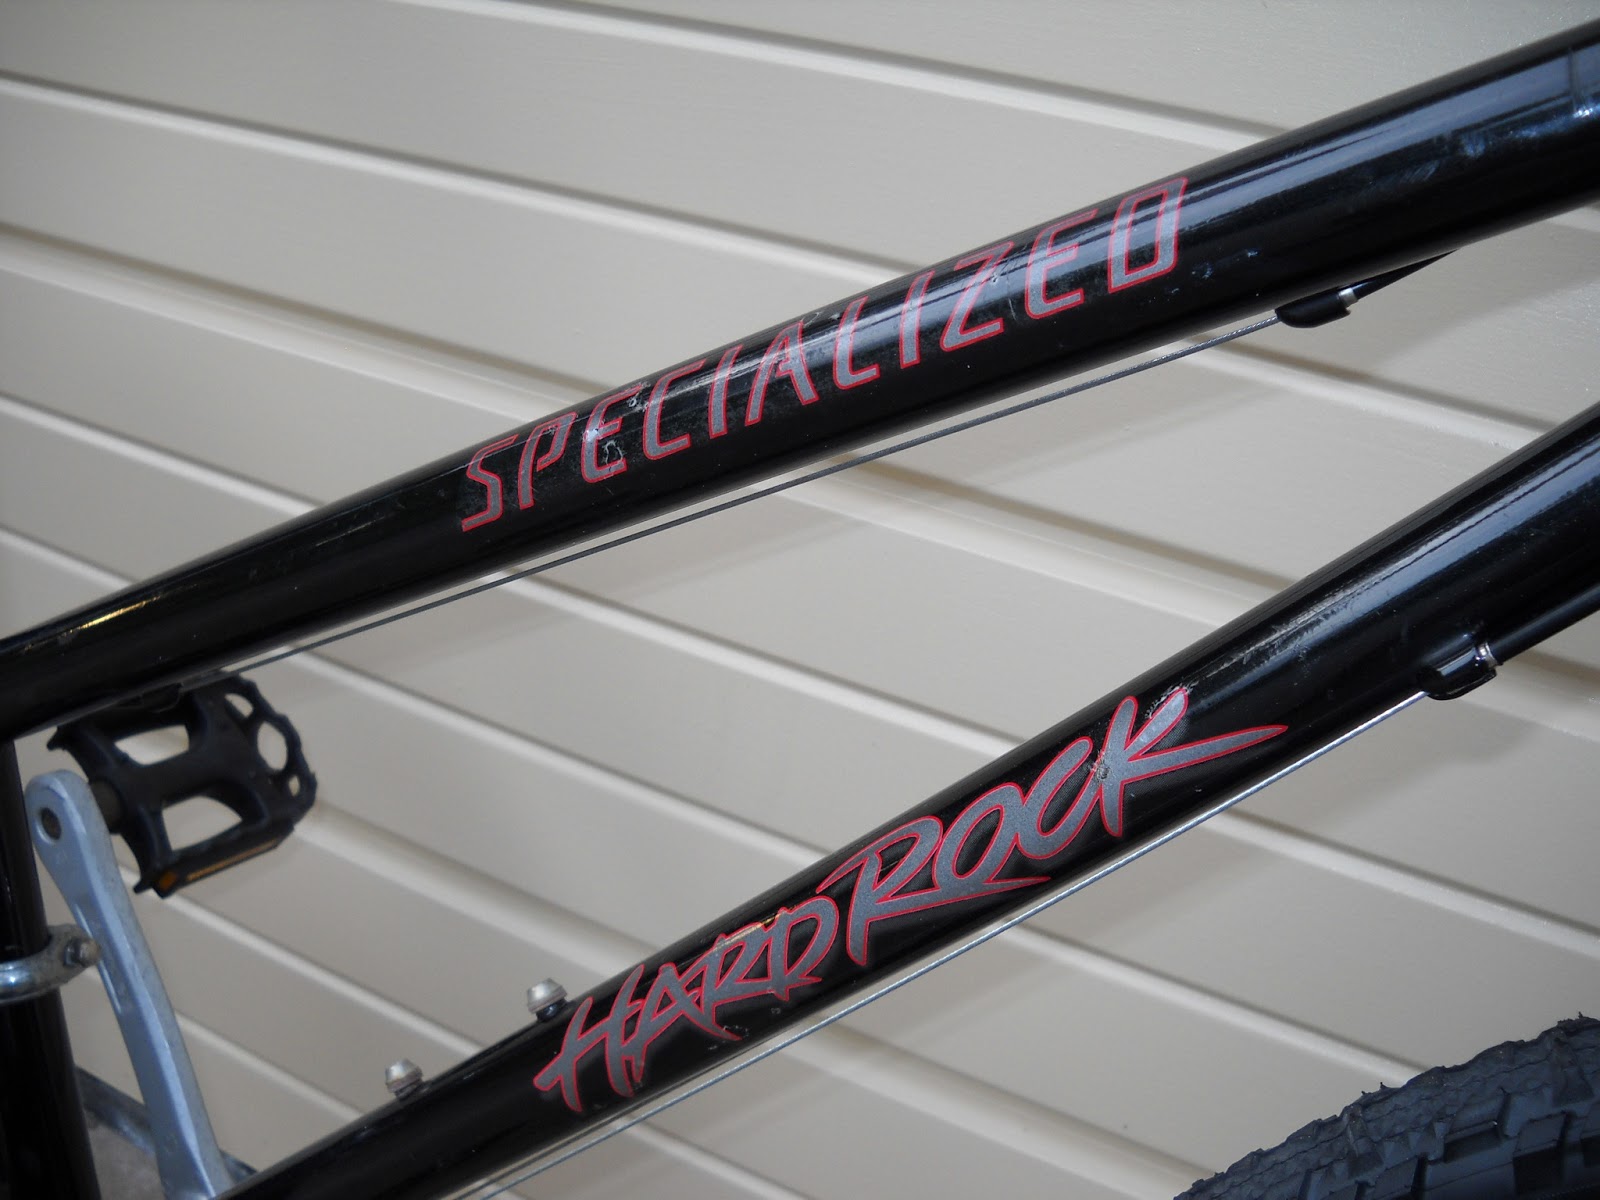
Starting with the bike itself, I looked up all early years of the Specialized Hardrock. I came to the conclusion based on components and color scheme that this is a 1994 Hardrock. This bike is now only a skeleton of its former self. its missing most of its parts including : seat, seat post, rear cantilever brake calipers, rear derailleur, cassette, chain and tires.
I have a vision for this bike and I think the end product will be awesome.
Specialized (A short history )
Specialized is a California based company founded in 1974 by Mike Sinyard. The company started out importing Italian bike components, mostly handle bars and stems. In 1976 Specialized started producing its own touring tires.
By 1981 the company introduced its first two touring bikes, the Sequoia and the Allez. Specialized also introduced the first major production mountain bike in the world, the "Stumpjumper". The Specialized Stumpjumper was based on Tom Ritchey's mountain bike frame geometry.
Tom Ritchey along with Gary Fisher and Joe Breeze all had a hand in creating the first ever mountain bike in Marin ,California . However Specialized was the first company to mass produce the mountain bike.
The Hardrock was the third model to be produced by Specialized following the Stumpjumper and Rockhopper.
The first thing I am going to do to this bike is strip the rest of the components from the frame and take pictures as I go along. Mostly to make sure I know how the components go back on the bike.


After I removed the components it was time to clean the frame. I do a three step process on the paint . I use a paint cleaner , then I polish the paint and finally I apply a coat of carnuba wax.

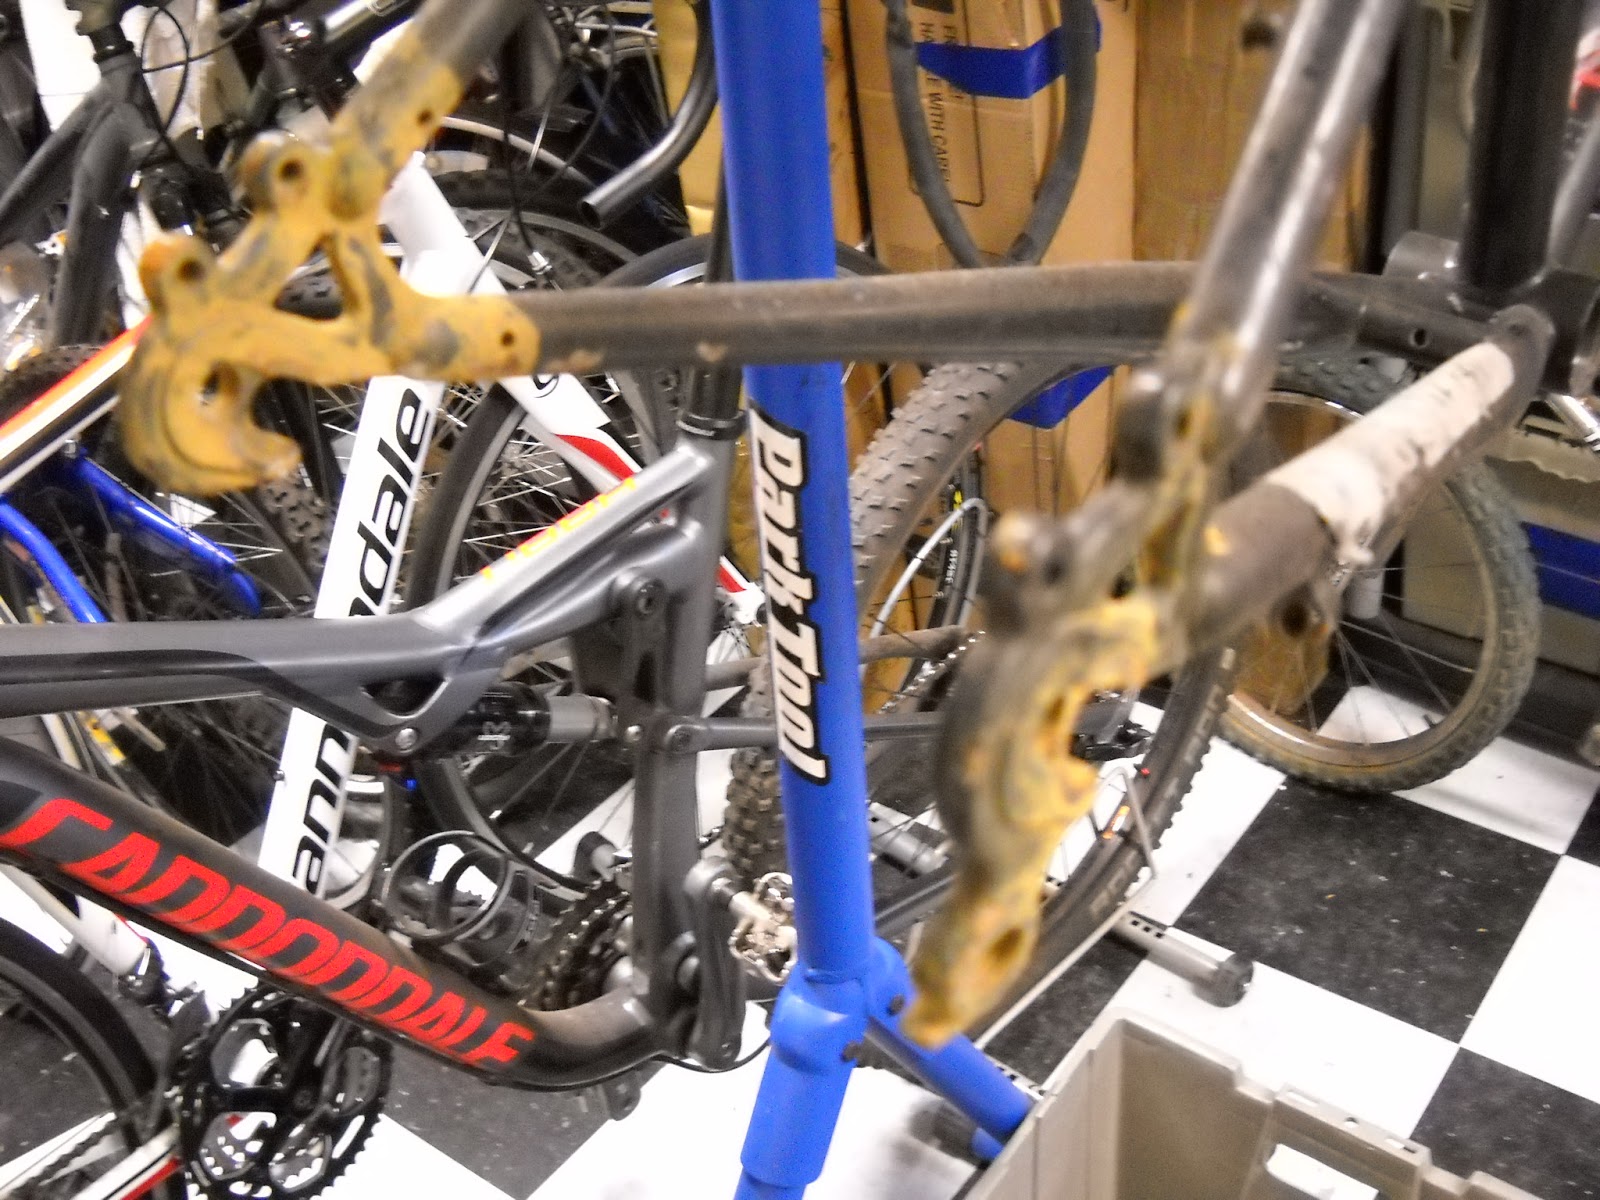
Frame (before)

Head tube (before)

Top tube (before)

Down tube (before)

Seat tube (before)

Chain stay (before)

Seat stay (before)
Rear dropouts (before)
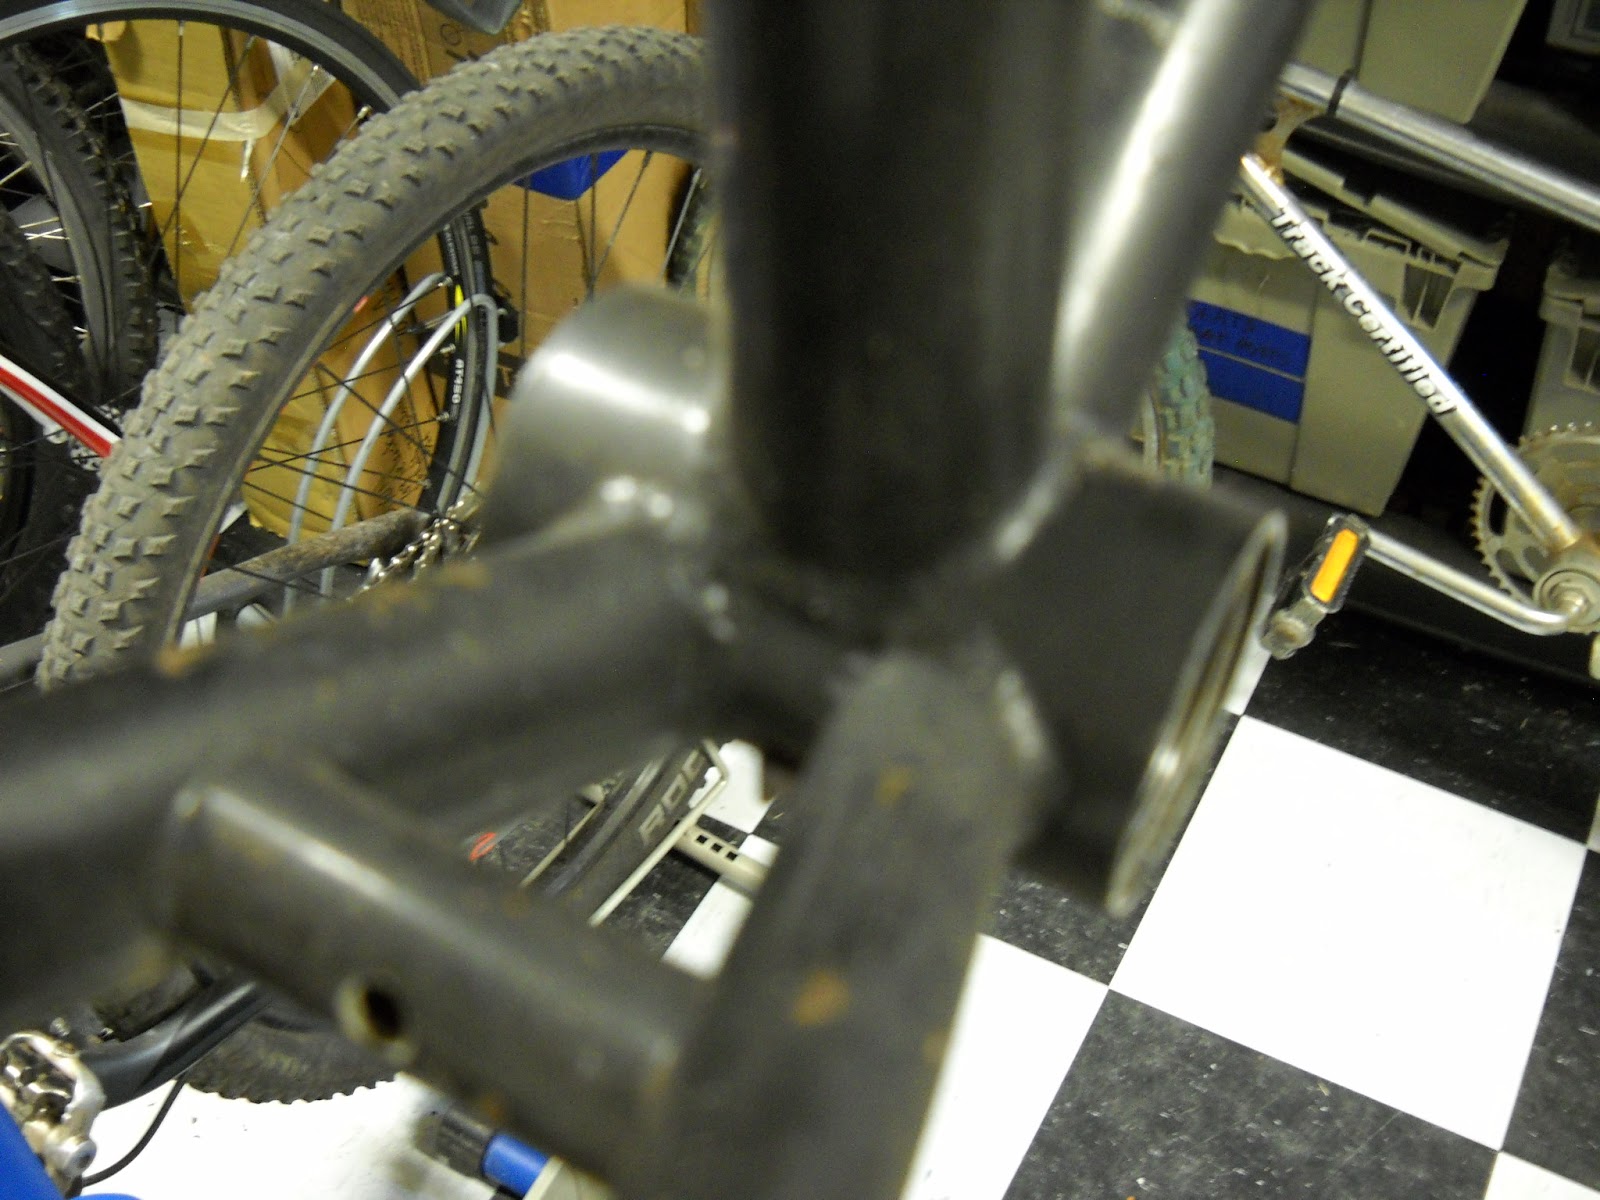
Bottom bracket (before)

Fork (before)

The Specialized Hardrock frame and forks polished up nicely . On the side of the seat stay and forks is a" Direct Drive " logo. I did some research and found out that "Direct Drive" refers to basic 4130 Chromoly tubing that is drawn to Specialized specs .

Frame (polished)

Head tube (polished)

Top tube (polished)

Down tube (polished)

Seat tube and seat stay (polished)

Chain stay (polished)

Rear dropouts (polished)

Bottom bracket (polished)


Fork (polished)
The headset on this bike completely weathered. The paint was dull and it had some surface rust, but the bearings were in great shape and the headset cups had very little wear.

Headset (before)
I stripped the paint from the headset and repainted them with high gloss Rustoleum paint. I also soaked the bearings in degreaser and polished the chrome pieces .

Headset (after)
Next I installed the headset and greased the bearings.

Headset cups (pressed in)


Top and bottom headset bearings (greased and installed)

Headset stack (complete)

Fork (installed)
Next components I worked on is the handle bar and stem. These paint on these pieces was dull and the stem had some rust showing through.

Handle bar (before)

Stem (before)

Stem and parts
I painted the handle bar and stem with Rustoleum high gloss black paint and polished the chrome parts .

Handle bar (painted)

Stem (painted) with parts.

Stem (complete)


Handle bar and stem (installed)
The next component I worked on is the bottom bracket. This is a standard cup and cone bottom bracket.

Bottom bracket (before)
I took apart the bottom bracket and cleaned up the bearings and bearing races. I soaked all the components in degreaser to remove all of the old grease and grime. Then I polished the chrome pieces with Turtle Wax chrome cleaner.

Bottom bracket pieces (before)

Bottom Bracket (cleaned and polished)

I replaced some of the worn out bearings in the retainer. Then I greased the bearings and the bottom bracket cups and cones.

Bottom Bracket (complete)

The cranks are Sakae XR100 with 170 mm arms. They are standard steel chain rings with aluminum crank arms. I cleaned them with degreaser and touched up some of the chips and scratches .

Cranks (before)

Cranks (cleaned and polished)

Sakae cranks (installed)
The original brakes on this bike are Shimano Altus cantilever. The bike was missing one brake arm in the rear. I looked on various web sites but could not find a match for the rear.

Original Shimano brakes.
I have some cantilever brakes from about the same era that I took off a Giant Rincon. They are made by Chang Star and I think they will match with the rest of the aluminum components. The original brake levers for this specialized are also made by Chang Star .

Chang Star brakes (before)

Front brake (before) exploded view

Front brake (cleaned and polished)
I used Mothers aluminum polish to clean these brake arms and buffed them to a brilliant shine.

Front brake (complete)

Rear brake (before) exploded view

Rear brake (cleaned and polished)

rear brake (complete)

Front brake (installed)

Rear brake (installed)
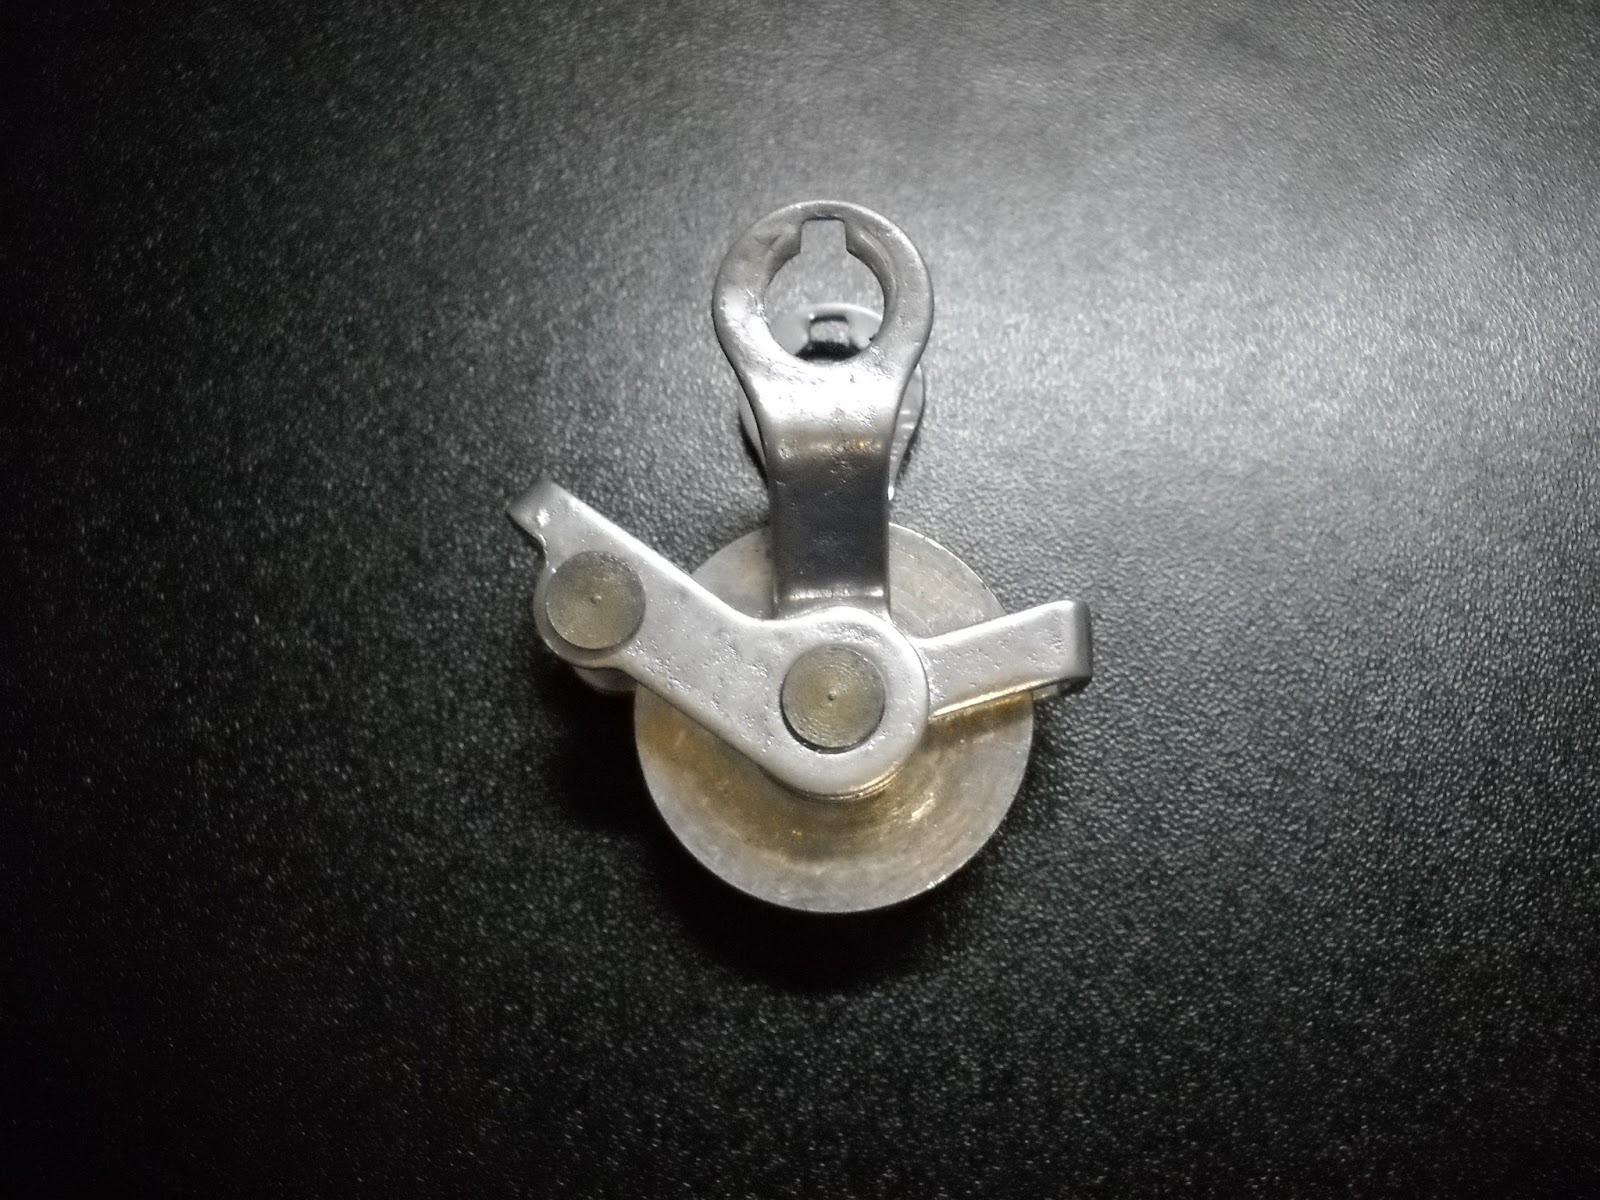
The next brake component I worked on was a pulley wheel contraption that attaches to the seatpost clamp and is part of the rear brake. I have only seen this pulley wheel on the ladies Hard Rock bikes and old Raleigh bicycles.

Rear brake pulley wheel.
The bracket for the wheel was badly rusted so I sanded it down and painted it. I also oiled the bearing for the pulley wheel.


Pulley wheel(before)

Pulley wheel (broken down)

Pulley wheel (cleaned and painted)
Pulley wheel (complete)
The brake levers are made by Chang Star and are original to the bike. They were an good shape so I just cleaned and polished them.

Brake levers (before)

Right lever (disassembled)

Right lever (cleaned and polished)

Right brake lever (complete)

Left lever (disassembled)

Left lever (cleaned and polished)

Left brake lever (complete)

Brake levers (complete)
The derailleurs on this bike are shimano, which was standard on most bikes of this era. This bike did not have a rear derailleur so I checked my parts stash and found one that is close to era correct. I found a Shimano RX100 rear derailleur for this bike. The front is a Shimano TY30 bottom pull derailleur. I cleaned and lubed both derailleurs and made sure they shift properly .

Rear derailleur (before)

Rear derailleur (before) exploded view

Rear derailleur (cleaned and polished)

Rear derailleur (complete)

Rear derailleur (installed)

Front derailleur (before)

Front derailleur (cleaned and polished)

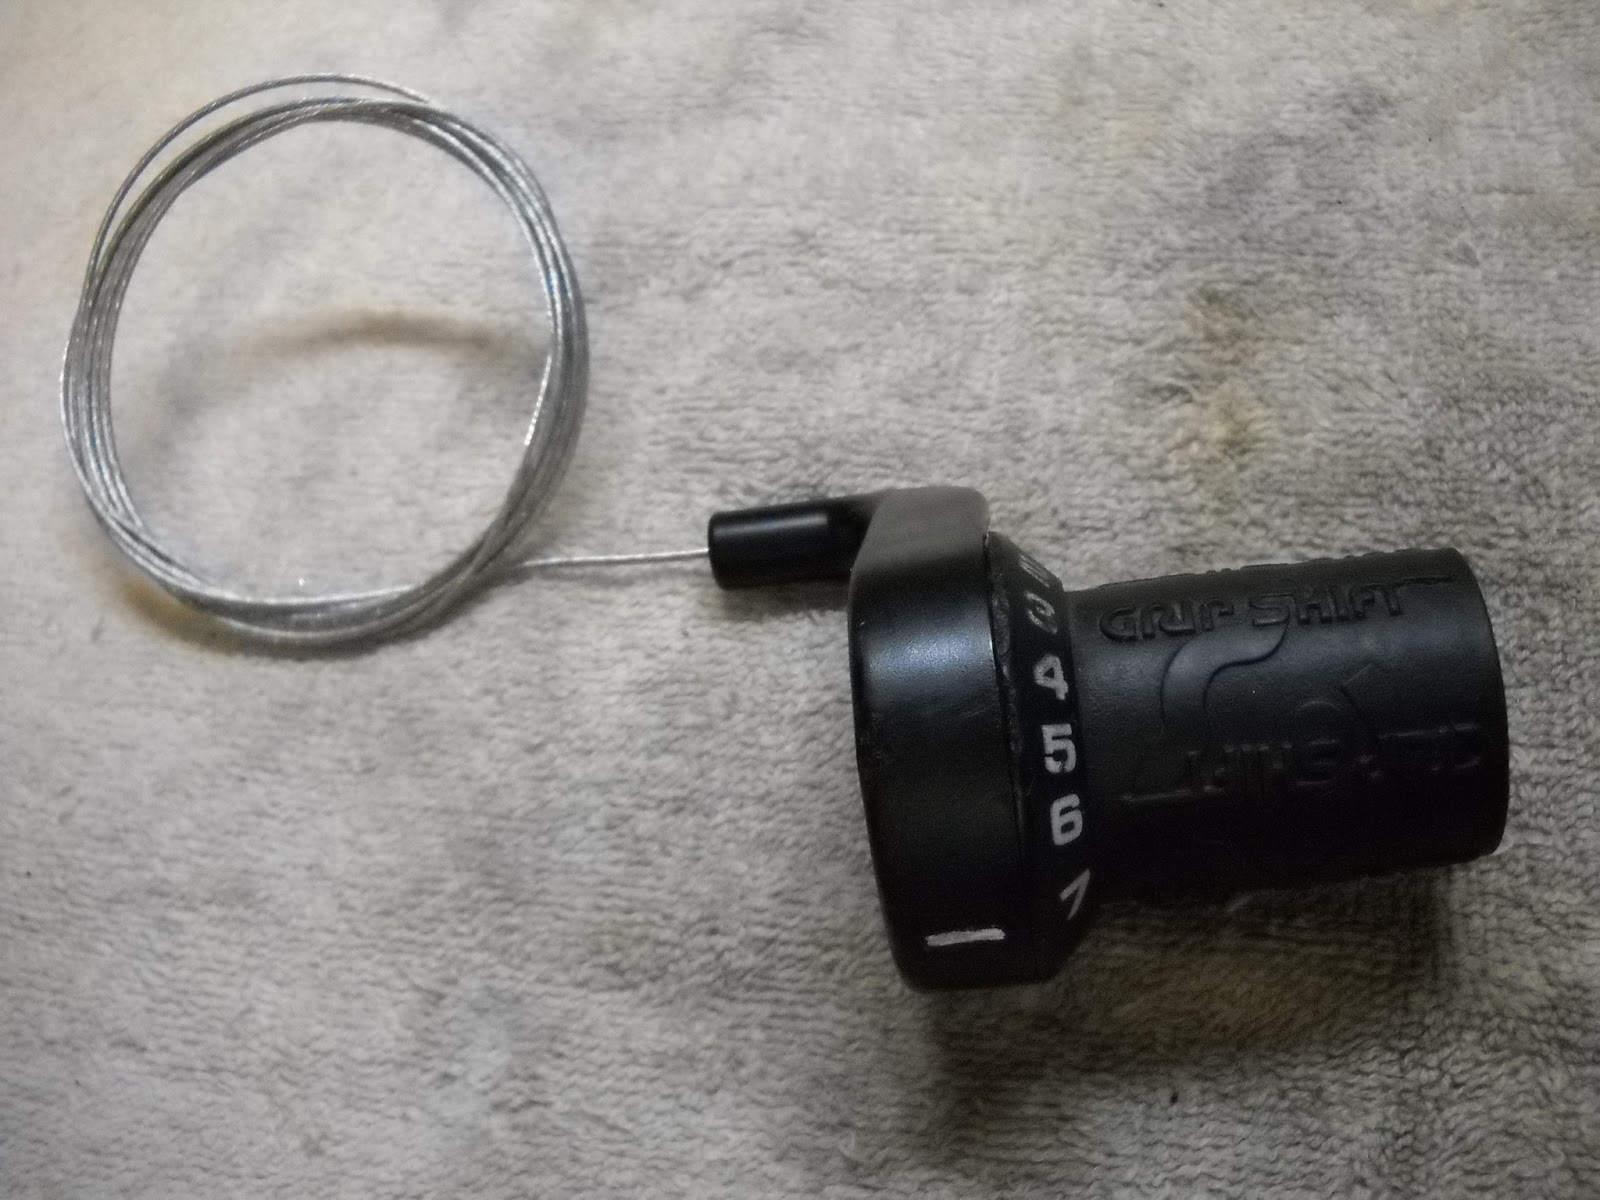
Next components are the Grip Shift gear selectors . I took them apart to put new cables. I lubed the inner portion of the gear selectors. The grip shifters are tricky to put back together.

Grip shifter and grip (before)

Gear shifters taken apart.
7 speed grip shifter (complete)

The original grips were in good shape so I kept them.

Brake levers and grip shifters installed.
This bike did not have a seat post when I found it. I measured the inside of the seat tube . The measurement was 27.2 mm. I only had one in my shop but it was silver anodized aluminum . It needed to be cleaned and polished. I wet sanded it down to a 2500 grit sand paper and shined it with Mothers aluminum polish.


Seat post (before)


seat post (cleaned and polished)
Next is the seat post clamp. It was painted black but the paint was peeling off. I stripped the paint with Goof Off and steel wool . Then I polished it with Mothers aluminum polish.

Seat post clamp (before)

Seat post clamp (cleaned and polished)

Seat post (installed)
The wheels on this bike are not a matching pair. The front wheel is a Weinmann rim with a Keyin hub. The rear wheel is a Ritchie rim with a Shimano Exage hub. I think the rear wheel might be original to the bike but I don't know for sure. I started cleaning and truing the rear wheel first.

Rear wheel (before)

Rear hub (before)

Rear hub axle ,bearings and hardware.
I cleaned the rear hub and replaced the bearings and grease.

Rear hub bearing race (before)

Rear hub bearings packed with new grease.

Rear hub (cleaned and polished)

Rear wheel complete.

Front hub (before)

Front axle ,bearings and hardware (before)

Front hub bearing race (before)

Front axle and bearings (cleaned)

Front hub (cleaned and polished)

Front hub (new bearings and new grease)
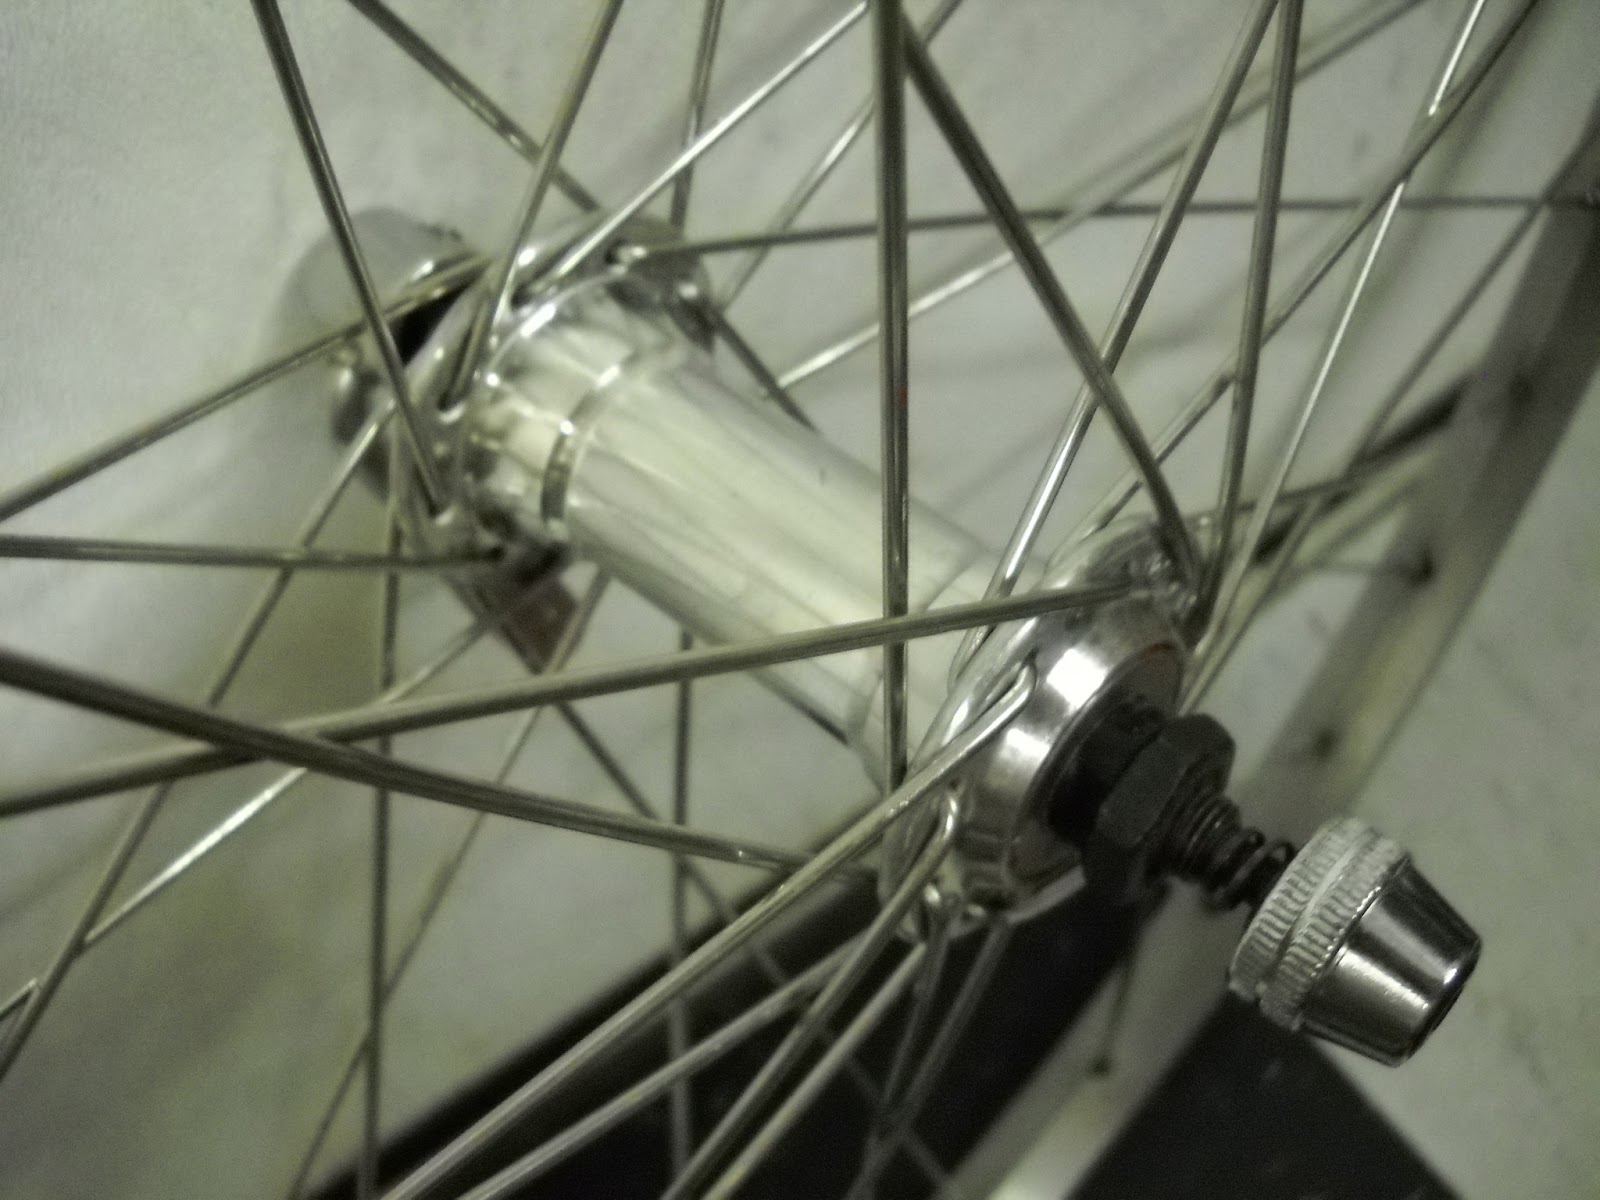
Front hub (complete)

Front wheel (complete)
I wrapped the finished wheels in Kenda Kwik 26"x 1.95 tires. These tires are an all terrain city tire. I think they are great for cruising the trails or riding down town, they even have some tread just in case you have to go off road.
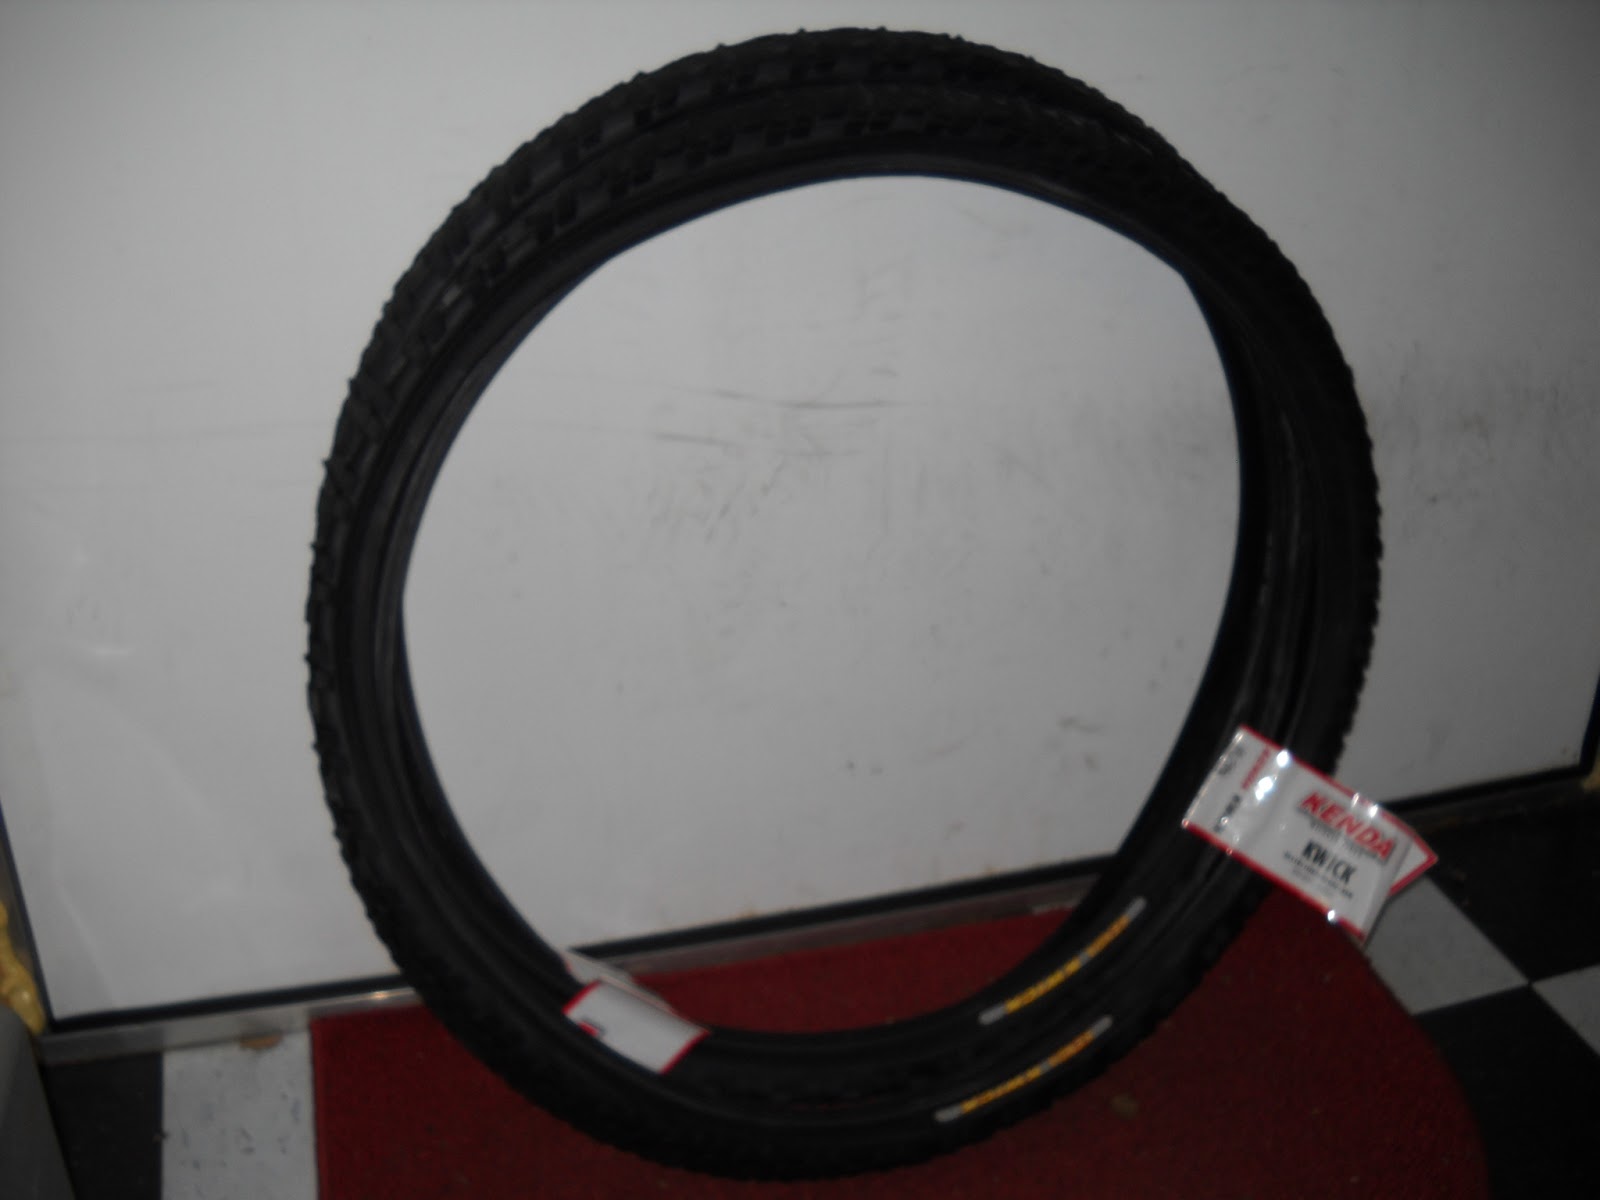
Kenda Kwik tires.

New tubes.

Wheels and tires (complete)
I installed an 7 speed cassette and new chain. then I adjusted the fron and rear derailleurs.

New chain.


Rear derailleur (adjusted)

Front derailleur (adjusted)
The rest of the photos are of the complete bike. I found a seat and reflectors to finish this build.


I took this bike for a spin around the block and I am surprised at how comfortable it feels. The grip shifters take a little but to get used to because I am used to trigger shifters on an all terrain bicycle. The Kenda Kwik tires grip well around corners and the small tread doesn't slow the bike down at all. This Hard rock will make a great commuter bike. I noticed some bolt holes at the top of the seat stays for putting a rear cargo rack. This bike was a fun build and even more fun to ride.
Thanks for checking out my blog . See you next time . Tony.